|
|
|
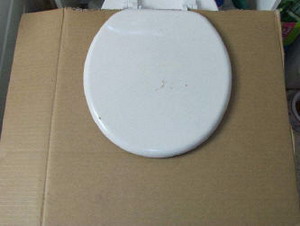
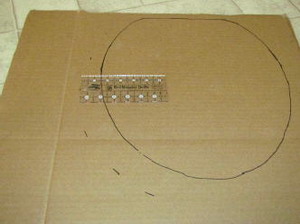
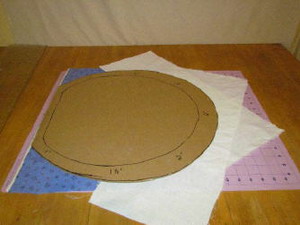
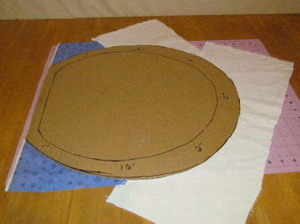
Step 1: Take a large piece of paper or card board and place it under the toilet bowl lid.
|
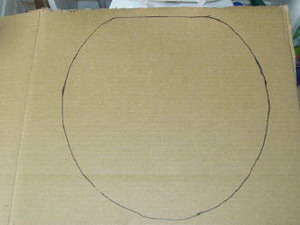
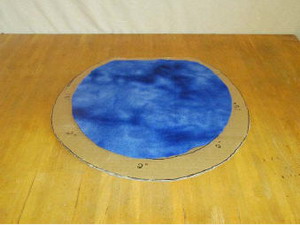
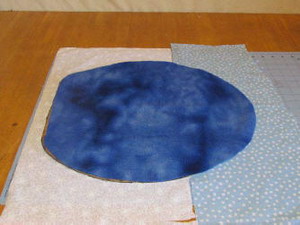
Step 2: Using the marking pen, trace around the lid.
|
|
|
|
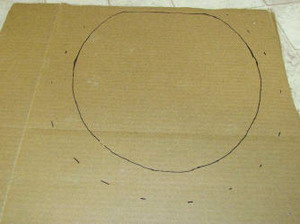
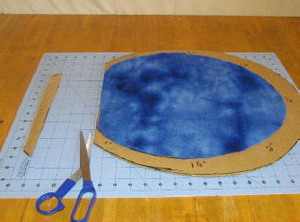
Step 3: Start at the top of the traced pattern, using a marking pen. Mark the top with a 1 inch measurement.
|
Step 4: On the sides of the pattern mark 1 ½ inches.
|
|
|
|
Step 5: On the bottom of the pattern mark 2 inches.
|
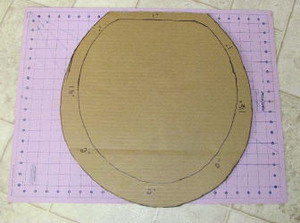
Step 6: Cut out the pattern on the outside line.
|

|

|
|
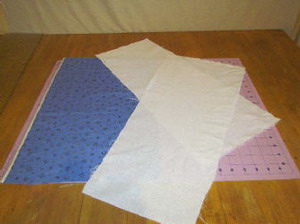
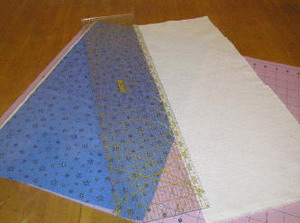
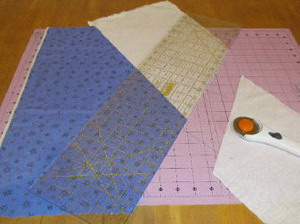
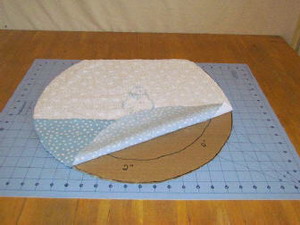
Step 7: Cut ½ yard printed fabric for the top of the bowl lid. I used a snowflake and star pattern.
|
Step 8: Cut ¼ yard of white fabric for the bottom part of the toilet lid. This will represent snow.
|
|
|
|
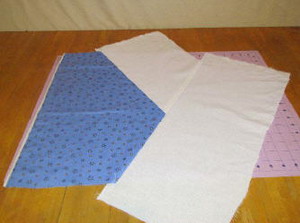
Step 9: Cut the one piece of white fabric into two pieces. So now it measures 9 inches x 22 inches.
|
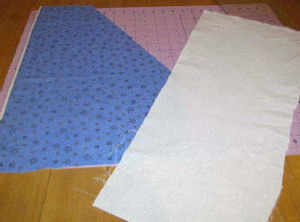
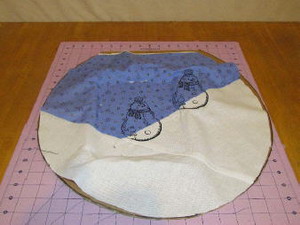
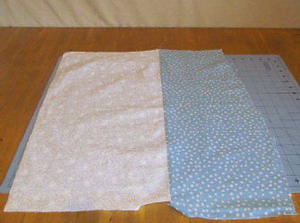
Step 10: Lay your white pieces of fabric out the way you want your snowy hills to look. Use your pattern as a guide.
|
|
|
|
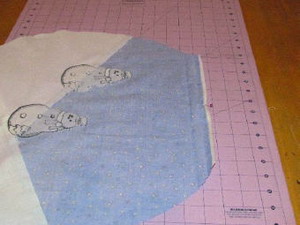
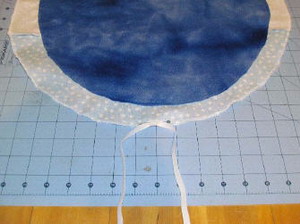
Step 11: Place the white fabric on top of the blue fabric (top fabric) and place the ruler over lapping both fabrics ½ inch. Gently remove the white fabric and but the blue fabric where the ruler is placed.
|
Step 12: Repeat these steps with the second piece of white fabric. Place the white fabric on top of the blue fabric (top fabric) and place the ruler over lapping both fabrics ½ inch. Gently remove the white fabric and Put the blue fabric where the ruler is placed.
|
|
|
|
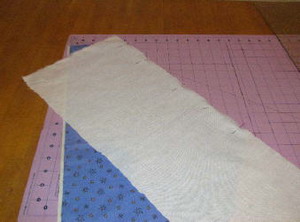
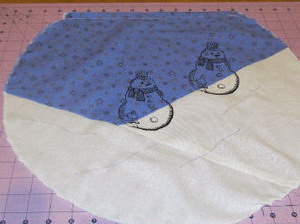
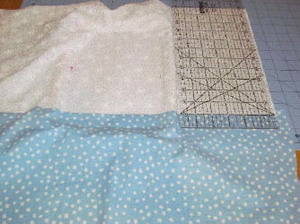
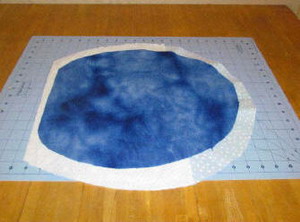
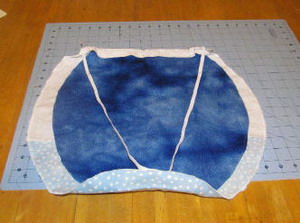
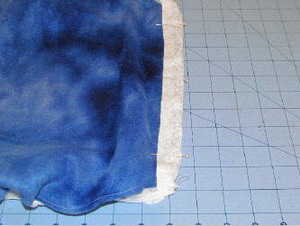
Step 13: With right sides facing pin the two pieces of fabric together. Sew ½ seam. Press with an iron, making sure the seam is pressed towards the darker fabric.
|
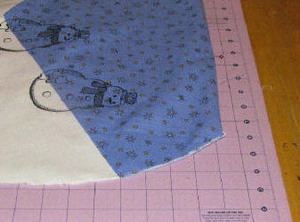
Step 14: Line the ruler up along the blue fabric and cut off the excess white fabric.
|
|
|
|
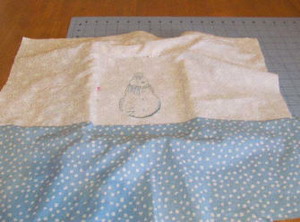
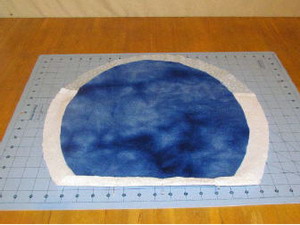
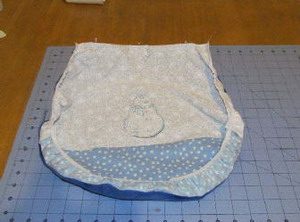
Step 15: With right sides together pin the second piece of white fabric along the edges of the blue and white fabrics. Sew ½ inch seam. Press with an iron, making sure the seam is pressed towards the darker fabric.
|
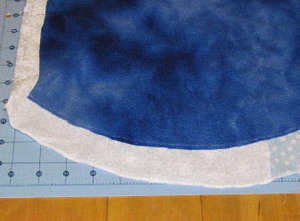
Step 16: Check to see that your pattern fits properly.
|
|
|
|
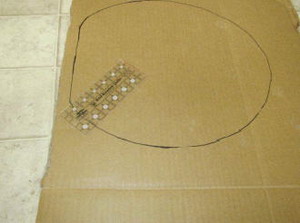
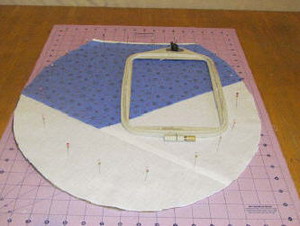
Step 17: Since I used cardboard for my patterns, I was able to use pins to help guide me. You can use this method too. Cut of the fabric using the pattern. Use the stick pins to show you where the inner bowl line is. This will help in placing the hoop. You can use a washable fabric pen also.
|
Step 18: Hoop tear away stabilizer and fabric. Embroider the design. I used spray adhesive and pins with my hoop to avoid hoop burn. Embroider as many snowmen as you like. Remove excess stabilizer from the back when finished.
|
|
|
|
Step 19: You don’t need all this excess fabric on the top of the bowl. You can cut off 1 inch or just fold it down ½ inch two times and press.
|
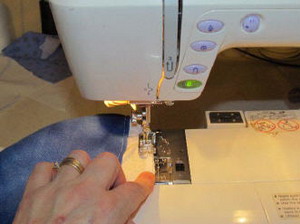
Step 20: Serge or zigzag the edge of the fabric. Starting at the top on one side and ending at the top on the other side.
|
|
|
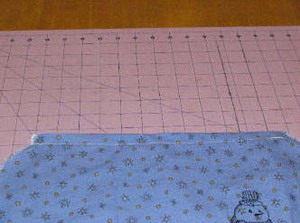
Step 21: Sew a seam across the top of the fabric ½ inch. This will be the casing for the elastic.
*NOTE: I needed to fold down the top of the fabric another 1 inch more and sew another casing, my first measurements were too big when placed on the bowl.
|
Step 22: Optional: I did some freehand stitches with the sewing machine to make snowy waves.
|

|

|
|
Step 23: Fold and pin all the side edges in towards ½ -1 inch. This will be used for a ribbon casing. Cut one piece of ¼ inch wide elastic 7 inches long. Pin a safety pin through one end of the elastic. Run the elastic through the casing. Stitch in place on both ends. Sew the side seam allowances close to the inner edge of the fabric. There should be an opening on both sides at the top of the fabric.
|
Step 24: Cut one piece of ribbon ½ inch wide x 53-55 inches. Pin a safety pin to one end of the ribbon and run it through the casing.
|

|
|
|
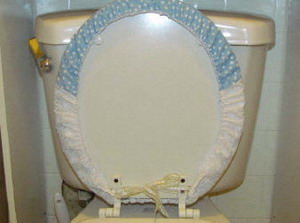
Step 25: Place the cover on the lid and tie in place. If your ribbon is too long, just cut it to fit.
|
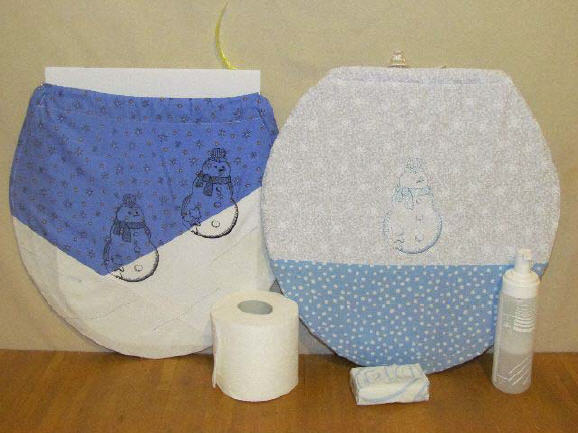
Step 26: Finished image of view #1.
|
|
|
|
Step 27: View #2: Cut one piece of fleece to fit the inner toilet bowl lid pattern. This is for padding and can be also used in view #1. Making a second pattern might be helpful.
|
Step 28: Since my first pattern turned out too big. I made adjustments on the second design. Cut 1 inch off the top of the pattern.
|
|
|
|
Step 29: Cut 1 piece of white fabric ½ yard for the top of the bowl, and ¼ yard of another piece of fabric for the bottom of the bowl lid. Check pattern to your fabric for reference.
|
Step 30: With right side of fabric facing together pin along the edge. Sew together with ½ inch seam.
|
|
|
|
Step 31: Hoop tear away stabilizer and fabric, with the bottom fabric approximately 1 inch bottom fabric in the hoop. This could also go up another 1 inch if you want the snowman on the ground. Again I used spray adhesive and pins to hoop my fabric.
|
Step 32: Embroider the design. Remove the hoop for the fabric and remove the excess stabilizer from the back.
|
|
|
|
Step 33: Place the pattern on the fabric and cut out the shape.
|
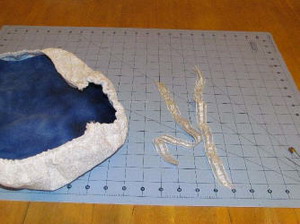
Step 34: Place the fleece on the back side of the embroidered fabric.
|
|
|
|
Step 35: Fold down the top of the fabric 1 inch. I used the edge of the bias on the fabric for a finished edge. If you didn’t do this I would recommend serging or zigzag the edge before adding the fleece.
|
Step 36: Serger the edges starting at the top of one side and ending at the other. Also, sew the fleece to the fabric, stay close to the outer edge of the fleece.
|

|
|
|
Step 37: Top of the bowl lid.
|
Step 38: Cut one piece of elastic 27 inches long. Pin the middle of the elastic to the bottom of the fabric in the middle of the bowl lid.
|
|
|
|
Step 39: Pin the ends of the elastic to the top at both corners.
|
Step 40: Stitch the beginning of the elastic, make sure to back stitch. Stretch the elastic as you sew the elastic along the edge of the serged fabric. Continue to sew and stretch the elastic until you get to the bottom, this is used as a guide so you know how much to stretch the elastic, continue to the end in the same manner.
|
|
|
|
Step 41: Finished sewing the elastic on.
|
Step 42: Sew across the top of the bowl lid fabric 1/2-1 inch to create a casing for the elastic. Leave ½ inch opening for the elastic to enter and exit the casing.
|

|
|
|
Step 43: Cut 1 piece of elastic 7 inches. Pin a safety pin to one end of the elastic and run it through the casing. Stitch the elastic in place.
|
Step 44: Cut 2 pieces of ½ wide ribbon 12 inches each. Fold one end of the ribbon ½ in under and pin it to the end of the elastic casing. Repeat for the other side.
|
|
|
|
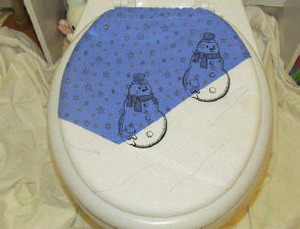
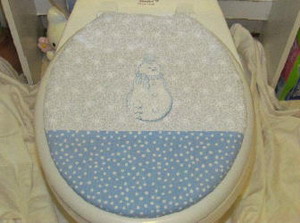
Step 45: Place the bowl lid cover on the lid and tie it in place.
|
Step 46: Finished bowl lid cover view #2.
|