|
|
|
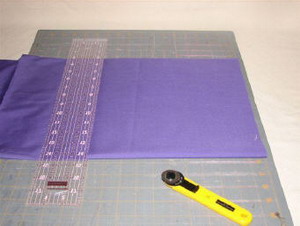
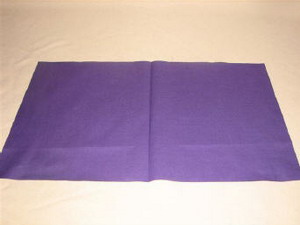
Step 1: Cut the solid colored fabric 11 inches x 18½ inches. (If you want a snug fit for your box, you can cut the fabric 10 inches x 18. Because most tissue boxes are not the same size I recommend 18½ inches wide.)
|
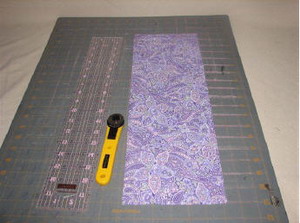
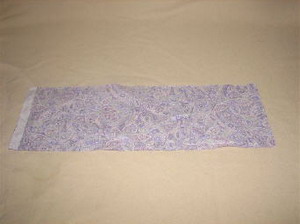
Step 2: Cut coordinating fabric 6 inches x 18½ inches.
|
|
|
|
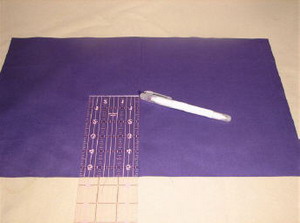
Step 3: Find the center of the solid fabric. Press with an iron.
|
Step 4: Mark with fabric pen 5¼ inches from the bottom of the fabric on the center of the fold.
|
|
|
|
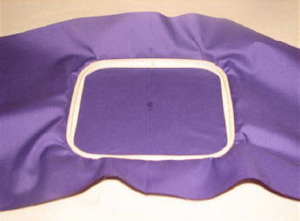
Step 5: Hoop fabric with tear away stabilizer.
|
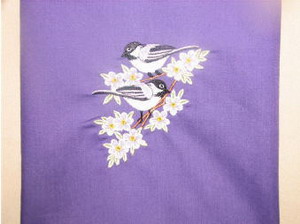
Step 6: Embroider the design.
|
|
|
|
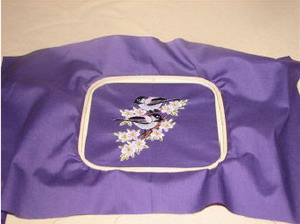
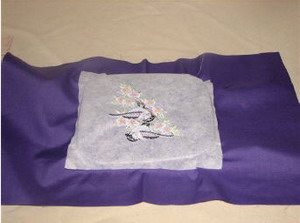
Step 7: Remove the fabric from the hoop when finished and tear away the excess stabilizer.
|
Step 8: Iron the fabric with the design.
|
|
|
|
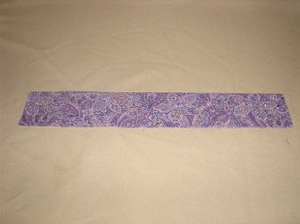
Step 9: Cut coordinating fabric 6 inches x 18½ inches. Press with an iron.
|
Step 10: Press fabric in half long ways.
|
|
|
|
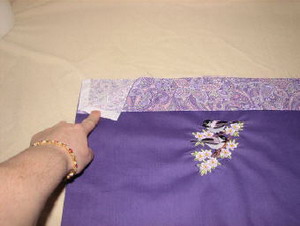
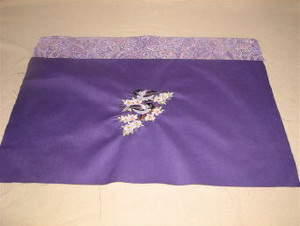
Step 11: With the embroidered piece of fabric and the folded coordinating fabric, lay the coordinating fabric along the top of the plain fabric, making sure that the fold is facing down.
|
Step 12: Pin along the raw edges of the fabrics.
|
|
|
|
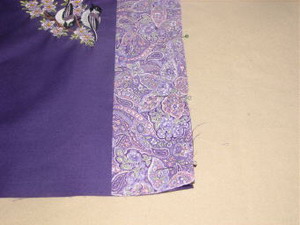
Step 13: I used a overlock stitch to sew these two pieces of fabric, but you can use a serger or a zigzag stitch.
|
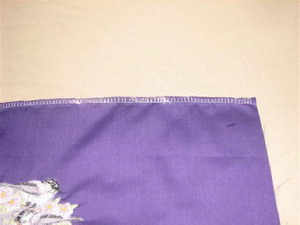
Step 14: Open the two pieces of fabric and press with an iron.
|
|
|
|
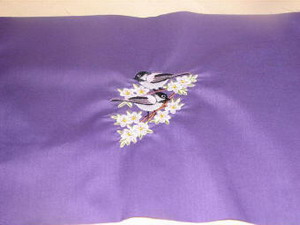
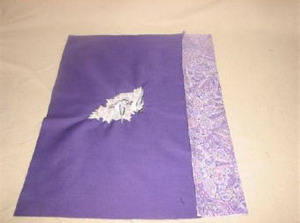
Step 15: Front view with the top fabric attached.
|
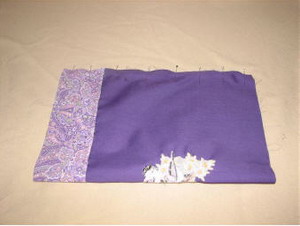
Step 16: Fold the fabric in half as shown with right sides together. Pin the raw edges together.
|
|
|
|
Step 17: Sew the edges together with serger or overlock stitch.
|
Step 18: Lay the fabric out flat with the design in the center.
|

|

|
|
Step 19: Serge across the bottom of the fabric.
|
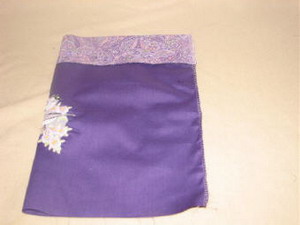
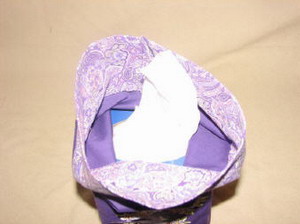
Step 20: Turn the tissue box cover inside out.
|
|
|
|
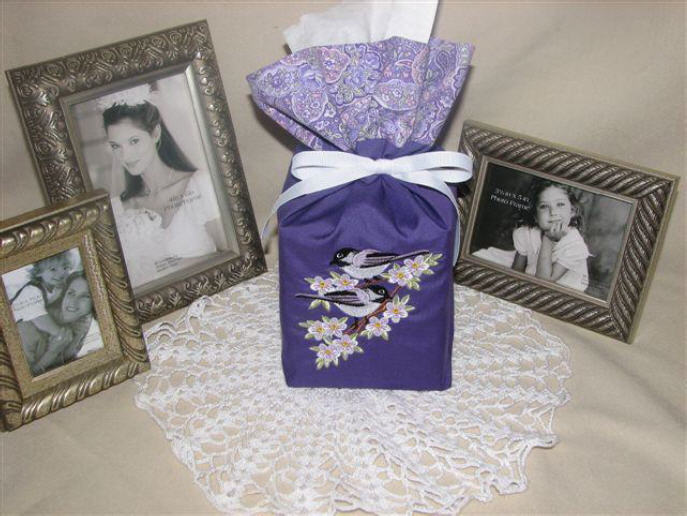
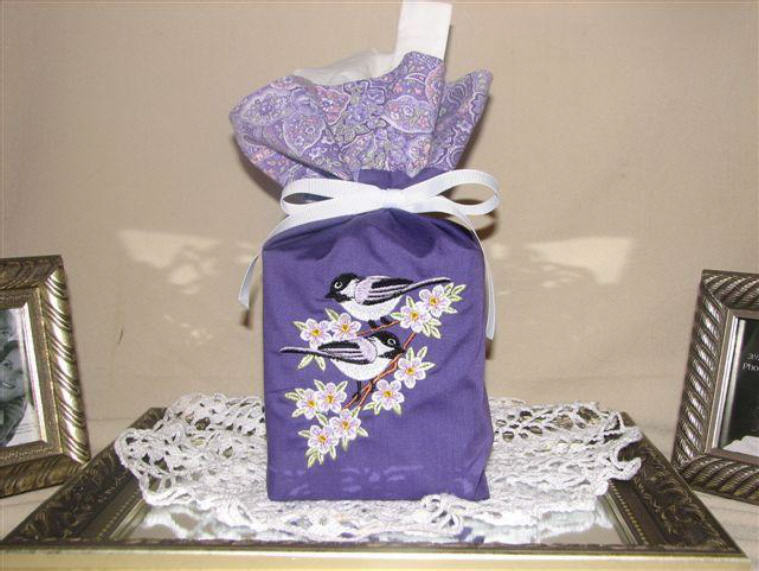
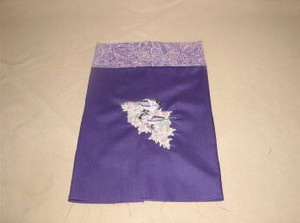
Step 21: Finished picture close-up.
|
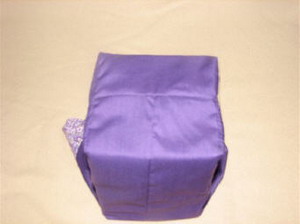
Step 22: Place the tissue box down inside the cover.
|

|
|
|
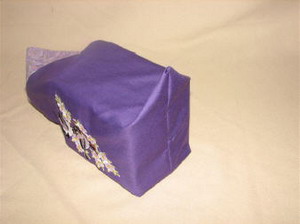
Step 23: There are two triangles on the bottom on both sides of the box.
|
Step 24: Lay the box on one side and push the corner inside and under the box, like the example. Repeat on the other side.
|
|
|
|
Step 25: Once these are tucked in, turn the covered box upside down and press with an iron. This will mark your creases for sewing.
|
Step 26: Turn the cover wrong side out and sew across the creases. You can serge these corners off if you like. I just folded mine in and tacked them down inside the bottom of the box. There should be about 2 inches from the tip of the corner for the stitches.
|
|
|
|
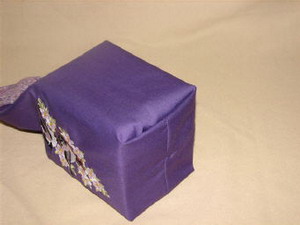
Step 27: Finished bottom of the box.
|
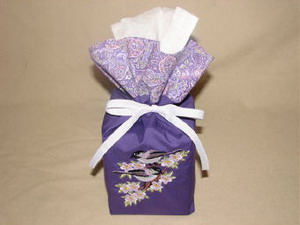
Step 28: Take the ribbon and wrap it around the top of the box. Then pull up a tissue and tie the ribbon semi-loose around the opening of the cover. Not too tight or the tissues won't come out.
|


")