|
|
|
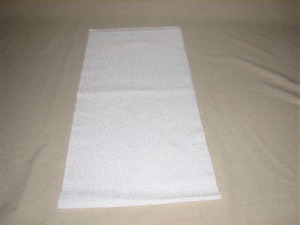
Step 1: Cut one piece of cotton fabric (white or solid fabric) 10 inches wide x length of the fabric (42-44 inches long).
|
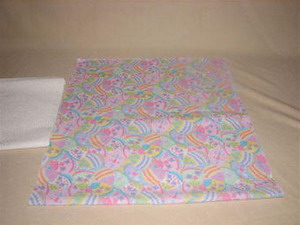
Step 2: Cut one piece of fabric 18 inches wide x length of the coordinating fabric (42-44 inches long) – set it aside.
|
|
|
|
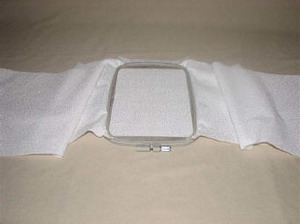
Step 3: Measure and find the center of the white or solid color fabric. Hoop the fabric with tear away stabilizer.
|
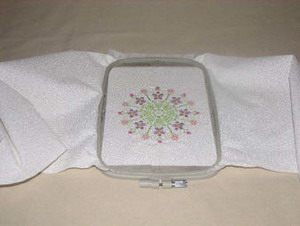
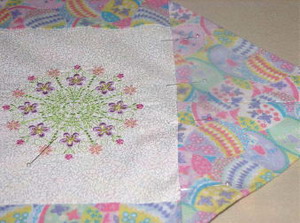
Step 4: Embroider the design. Remove the fabric from the hoop when finished. Remover the excess stabilizer from the back.
|
|
|
|
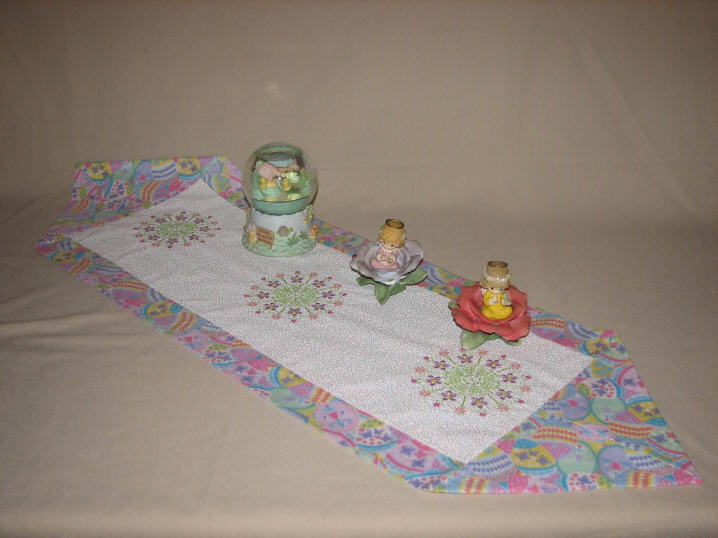
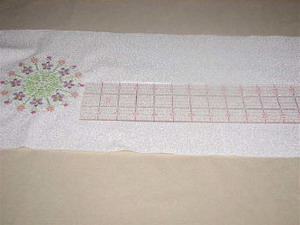
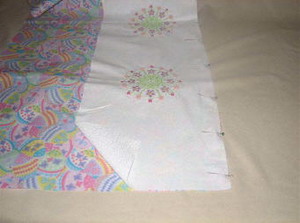
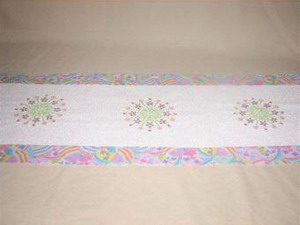
Step 5: From the center of the embroidered design measure over to the right 10 inches. Mark and hoop fabric and tear away stabilizer as before and embroider the design again.
|
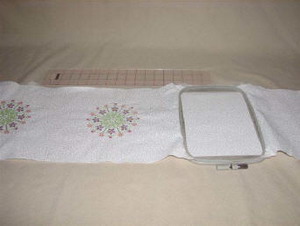
Step 6: Repeat for the left side. From the center of the embroidered design, measure over to the left 10 inches. Mark and hoop fabric and tear away stabilizer as before and embroider the design again.
|
|
|
|
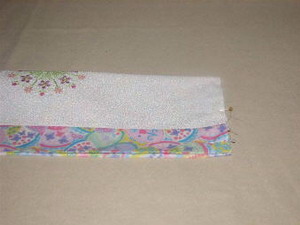
Step 7: Pin the 10 inch embroidered fabric and the coordinating fabric, with right sides facing. Pin along the long edge. Sew ½ inch hem.
|
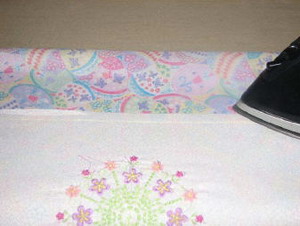
Step 8: Press the hem with an iron, away from the white fabric.
|
|
|
|
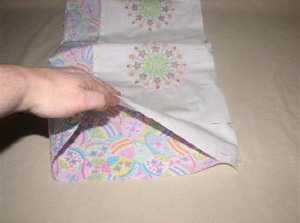
Step 9: With right sides facing, fold over the coordinating fabric to the other side of the white fabric. We will be making a tube. Pin the two pieces of fabric together with right sides facing. Pin along the long edge. Sew ½ inch hem.
|
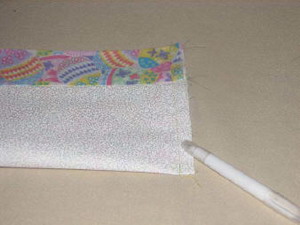
Step 10: Turn the tube inside out. And press with a hot iron. There should be 2 inches of coordinating fabric on both sides of the embroidered white fabric.
|
|
|
|
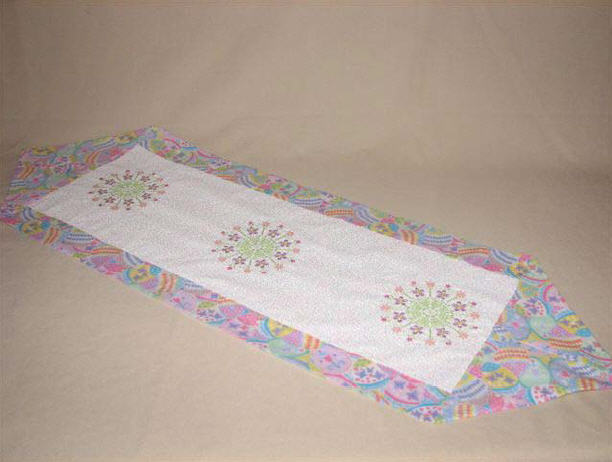
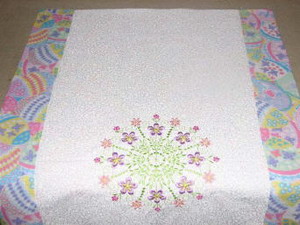
Step 11: Finished front of the tube fabric pressed.
|
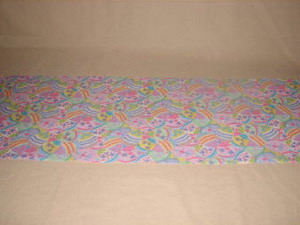
Step 12: Finished back of the tube fabric pressed.
|
|
|
|
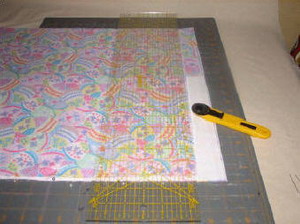
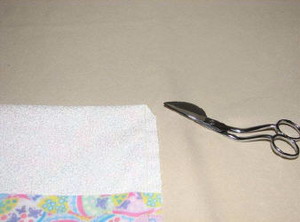
Step 13: Once the tube is completely finished, fold the fabric in half (raw edges out). If there are uneven edges cut them evenly with your cutting mat/rotary cutting knife. My table runner is now 13 inches x 40 inches.
|
Step 14: Fold the table runner in half lengthwise and pin all the layers together.
|
|
|
|
Step 15: Sew ½ inch hem on both short ends.
|
Step 16: Clip the corners on both short ends.
|
|
|
|
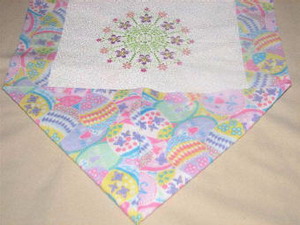
Step 17: Turn both corners inside out and press with an iron.
|
Step 18: Pin the opening closed and sew 1/8 inch from the edge on both ends. I also sewed along the edge 1/8 inch on the long edges. This way when you wash it it will maintain its shape easier.
|


")