|
|
|
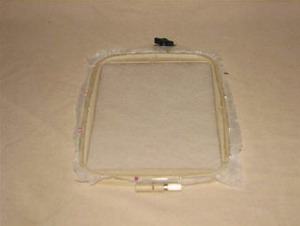
Step 1: Cut and hoop a piece of WSS. You can use more than one piece for extra stability, but I just use some stick pins on the outside of my hoop and this helps keep the stabilizer from shifting.
|
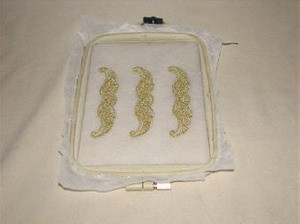
Step 2: Embroider the design. If you can get more than one in a hoop, I would recommend it to save on stabilizer. I could get up to 3 pieces in one hooping of one design and 2 pieces of the other design. Repeat this step until you have the amount of desired FSL pieces needed. I embroidered two pieces of the v-shaped design for the dress upper center and nineteen pieces of the straighter border.
|
|
|
|
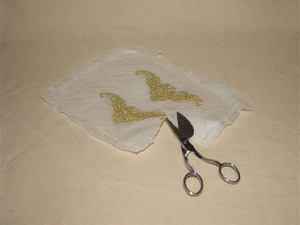
Step 3: After embroidering out all the pieces, use your scissors to cut out the design close to the stitches, without cutting the thread. Leave about ¼ inch of the WSS around the design.
|
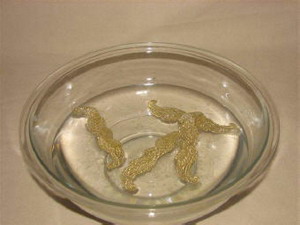
Step 4: Place the pieces of FSL into a bowl of hot water (you could also run it under hot water). Use your fingers and gently rub out the sticky glue from the stabilizer.
|
|
|
|
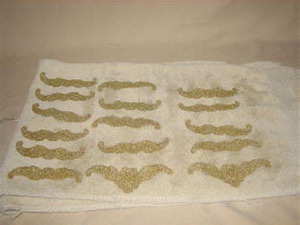
Step 5: Place the pieces of FSL flat on a towel to dry. You can iron these when they are dry. It will help soften them up for use.
|
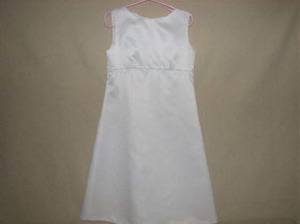
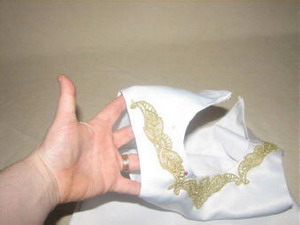
Step 6: After the pieces are dry and ready to go. Get out your item you will be decorating.
|
|
|
|
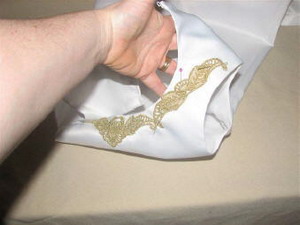
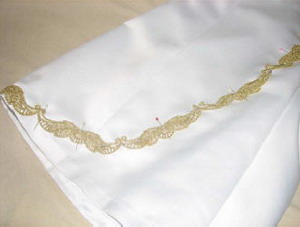
Step 7: Pin the pieces onto the item so you can see how many you will actually need.
|
Step 8: Try different arrangements of your FSL pieces. I was going to have my lace just go down the front of the dress but since I had extra pieces, I went down the back of the dress too.
|
|
|
|
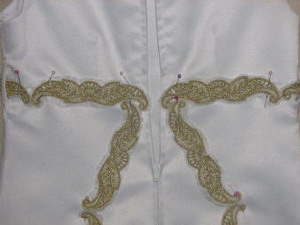
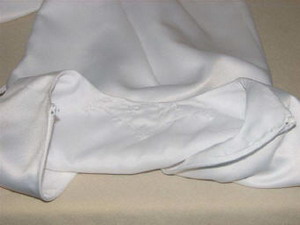
Step 9: Remember when adding around a zipper not to pin too closely. In this picture they are too close to the zipper. I wouldn't be able to sew over the zipper. This is where pin and placement is important. If you need to overlap the embroidery design, you can.
|
Step 10: After you finish pinning all the pieces into place, you are ready to sew them on.
|

|
|
|
Step 11: You can hand stitch these on with a needle and thread or use your sewing machine with matching thread. Start with the top center v-shaped design.
|
Step 12: If using the thread and needle method-Thread your needle with about 18 inches of thread at a time. Any longer and it will get tangled too easily. Hold the lace in place with your finger and gently pin the threaded needle through the back side of the dress and just come through the surface of the front of the dress and grab the back side of the FSL embroidered piece. Follow all the way around the design until you get back to where you started.
|
|
|
|
Step 13: Pin the next piece in place and stitch it on the garment. I put one on the right shoulder.
|
Step 14: Match the placement and repeat for the left shoulder.
|
|
|
|
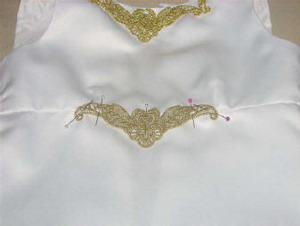
Step 15: Take the second piece of the v-shaped designs and pin it to the center waistline. Match the placement directly below the top center piece. Sew this center piece in place also.
|
Step 16: Continue with the other pieces around the waistline. I noticed that I was running into my zipper and needed to stay away from it about ½ inch. I ended up over lapping my FSL at the curled ends.
|
|
|
|
Step 17: Starting at the top under the waistline on the left side of the zipper, pin the FSL pieces into place. Following the zipper down and curve the lace at the bottom of the dress. Continuing on to the front center/bottom of the dress. This is a fully lined dress. I used a sewing machine to attach the pieces. Carefully sew the pieces into place, making sure not to catch any other part of the dress in the sewing process.
|
Step 18: When finished with the left side the work on the right side. I didn't pin all the dress at the same time because I don't like being poked with pins while I'm moving the fabric around.
|
|
|
|
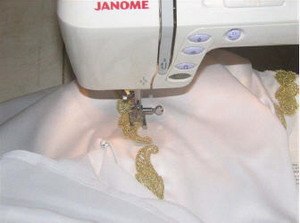
Step 19: Sewing machine technique- Use the same thread you used in the embroidery and white in the bobbin. I used a straight stitch and sewed just inside the designs edges. I continued from one piece to the next. The straight stitch is barely visible.
|
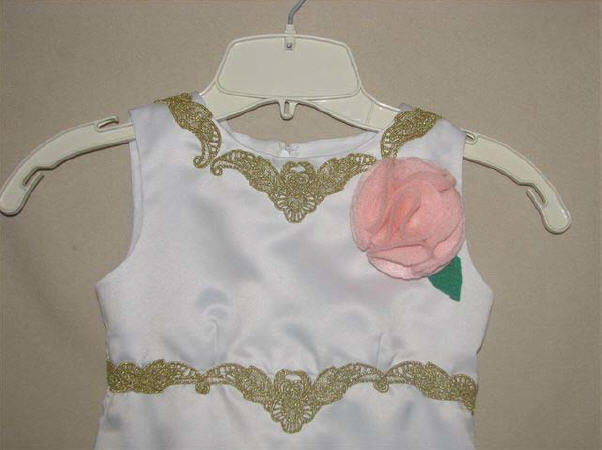
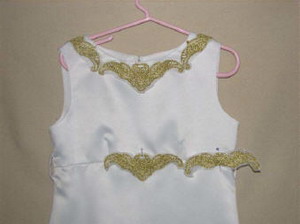
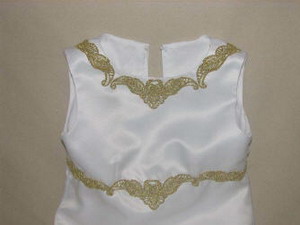
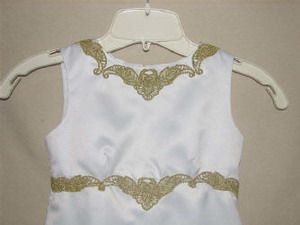
Step 20: Finished front with close up.
|
|
|
|
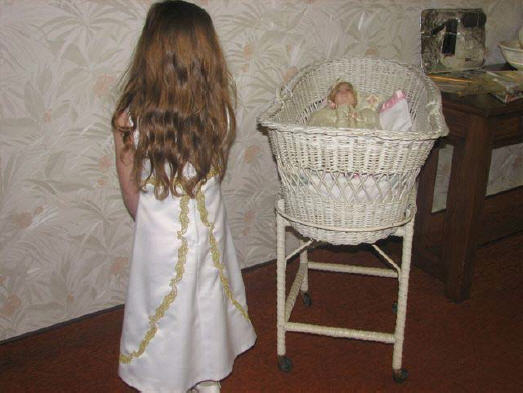
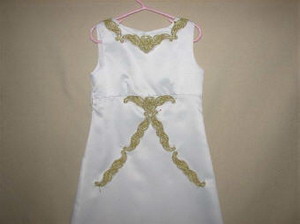
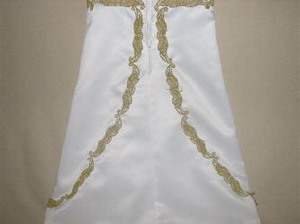
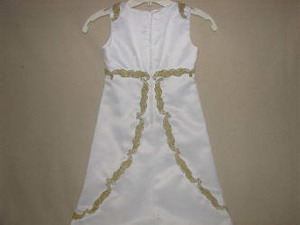
Step 21: Finished back, showing the lace “overskirt” look.
|
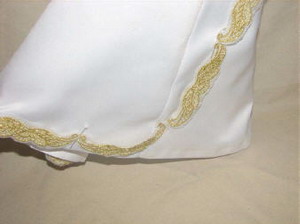
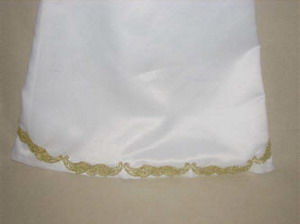
Step 22: Finished bottom front.
|
|
|
|
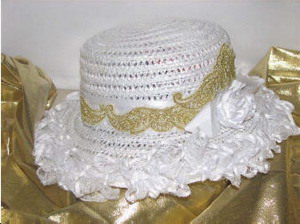
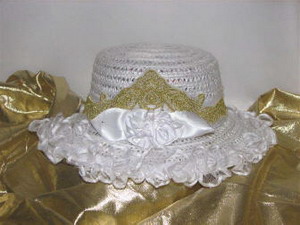
Step 23: I also added some FSL pieces to a hat to show another way to use the pieces and to create a nice ensemble for a special occasion. Get creative-add feathers, flowers, ribbon, etc... along with your FSL in whatever arrangement or color combinations you like. Even beads and rhinestones are great to add an individual flair and turn a simple cut garment into a masterpiece, fit for a princess!
|

|


")