|
|
|
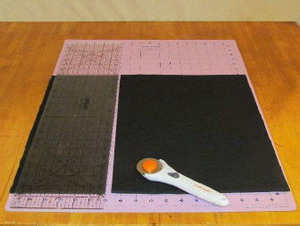
Step 1: Cut one piece of the black canvas fabric 12 inches x 28.5 inches.
|
Step 2: Cut one piece of white canvas fabric 12 inches x 28.5 inches.
|
|
|
|
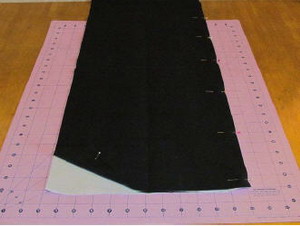
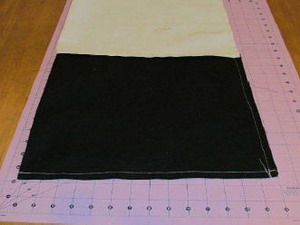
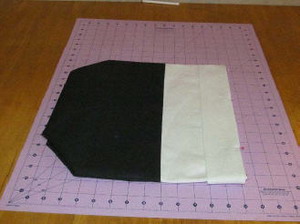
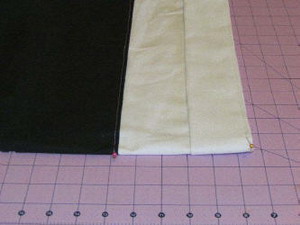
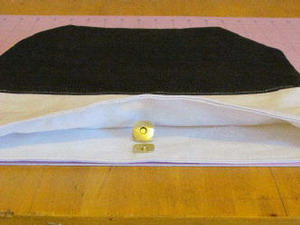
Step 3: Place the black piece of fabric on top of the white piece of fabric and pin in place along one side as shown in the picture.
|
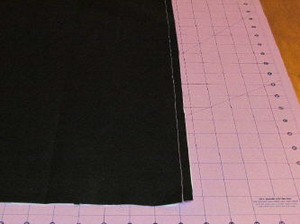
Step 4: Sew 3/8 inch hem. You should also serge all raw edges after straight stitching. This will help from fraying. If you do not have a serger, you can use a zigzag stitch.
|
|
|
|
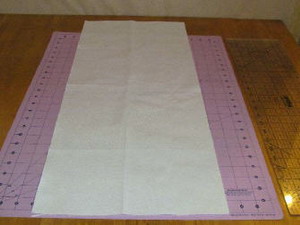
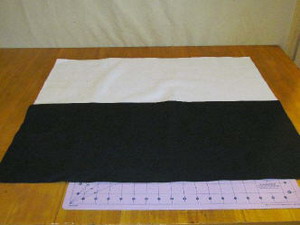
Step 5: Open the sewn fabric and press with iron on the right side.
|
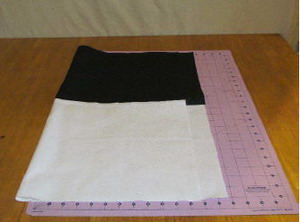
Step 6: Fold the fabric in half right sides together and pin along edges. Sew again using 3/8 inch seam. Serge or zigzag along the raw edge.
|
|
|
|
Step 7: Sew across the bottom using 3/8 inch seam. Serge or zigzag across the bottom.
|
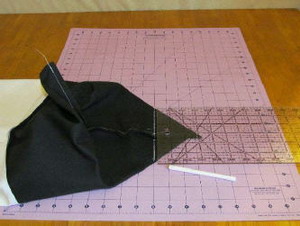
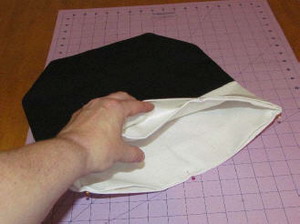
Step 8: Open the bottom of the bag and make 2 corners. Using a fabric pen mark across each corner about 3 inches from the tip of the corner. This will make the bag deeper. If you don’t like a deep bag, mark 2 inches from the tip of the corner.
|
|
|
|
Step 9: Sew a straight line across the mark. Cut off the corner ¼ inch away from the mark on both sides of the bag. Serger or zigzag the raw edges.
|
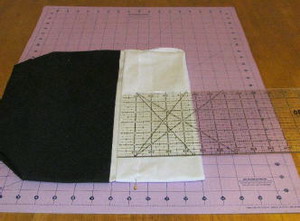
Step 10: Fold out the top of the bag to the black fabric, then fold the edge of the white fabric back up 1 inch.
|
|
|
|
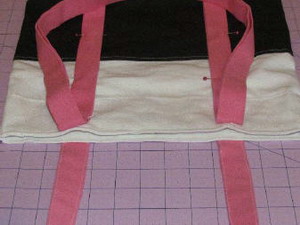
Step 11: Bring the folded edge up to meet with the edge of the bag. Pin in place.
|
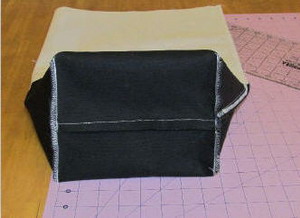
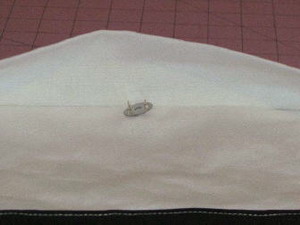
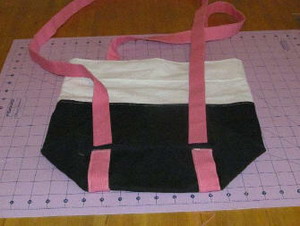
Step 12: This is what the top of the bag should look like.
|

|
|
|
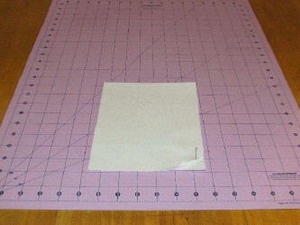
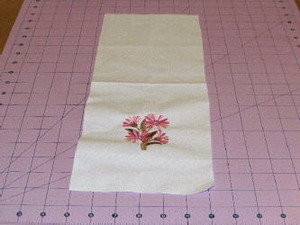
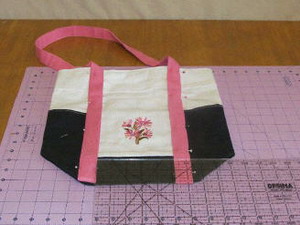
Step 13: With the left over white strip of canvas fabric, cut one piece 6.25 inches x 16.5 inches. This will be the pocket with the embroidery.
|
Step 14: Fold and press the fabric in half.
|
|
|
|
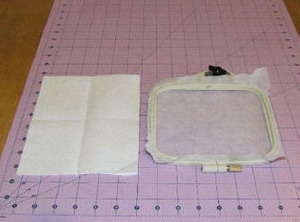
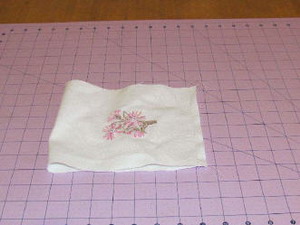
Step 15: Put a light crease in the fabric to find the center. Hoop half of the fabric with tear away stabilizer.
|
Step 16: Embroider the design. Remove the fabric from the hoop and remove the excess stabilizer. Press with iron.
|
|
|
|
Step 17: Fold the fabric with right sides together along the bottom of the flower. Pin and sew ¼ inch along the bottom.
|
Step 18: Sew along the top and along the top of the black. This will finish off the top of the bag and hold the seam in place.
|
|
|
|
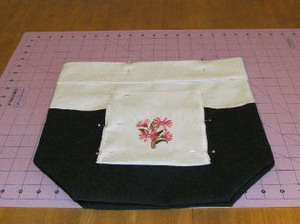
Step 19: Place and pin the pocket piece on the center of the bag. Pin along the sides and the bottom of the pocket. Sew it to the bag leaving the top open.
|
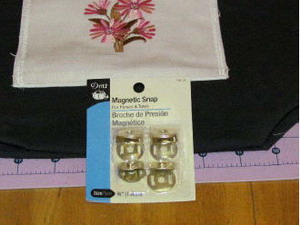
Step 20: Next use one set of magnetic snaps.
|
|
|
|
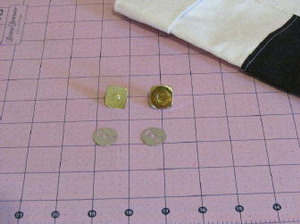
Step 21: There is a top and a bottom and two backing pieces per set.
|
Step 22: On the inside of the bag, find the center top of the bag and mark it with a pen. I went down about 1 inch. Once you mark it, cut two small slits in the fabric. Do not go through to the outside fabric. Push the snap through the holes.
|
|
|
|
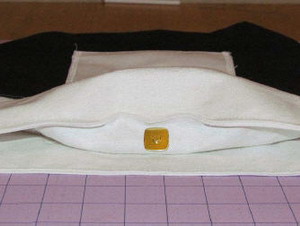
Step 23: Place the flat piece onto the back side of the snap. And fold over the two tips. Push flat.
|
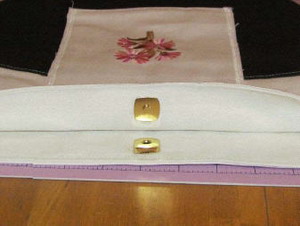
Step 24: Next take the other snap piece and place on top of the other one to center it with the first snap.
|
|
|
|
Step 25: Make two small cuts where the tips are and push the tips through the fabric. Place the back on and fold the tips over flat.
|
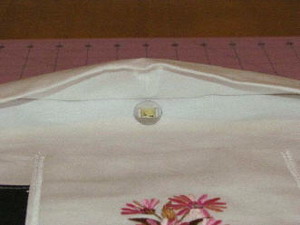
Step 26: Finished snap assembly.
|
|
|
|
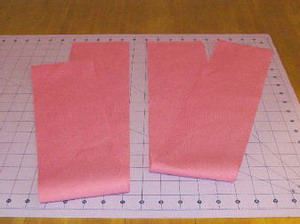
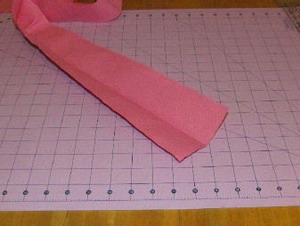
Step 27: Cut two pieces of fabric from the pink duck cloth/canvas 4.5 inches x 60 inches (width of the fabric).
|
Step 28: Fold and press both pieces in half length ways. Also fold the raw edges in to the middle and press.
**you can sew the folded edges closed now or you can wait until you add it to the bag.
|
|
|
|
Step 29: Find the center of the bottom of the bag and pin one of the straps along the seam. Pin along other sides of the bottom of the bag. Bring the strap up along sides of the pocket. Cover the raw edges of the pocket.
|
Step 30: The straps should be 5.25 inches apart or 3 inches from the outside edges.
|
|
|
|
Step 31: Starting at the bottom of the bag stitch along the outside of the strap, work up the bag the back down the strap to the other side. Then work back up the other side of the strap back to where you started. Zigzag the raw edges of the strap on the bottom of the bag.
|
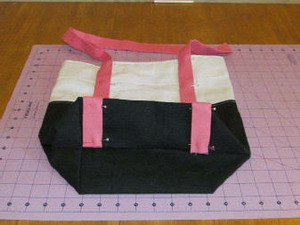
Step 32: One side done.
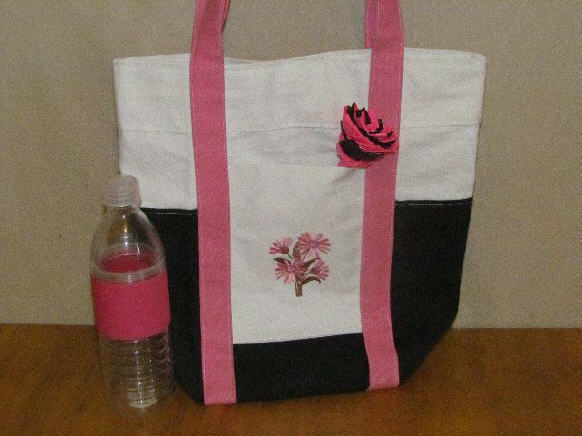
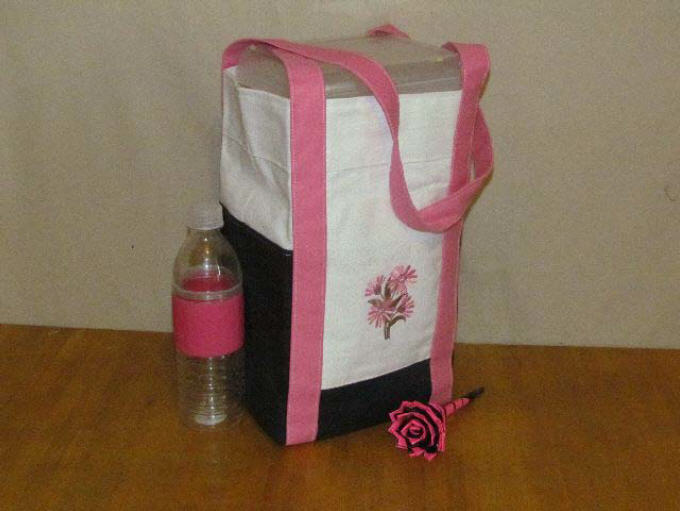
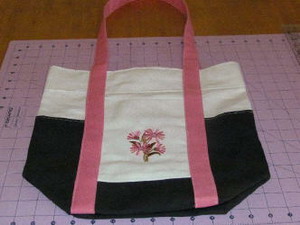
*This bag can be used two ways. It can be made with a deep wide bag or a regular tote with snap closure.
|
|
|
|
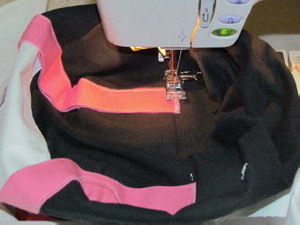
Step 33: Flip the bag over and repeat for the other side. Match the straps to the first side. Pinning can be tricky, just put your hand inside the bag to help shape the strap to the bag.
|
Step 34: Sew the strap in place and you did the first one.
|