|
|
|
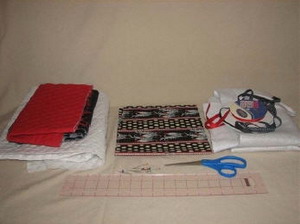
Step 1: Gather all the supplies you need.
|
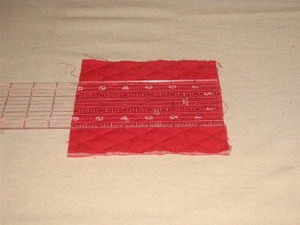
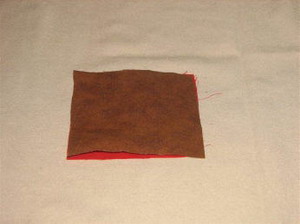
Step 2: Cut two pieces of quilted fabric 6 x 6 inch.
|
|
|
|
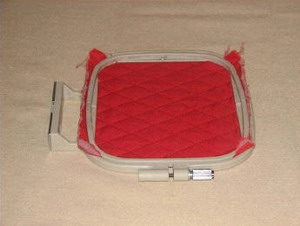
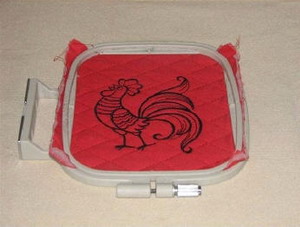
Step 3: Hoop the quilted fabric and embroider the design. No stabilizer is needed.
|
Step 4: When design is finished stitching, remove the fabric from the hoop.
|
|
|
|
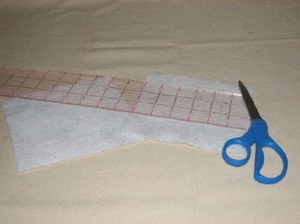
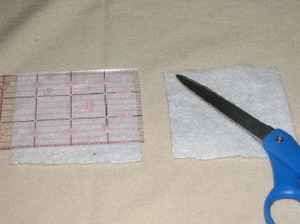
Step 5: Cut two pieces of insulbrite (special fireresistant fabric) – 6 x 6 inch.
|
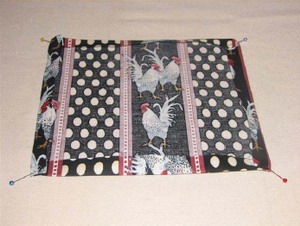
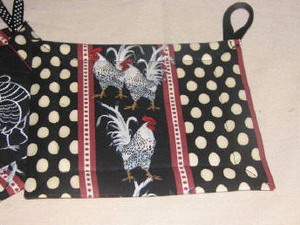
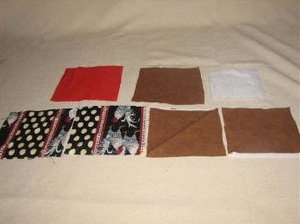
Step 6: Cut one piece of coordinating fabric 10 x 10 inches. Press the raw edges in ½ inch and pin.
|
|
|
|
Step 7: Lay the insulbrite, shiny side down, on the wrong side of fabric.
|
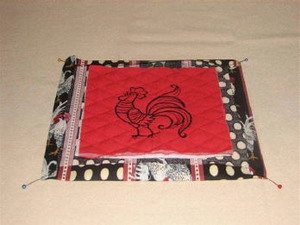
Step 8: Lay the finished rooster fabric on top of the insulbrite.
|
|
|
|
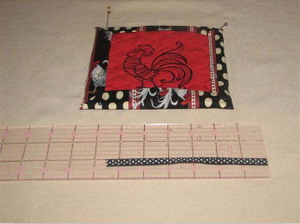
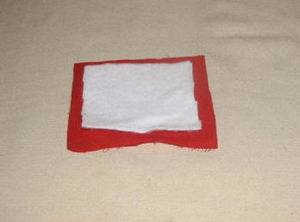
Step 9: Fold in all four corners, then fold in top and bottom edges, matching edges of corners, pin into place.
|
Step 10: Finally, fold in the sides, again matching edges of corners and pin into place.
|
|
|
|
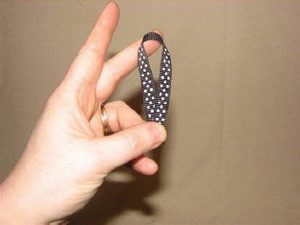
Step 11: Cut one piece of 3/8 inch grosgrain ribbon 6 ½ inches long.
|
Step 12: Fold the ribbon in half.
|
|
|
|
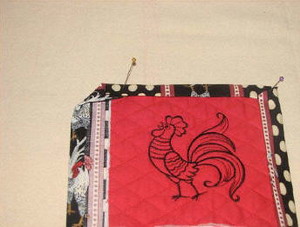
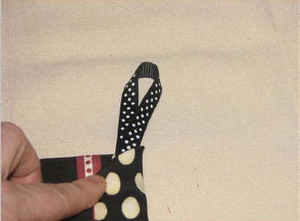
Step 13: Place the folded ribbon under the edge of one of the top folded sides.
|
Step 14: Pin into place. Repeat steps 3‐13 for second pot holder.
|
|
|
|
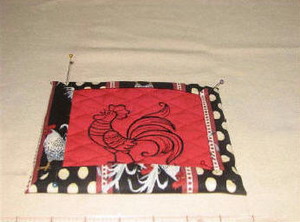
Step 15: Base stitch from the inside of one of the corners to the outside and back over the same stitching to the starting point. Then baste stitchalong the inside edge of where the coordinating fabric and the quilted fabric meet, to the next corner. Repeat until you are back at the beginning basting stitch.
|
Step 16: Repeat step 15 on other potholder. Clip any loose threads.
|
|
|
|
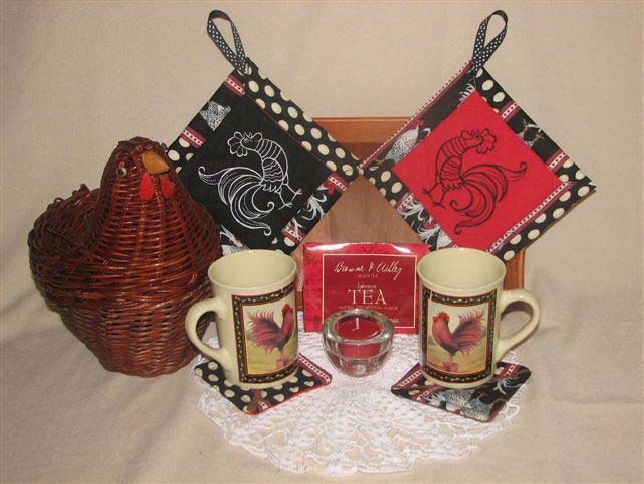
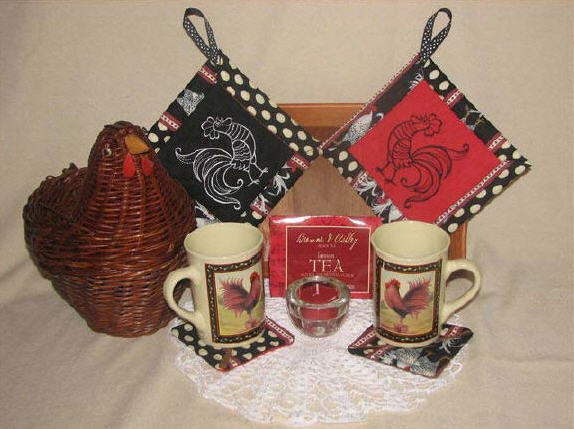
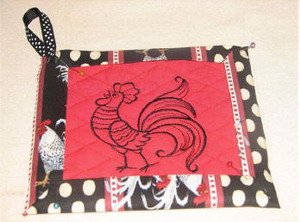
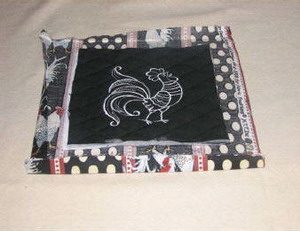
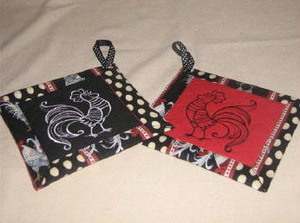
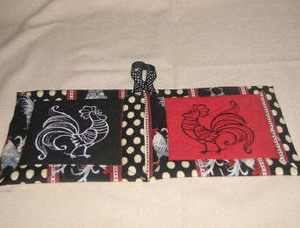
Finished Potholders! Next… 10 Minute Coasters
|
|
|
|
Step 1: Cut two pieces insulbrite 3 ½ inches square.
|
Step 2: From coordinating fabrics, cut two 4½ inch squares (color 1), two 4 ½ inch squares (color 2) and two 4 ½ inch squares (color 3).
|
|
|
|
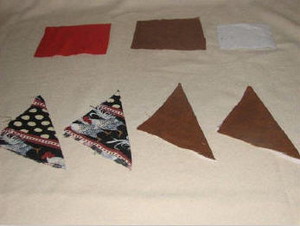
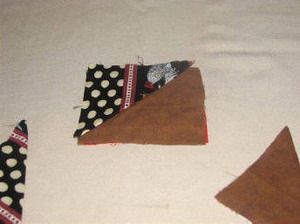
Step 3: Choose which colors you want on top. Fold and iron these 4 pieces in half diagonally.
|
Step 4: Lay a piece of insulbrite (shiny side down) on the wrong side of one of the remaining squares.
|
|
|
|
Step 5: Lay another square on top of the insulbrite, right side out.
|
Step 6: Matching the corners, place one triangle on one corner of the square. On the other side, place another triangle on the other corner. The color you want on the top outside of the coaster should be laid down first.
|
|
|
|
Step 7: Lay the next two triangles on the opposite corner, opposite from the other two triangles.
|
Step 8: Pin the corners to keep them from slipping.
|
|
|
|
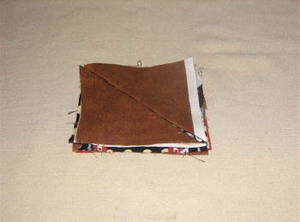
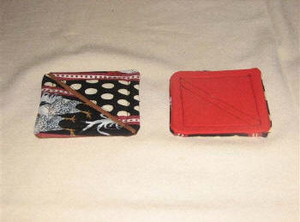
Step 9: Sew a ½ inch seam around the square.
|
Step 10: Trim off the excess fabric to ¼ inch of the stitches.
|
|
|
|
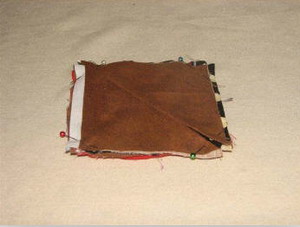
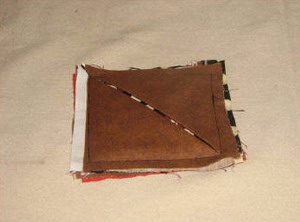
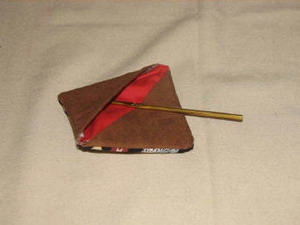
Step 11: Using a crochet hook to get the points to come out. Turn all four triangles inside out.
|
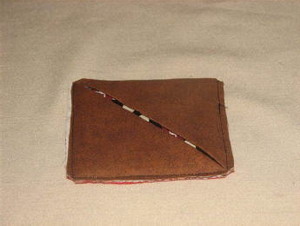
Step 12: Once all the corners are turned and the corners are all nice and sharp, press with an iron. Sew a baste stitch, starting at one of the corners, with a ½ inch seam allowance. Sew halfway around the square, then sew down the diagonal. Do the same thing on the other side.
|


")