|
|
|
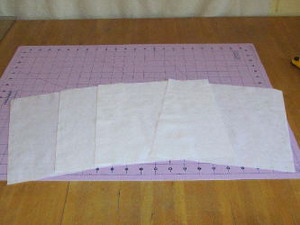
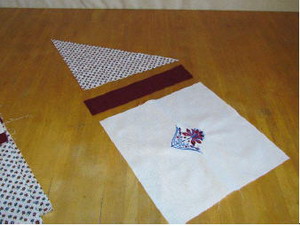
Step 1: Cut four 10 x 10 inch pieces of white fabric.
|
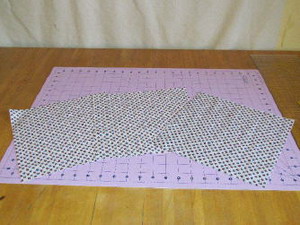
Step 2: Cut one piece of the floral fabric 18 inch x WOF (width of fabric), set aside. Cut three 10 x 10 inch pieces of coordinating floral fabric.
|
|
|
|
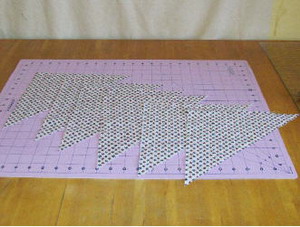
Step 3: Cut the three floral squares in half. This will make 6 triangles.
|
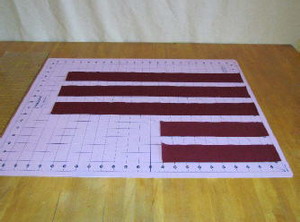
Step 4: Dark fabric-Cut three strips 2 inches x WOF. From these three strips of fabric, cut six 2 x 10 inch strips and three 2 x 21 inch strips. These will form the lattice work between the squares and triangles. Also cut four 2 inch x WOF strips. Set aside.
|

|
|
|
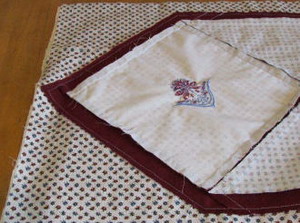
Step 5: Center and hoop tear away stabilizer with white 10" fabric square. Embroider the design. When finished, remove the fabric from the hoop and remove excess stabilizer from the back. Iron the embroidered fabric on the back side of embroidery. Continue to embroider all 4 designs until finished.
|
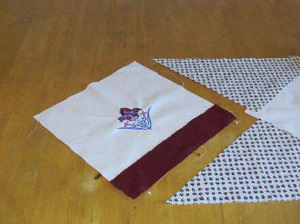
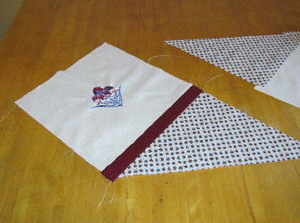
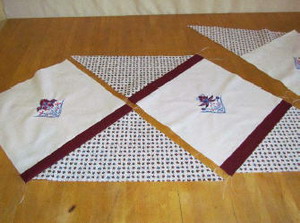
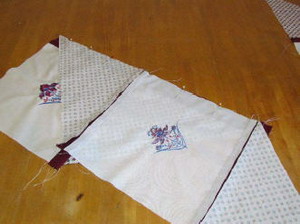
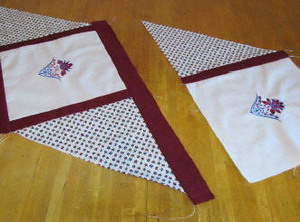
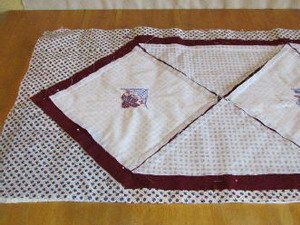
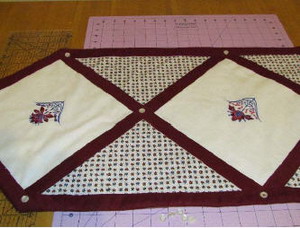
Step 6: Lay out the squares and triangles. Place the designs the way that suits you best. The squares should be in a diamond shape. Place the triangles around the diamond shapes to fit. This is just so you can see what it’s going to look like.
|
|
|
|
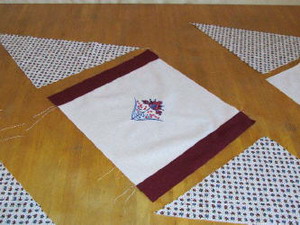
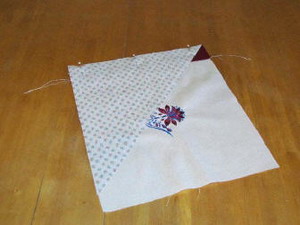
Step 7: Place one piece of the dark fabric (2 x 10 inch) right sides together, on the embroidered fabric. Pin in place and sew ½ inch seam. Press with hot iron (do NOT use steam).
|
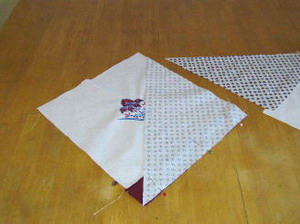
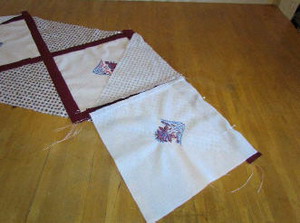
Step 8: Place the triangle shape on top of the embroidered fabric with right sides together. Pin in place and sew ½ inch seam.
|
|
|
|
Step 9: Press with iron. Make sure when pressing that all the seams are pressed towards the darker fabrics.
|
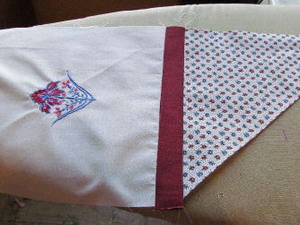
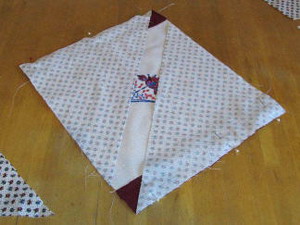
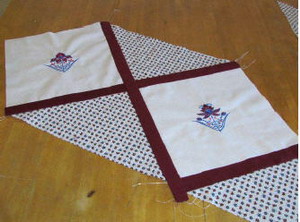
Step 10: Finished 1st row.
|
|
|
|
Step 11: Place two 2 x 10 inch pieces of dark fabric as illustrated. Pin in place with right sides together and sew a ½ inch seam. Press with iron.
|
Step 12: Place triangles as illustrated on the embroidered fabric. Right sides together. Pin in place and sew ½ inch seam. Press with iron.
|
|
|
|
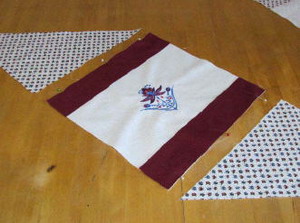
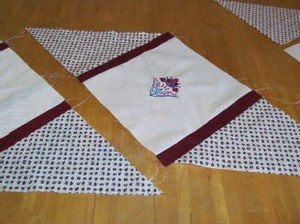
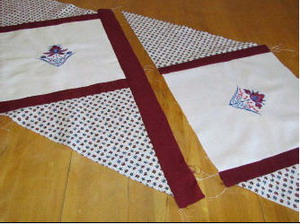
Step 13: Finished 2nd row.
|
Step 14: Place two 2 x 10 inch pieces of dark fabric as illustrated. Pin in place with right sides together and sew a ½ inch seam. Press with iron.
|
|
|
|
Step 15: Place triangles as illustrated on the embroidered fabric. Right sides together. Pin in place and sew ½ inch seam. Press with iron.
|
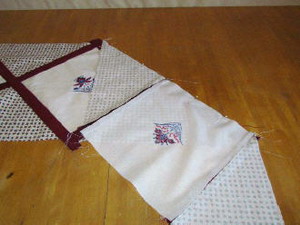
Step 16: Finished 3rd row.
|
|
|
|
Step 17: Place one 2 x 10 inch piece of dark fabric as illustrated. Pin in place with right sides together and sew a ½ inch seam. Press with iron.
|
Step 18: Place last triangle as illustrated on the embroidered fabric, right sides together. Pin in place and sew ½ inch seam. Press with iron.
|
|
|
|
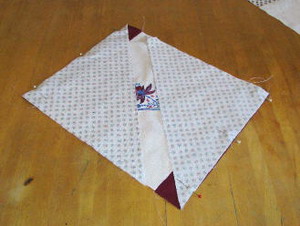
Step 19: Finished 4th row.
|
Step 20: Place one 2 x 21 inch piece of dark fabric between row 1 and row 2 as illustrated. Pin in place with right sides together and sew a ½ inch seam. Press with iron.
|
|
|
|
Step 21: Place row 2 on row 1 as illustrated. Right sides together. Pin in place and sew ½ inch seam. Press with iron.
|
Step 22: Finished rows 1 and 2.
|
|
|
|
Step 23: Place one 2 x 21 inch piece of dark fabric between row 2 and row 3 as illustrated. Pin in place with right sides together and sew a ½ inch seam.
|
Step 24: Place row 3 on row 2 as illustrated, right sides together. Pin in place and sew ½ inch seam. Press with iron.
|
|
|
|
Step 25 Place one 2 x 21 inch piece of dark fabric between row 3 and row 4 as illustrated. Pin in place with right sides together and sew a ½ inch seam. Press with iron.
|
Step 26: Place row 4 on row 3 as illustrated, right sides together. Pin in place and sew ½ inch seam. Press with iron.
|
|
|
|
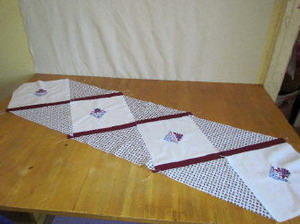
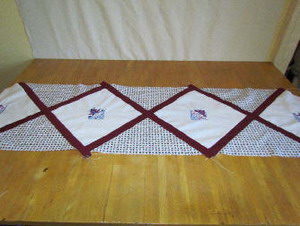
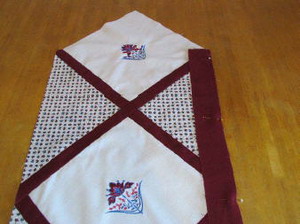
Step 27: Finished rows 3 and 4. Lattice work finished.
|
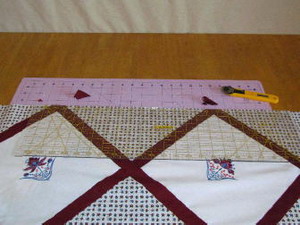
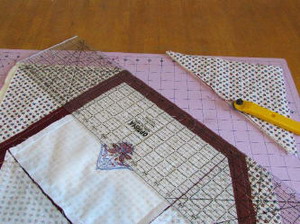
Step 28: Cut off all the hang-over fabric from the lattice work.
|
|
|
|
Step 29: From the remainder four strips (2 inch x WOF), pin one piece along the top of the dresser cloth, with right sides together. Sew ½ inch seam and press with iron.
|
Step 30: Repeat Step 29 for the bottom of the dresser cloth.
|

|
|
|
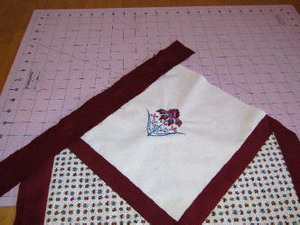
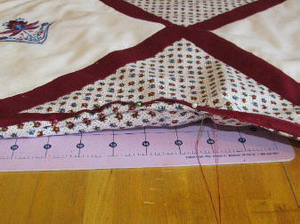
Step 31: Cut away the excess fabric even with the raw edge of the long border strip and the point of the fabric square.
|
Step 32: Using one of the remaining fabric strips, cut strips 2 x 20 inches. Pin one piece of 2 x 20 inch along one end on one edge of the dresser cloth as illustrated. Along the opposite end of the dresser cloth, pin the other 2 x 20 inch fabric in place as illustrated. Sew ½ inch seam. Press with iron.
|
|
|
|
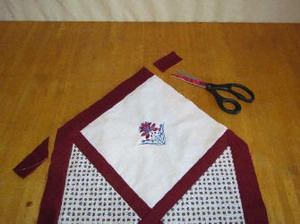
Step 33: Cut excess fabric flush with raw edges.
|
Step 34: Repeat Steps 32-33: Using the last remaining fabric strip. Cut fabric strip 2 x 20 inch. Pin one piece of 2 x 20 inch along one end on one edge of the dresser cloth as illustrated. Along the opposite end of the dresser cloth, pin the other 2 x 20 inch fabric in place as illustrated. Sew ½ inch seam. Press with iron.
|
|
|
|
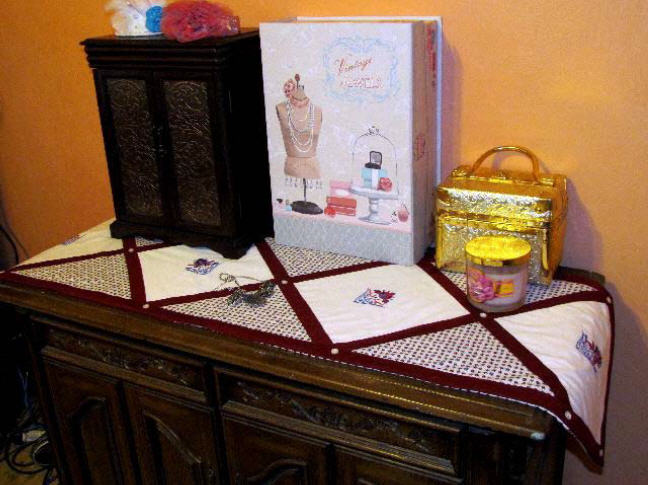
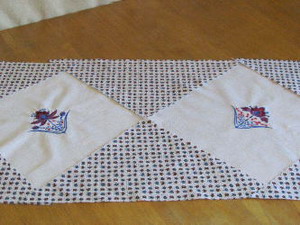
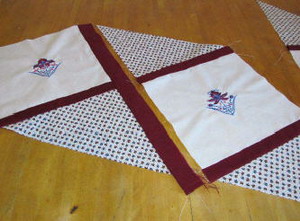
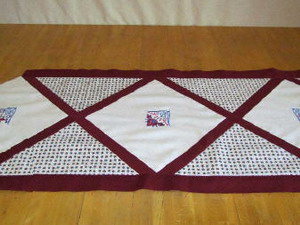
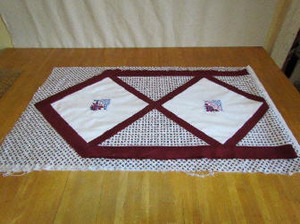
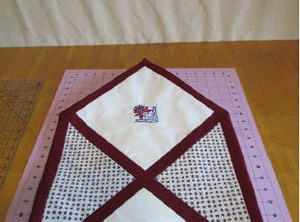
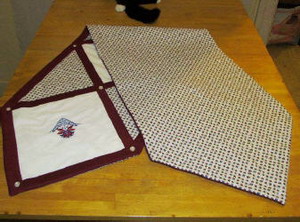
Step 35: Finished topper.
|
Step 36: Cut 2 pieces of coordinating fabric 18 inch x WOF. I saved on fabric and pieced this together, but you can buy more fabric so you don’t have to do this. Pin the 2 pieces of coordinating fabric 18 inch x WOF together with right sides facing. Sew ½ seam along one of the short ends. Press seam open.
|
|
|
|
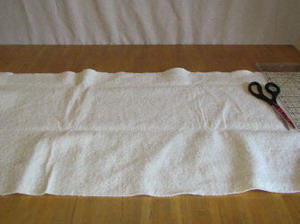
Step 37: Cut batting 18 inches x 63 inches.
|
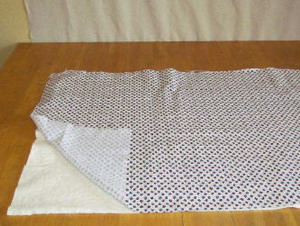
Step 38: Layer the batting, then the backing wrong side down and then the dresser cloth right side up.
|
|
|
|
Step 39: Using stick pins-pin through all the layers along the edges and in the centers of the square. This is called pin basting.
|
Step 40: Sew ½ inch along the border edge, leaving approximately 9 inches open for turning.
|
|
|
|
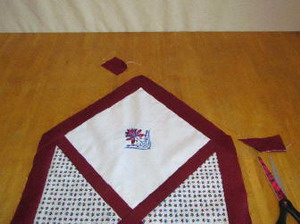
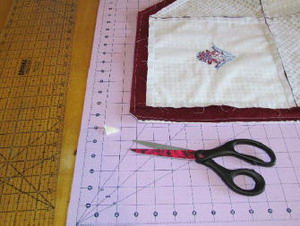
Step 41: Cut off the excess fabric along the border. Be careful not to cut the border.
|
Step 42: Cut off all corners to eliminate excess bulk. There are 6 corners all together.
|
|
|
|
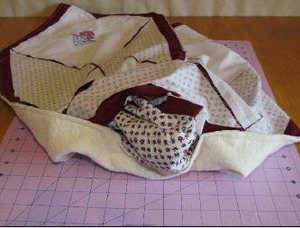
Step 43: Turn inside out.
|
Step 44: Push corners out to a sharp tip.
|
|
|
|
Step 45: Pin opening shut. Hand stitch closed.
|
Step 46: Optional Buttons: Place the 13 buttons on all the corners of the squares and stitch in place.
|
|
|
|
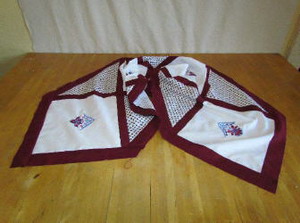
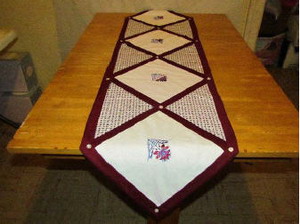
Step 47: Finished reversible front and back.
|


")