|
|
|
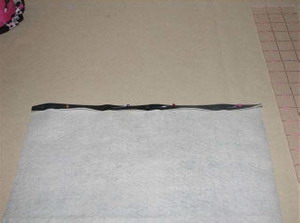
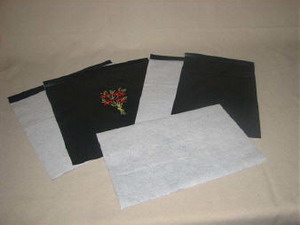
Step 1: On top of one panel piece, fold down the top edge ½ inch and stitch it in place.
|
Step 2: Fold it down again 1 inch and stitch in place again, using sewing thread and long stitches. Vinyl is thick!
|
|
|
|
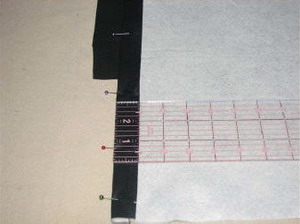
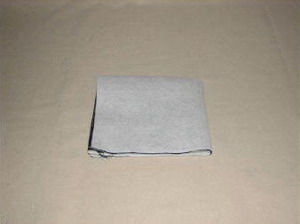
Step 3: Fold vinyl in half lengthwise and crease, fold in half again and crease with finger. Mark the center of the two creases with fabric marker.
|
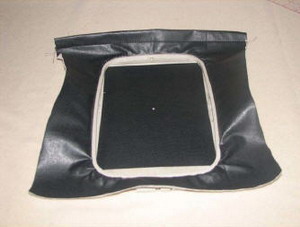
Step 4: Hoop vinyl with the marking centered and float tear away stabilizer underneath the hoop.
|
|
|
|
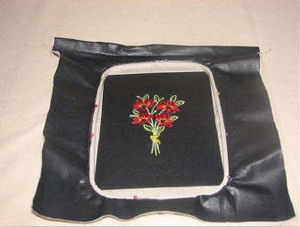
Step 5: Embroider the design.
|
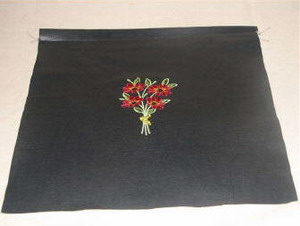
Step 6: Remove vinyl from hoop. Remove stabilizer from the back of the vinyl. Press with an iron. I used a light pressing cloth because I didn't want to burn the vinyl.
|
|
|
|
Step 7: Repeat the steps 1 and 2 for all 4 sides for the top of the panels. Now you have five finished panel pieces ready to sew together.
|
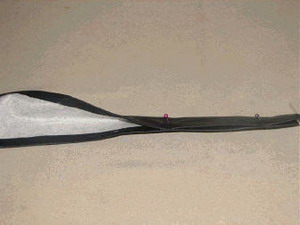
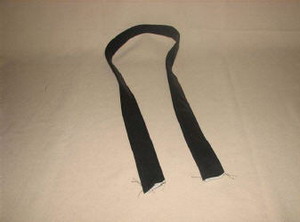
Step 8: Straps ‐ Cut 2 pieces of vinyl 4 x 46 inches, fold in edges ½ inch (lengthwise) and stitch. Fold in both edges with folds touching, pin and stitch together along both outside edges close to the edge (about 1/8 ‐ 1/4 inch). The closer to the edge you can get, the better.
|
|
|
|
Step 9: Finished strap without ribbon. If you are adding ribbon continue with steps 10 to 12. If not adding ribbon, skip to step 13.
|
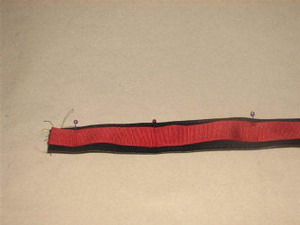
Step 10: Measure and cut 2 pieces of 7/8 inch grosgrain ribbon 46 inches long. Pin and stitch ribbon along edges on the vinyl straps.
|
|
|
|
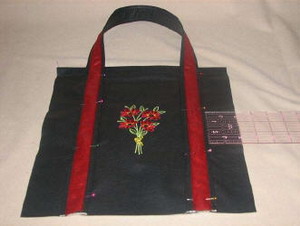
Step 11: Pin the finished straps onto the outside bag panels 2 inches away from the outside edge and stitch in place.
|
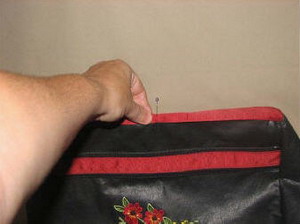
Step 12: Using cotton thread and long stitchesstart sewing the strap on from the bottom left side, working up the strap. At the top edge of the bag make a cross and square. As shown in the picture. Then back down the other side of the strap to the bottom. Repeat for all straps.
|
|
|
|
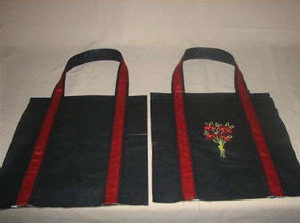
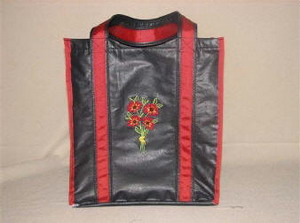
Step 13: Finished picture of both outside panels with straps.
|
Step 14: Lay the front panel beside the side panel and stitch together with a zigzag or other serger stitch. Continue with the next panel. Sew the back panel onto the first side panel as before. Then close up with the last two edges.
|
|
|
|
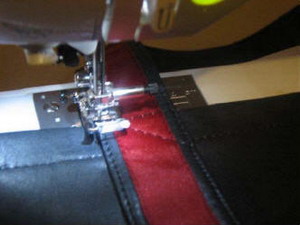
Step 15: Cut 4 pieces of 7/8 inch grosgrain ribbon 15 inches long. Lay ribbon over the zigzagged or serged seam. Fold over top and bottom edges, pin and sew top and bottom edges only. You will sew the edges in a later step. You can also use extra wide double fold bias tape on this step.
|
Step 16: Adding the bottom: Pin and sew the bottom piece of vinyl (12 ¼ x 8 ¼ inches) with right sides together. The corners will extend past the edges of the bag. Vinyl stretches so pull to get it to fit. If you have a little extra canvas just cut off the excess with scissors. Clip the excess corner tips. If using canvas‐ make sure you added 1/4 to both sides (12 ½ x 8 ½ inches) and pin in place.
|
|
|
|
Step 17: Serge or zigzag bottom edges of the bag.
|
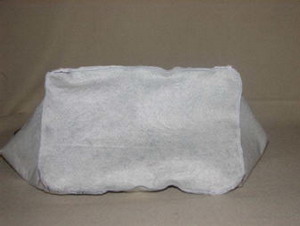
Step 18: Turn the bag inside out. Pushing out the corners so they become square.
|
|
|
|
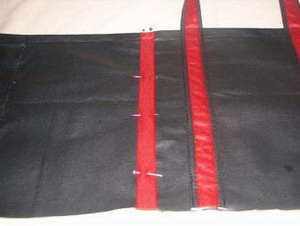
Step 19: Pinch the side corners where the loose ribbon is and pin through both layers of vinyl. Repeat on all four sides to square up the edges.
|
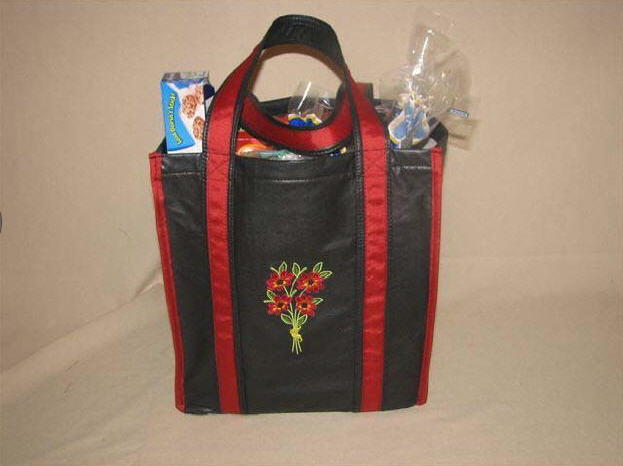
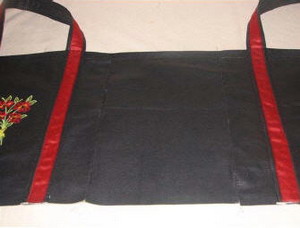
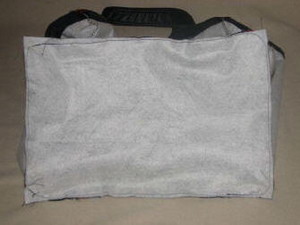
Step 20: Finished outside of the bag.
|
|

|
|
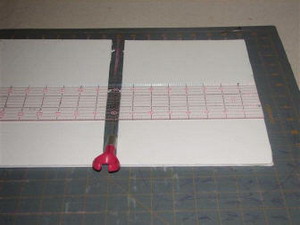
Step 21: Using the cutting mat and exacto knifecut a piece of foam board 7 ½ x 11 inches. Place the foam into the bottom of the bag.
|
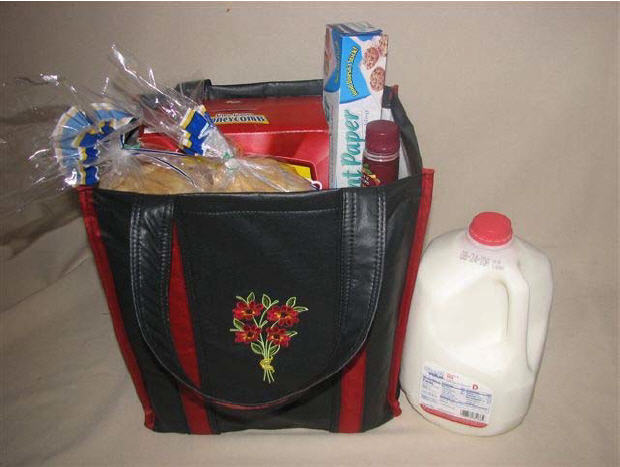
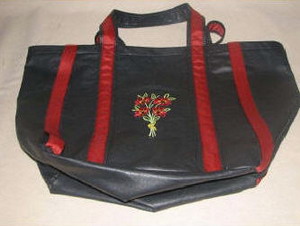
Step 22: Close up of finished design. Add crystals to the center of the flowers, if desired.
|