|
|
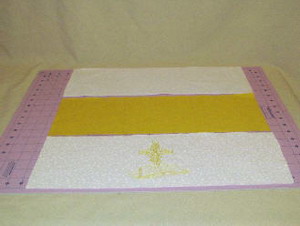
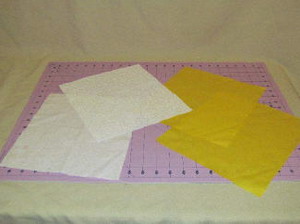
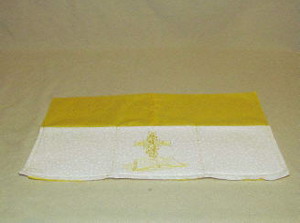
Step 1: Outside pocket fabric: Cut one piece white fabric 7 inches x 18 ½ inches.
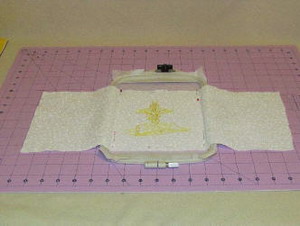
Cut one piece fleece batting 6 inches x 18 ½ inches, cut one piece of lining 6 inches x 18 ½ inches (set aside). Center fabric and hoop fabric with tear away stabilizer. Embroider the design.
|
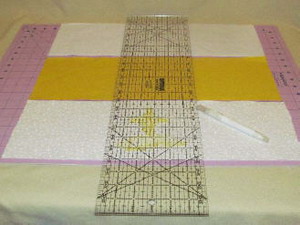
Step 2: Remove finished design from the hoop and remove the excess stabilizer. Square off the edges of the embroidered fabric to 6 inches x 18 ½ inches. Making sure the design is centered.
|
|
|
|
Step 3: Pictured is the 3 pocket pieces (1 of fabric, 1 fleece batting, & 1 lining).
|
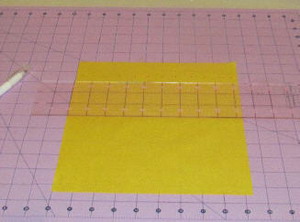
Step 4: With a water soluble fabric pen, mark the fabrics with a 6 inch mark in the center. These will be pocket guide lines.
|
|
|
|
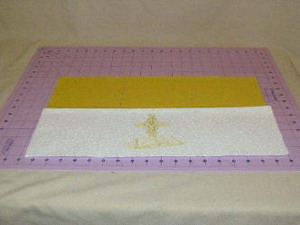
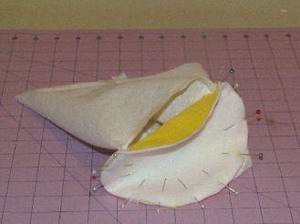
Step 5: Sandwich all three layers together, starting with the batting, then the embroidered fabric (right side facing up), then the lining (right sides facing).
|
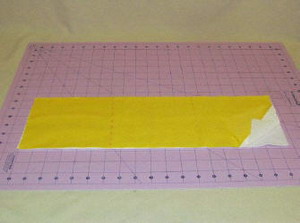
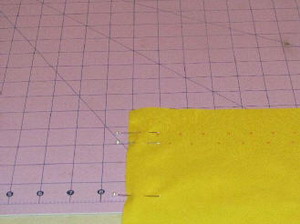
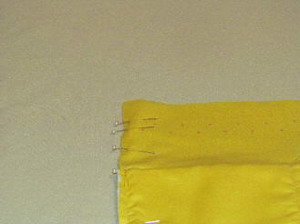
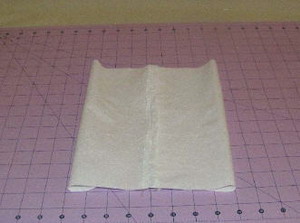
Step 6: Pin across the top of the fabric and sew ¼ inch seam. Press the fabrics open and fold the yellow fabric to the back and press again.
|
|
|
|
Step 7: Cut four pieces of fabric 9 ¼ inches (wide) x 10 ½ inches (tall). Two pieces will be the outside of the bag and two pieces will be the lining of the bag.
|
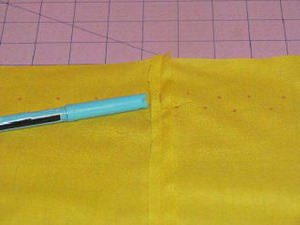
Step 8: On the two pieces that will be the outside of the bag, mark from the top of the fabric with the H2O fabric pen down 1½ inches, then mark down ½ inch from the previous marks. This will be the stitch lines for the ribbon casing.
|
|
|
|
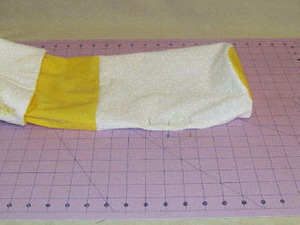
Step 9: Pin along one side and stitch ¼ inch seam, starting at the top and stopping at the marks for the casing, back stitching at the beginning and the end. Start again on the other side of the casing (1/2 inch down) and continue to the bottom of the fabric.
|
Step 10: Press open seams with an iron. Picture of the ribbon casing opening.
|

|
|
|
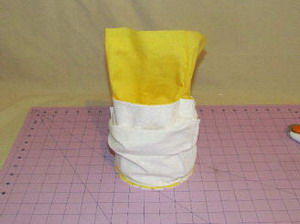
Step 11: Lay out the yellow bag fabric right side facing up and place the pocket onto the bottom of the yellow fabric.
|
Step 12: Pin the pocket in place. Sew along the stitch marks on each side of the embroidery design and long the sides and the bottom.
|
|
|
|
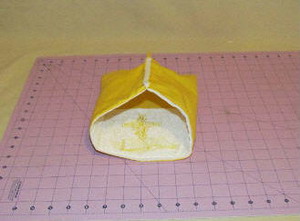
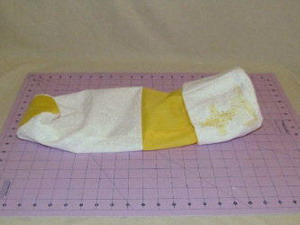
Step 13: Fold the fabric in half. Pin along the raw edge. Sew as you did before leaving an opening for the ribbon casing.
|
Step 14: This will form a tubular shape.
|
|
|
|
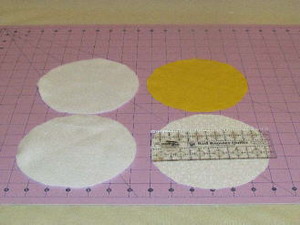
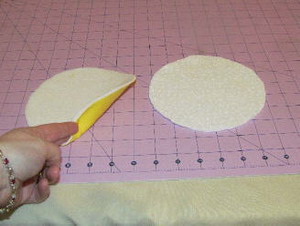
Step 15: Cut 4-6 inch circles. one of fabric, one of lining, and two of fleece batting.
|
Step 16: Fuse the lining fabric to the batting and the outside fabric to the other piece of fleece batting. Spray stabilizer will work or some other fusible pellon.
|
|
|
|
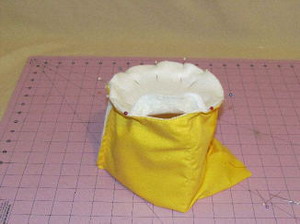
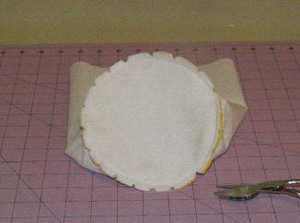
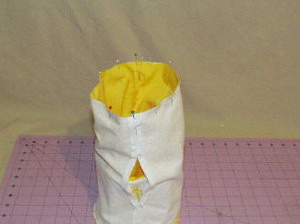
Step 17: Pin the 6 inch fused circle to the bottom of the bag with the fleece facing up. Sew in place.
|
Step 18: Cut notches around the circle, making sure not to cut the thread.
|
|

|
|
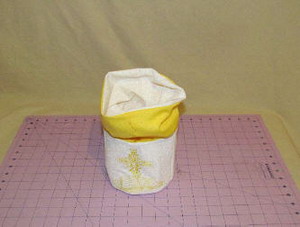
Step 19: Turn the bag inside out.
|
Step 20: Work on the lining of the bag next. With right sides facing, pin the two pieces together. Sew both sides, leaving an opening about 3 inches for turning it inside out.
|
|
|
|
Step 21: Press seams open.
|
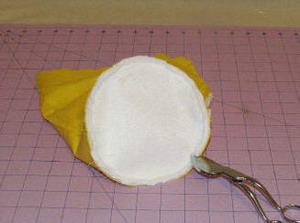
Step 22: Pin the other 6 inch fused circle to the bottom of the lining of the bag in the same manner as before. It is easiest to sew on top of the white fabric going around the circle.
|
|

|
|
Step 23: Cut notches around the circle.
|
Step 24: Place the lining of the bag wrong side out with fleece on the bottom. The opening from the turn around spot is showing.
|
|
|
|
Step 25: Place the outside of the bag (fleece facing down) down inside the lining of the bag.
|
Step 26: Pin the top of the bag.
|

|
|
|
Step 27: Sew the top of the bag.
|
Step 28: Turn the bag inside out through the opening.
|
|
|
|
Step 29: Pin the opening closed and stitch it closed.
|
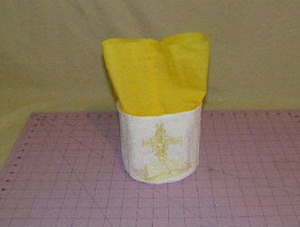
Step 30: Even out the top of the bag and press.
|

|
|
|
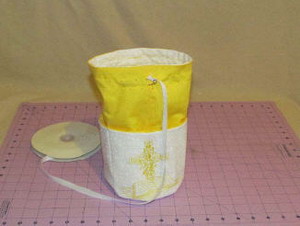
Step 31: Pin along the dotted line through both fabrics where the casing will be. Sew along the dotted lines.
|
Step 32: Pin one end of the ribbon with a safety pin and put in one of the casing openings. Continue all the way around the bag and come out the same place you started. Cut the ribbon, leaving about a 12 inch string on both ends.
|
|
|
|
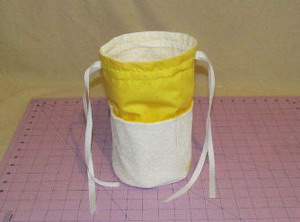
Step 33: Again pin the ribbon to the safety pin and go through the other side of the bag, in the same manner as before. Coming out where you started. Cut the ribbon, leaving about a 12 inch string on both ends.
|
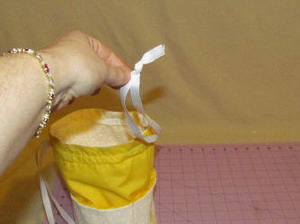
Step 34: Tie the ends together making a knot. Burn the ends with a lighter to keep them from fraying.
|


")