|
|
|
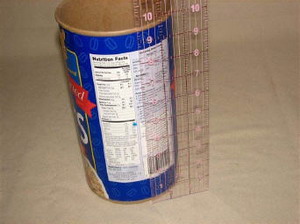
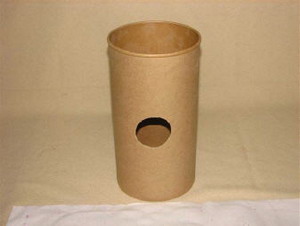
Step 1: First measure the height of the container. Mine is 9 1/2 inches high.
|
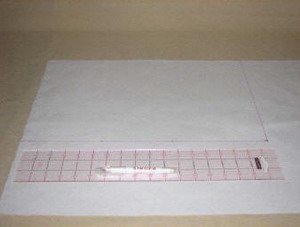
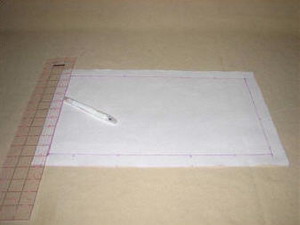
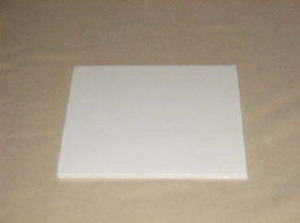
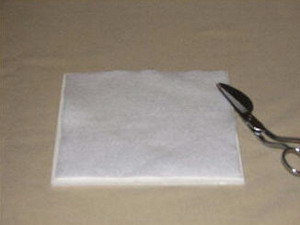
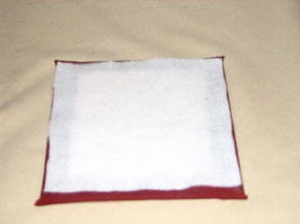
Step 2: Mark your white fabric for the height. Using a measuring tape, measure around the container. Mine is 16 ¼ inches. Add 2 inches to each dimension. So my final measurements are 11 ½ inches x 18 ¼ inches. Draw a rectangle on your canvas for the sides of the birdhouse using these measurements. Cut out the rectangle.
|
|
|
|
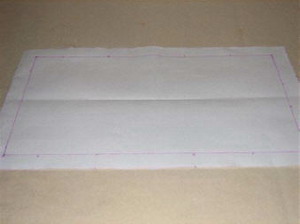
Step 3: Using a fabric pen, measure and mark 1 inch inwards on all four sides. The inside rectangle is your embroidery area.
|
Step 4: Mark the center of the canvas. This will be the area for the hole.
|
|

|
|
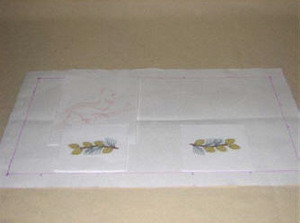
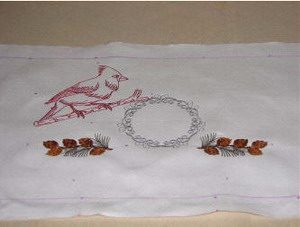
Step 5: I printed off paper templates so I would have an idea where I wanted my designs to go. Reserve a space for the hole.
|
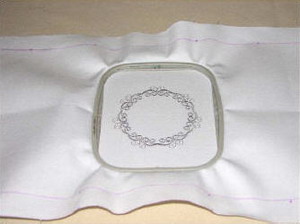
Step 6: I also printed out a design I wanted to go around the center hole. This is optional.
|
|
|
|
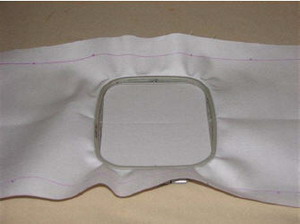
Step 7: Hoop the white canvas fabric with tearaway stabilizer. This is for the optional embroidery around the hole. If you are not doing this part, skip to Step 9.
|
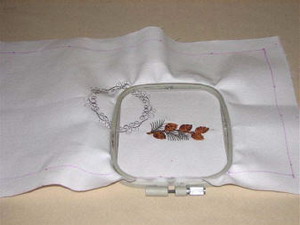
Step 8: Embroider only the outside ring, remove from hoop and remove stabilizer from the back.
|
|
|
|
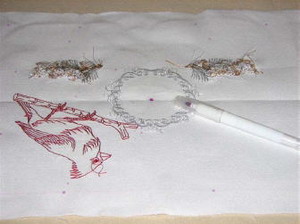
Step 9: Hoop next for the pinecone design. I wanted my design to go just left and right under the hole. Embroider the design in the desired area. Remove from hoop and remove stabilizer from the back.
|
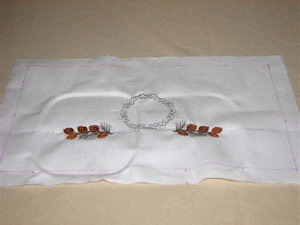
Step 10: Repeat Step 9 on the other side of the hole.
|
|
|
|
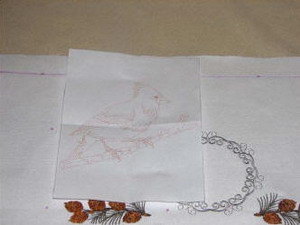
Step 11: Lay out the paper template for the bird design. I wanted to be just left and a little above the hole.
|
Step 12: Embroider the design and remove fabric from the hoop. Remove stabilizer from the back. Press flat with an iron.
|
|
|
|
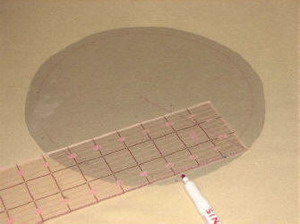
Step 13: Find the center of the canister. Since mine is 9 ½ inches high, my center mark is on the 4 ¾ mark. Using a marker, mark the center. Make marks ¾ inch ‐ 1 inch away from that center point. This will be the opening for the hole. Cut out the hole with scissors or an Xacto knife.
|
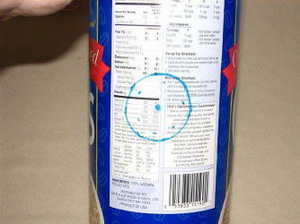
Step 14: Lay the embroidered fabric right side down and upside down. Mark center point. This will be the guide line for the hole.
|
|
|
|
Step 15: Lay the container over the hole, centering the dot.
|
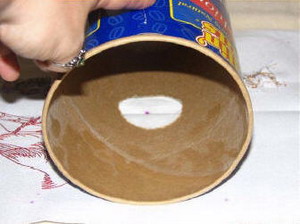
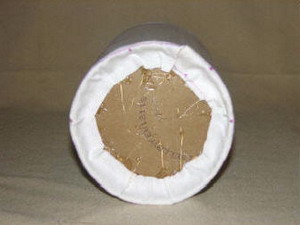
Step 16: Remove the packaging from the cardboard.
|
|
|
|
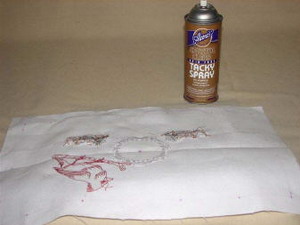
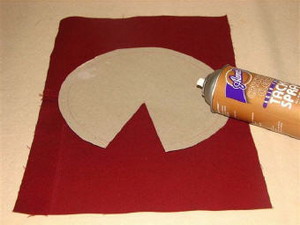
Step 17: Using a tacky spray, spray all over the back side of the embroidered fabric.
|
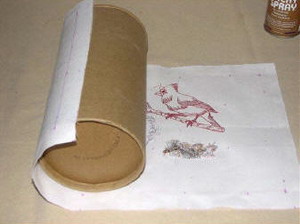
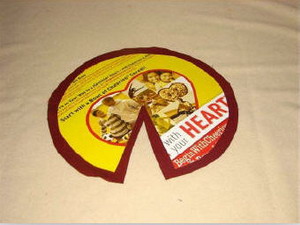
Step 18: Centering the cylinder over the hole, roll one side of the canvas towards the center. Continue rolling the container, making the two raw edges overlap.
|
|
|
|
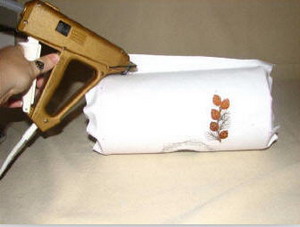
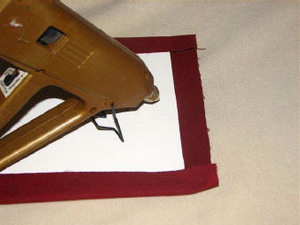
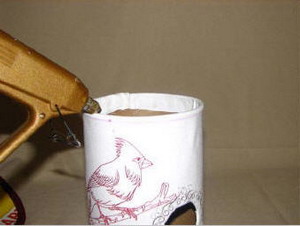
Step 19: Using the hot glue gun, glue the overlapped edge down onto the other.
|
Step 20: Glue the excess fabric to the bottom of the container.
|
|
|
|
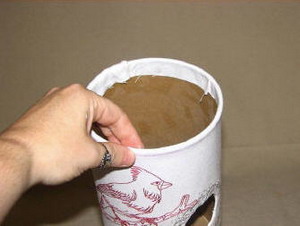
Step 21: Glue the top excess fabric on the inside of the container.
|
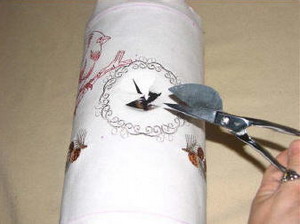
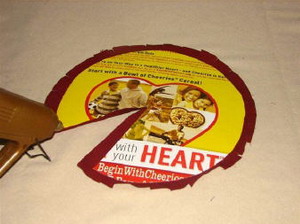
Step 22: Cut the hole as shown. Staring at the center dot working towards the cut hole.
|
|
|
|
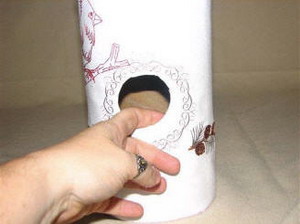
Step 23: Glue behind the cut fabric and use your finger to smooth in place. One triangle at a time, being careful not to burn yourself.
|
Step 24: Cut a piece of foam board or other sturdy cardboard 7 x 7 inch square.
|
|
|
|
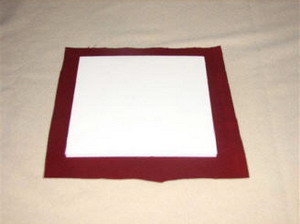
Step 25: Cut one piece of felt ¼ inch less than the foam board (6 ¾ inch x 6 ¾ inch).
|
Step 26: Cut one piece coordinating canvas for the bottom (9 inch x 9 inch)
|
|
|
|
Step 27: Glue the edges of the fabric to the foam board. It may be necessary to clip the bulky corners to get it to lay correctly.
|
Step 28: Glue felt to cover the bottom.
|
|
|
|
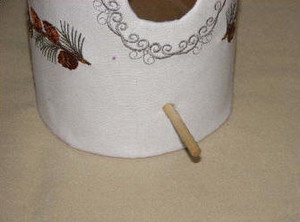
Step 29: Cut a very small hole under the large hole for the wooden dowel. Put a dab of hot glue on the dowel and push it into the hole, leaving about 2 inches hang out.
|
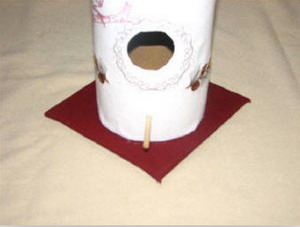
Step 30: Glue the bottom of the container to the top of the covered foam board.
|
|
|
|
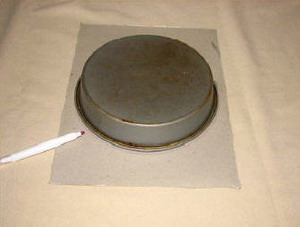
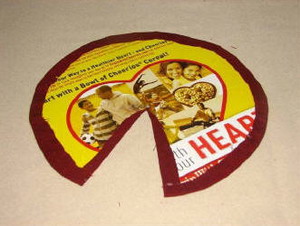
Step 31: I used my 8 inch cake pan for drawing a circle for the top. I wanted the roof to be a little bigger than the 8 inches. I used my ruler and marked all the way around the circle. Using thin cardboard (like a cereal box side), cut out the circle.
|
Step 32: Mark the center of the cut out cirle. Mark 3 inches from the outside mark. Draw a line connecting, making a triangle.
|
|
|
|
Step 33: Spray the circle and lay it onto a piece of cordinating canvas fabric, leaving 1 inch on all sides.
|
Step 34: Cut out excess fabric all the way around the circle, 1 inch larger than the circle cutout.
|
|
|
|
Step 35: Cut slashes in the fabric toward the cardboard within 1/8 inch around the cardboard. It is not necessary to cut slashes in the traingle section.
|
Step 36: Glue all fabric pieces to the cardboard.
|
|
|
|
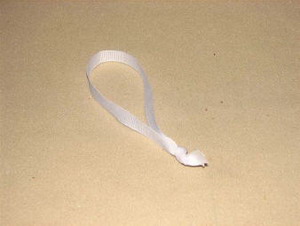
Step 37: Cut one 12 inche piece of 3/8 inch gross grain ribbon and tie a knot in the two ends as shown.
|
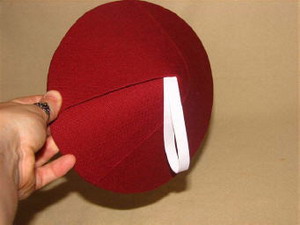
Step 38: Place the ribbon knot in the center of the circle and form the circle into a cone shape.
|
|
|
|
Step 39: Glue one section of the triangle edge onto the other in the shape that you want the cone.
|
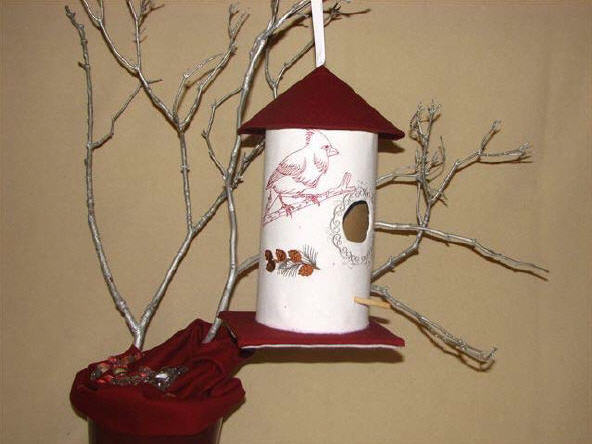
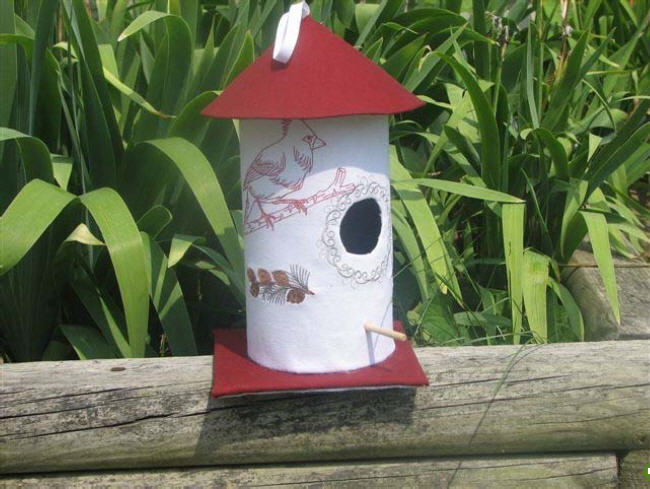
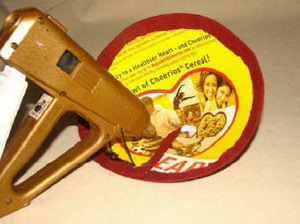
Step 40: Glue the top of the canister and place the roof on. Press into position. Finished!
|


")