|
|
|
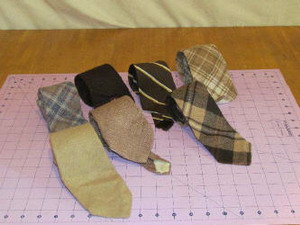
Step 1: Select 6-7 coordinating neck ties. I’m using 7 ties.
|
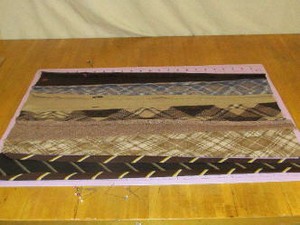
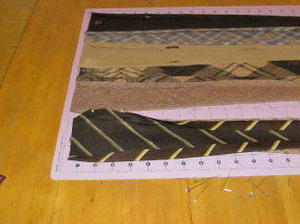
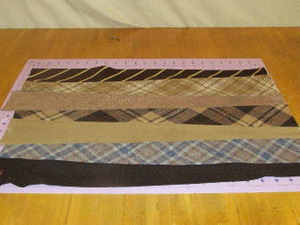
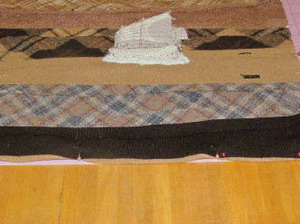
Step 2: Lay the ties out side by side with each wide end of the tie opposite from the last.
|
|
|
|
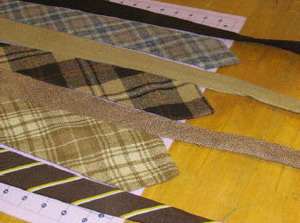
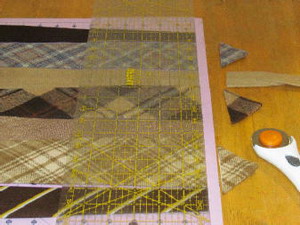
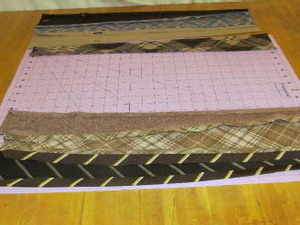
Step 3: Cut off the ends of the ties, even with the cutting mat. My mat is 18 inches x 24 inches. So, if you don’t have a mat, cut these to 24 inches long (using the widest end of the tie as your starting point. Do this to both sides. iron all the neck ties so they are nice and flat. You can use spray starch if you like.
|
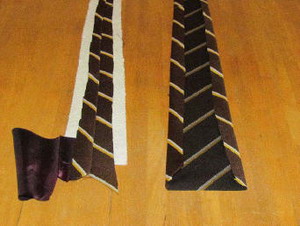
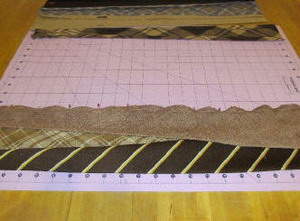
Step 4: Turn the tie over to the back. Cut up along one side of the tie about ½ inch. Cut all the way up the tie to the end and back down the other side half in from the outside edges. You will still have some of the facing, just cut it out. Try to leave as much of the tie as possible. Remove the interfacing.
|
|
|
|
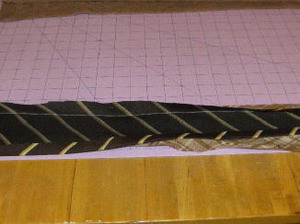
Step 5: This is the image from the wide end of the tie. Repeat cutting all the ties in the same manner. Image shows the ½ inch mark where to cut.
|
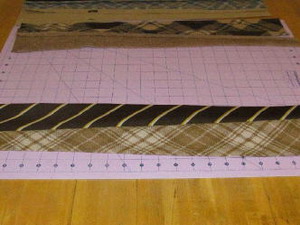
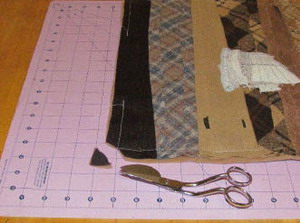
Step 6: Back sides of the ties already cut.
|
|
|
|
Step 7: Take the two ties on the end and pin them together right sides facing. Line up the folded edges of the ties for the guide for pinning and sewing.
|
Step 8: Sew along the folded edge.
|
|
|
|
Step 9: Press ties open with an iron.
|
Step 10: Pin the next tie to the last tie and sew in the same manner as the first ties set. With the right sides of the fabric facing. The wide end of each tie should always match up with the thin side of the next tie.
|
|
|
|
Step 11: Again, sew the ties together along the folded edges as the guide. Press with an iron.
|
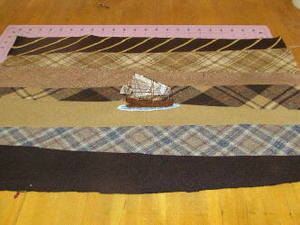
Step 12: Continue to sew the ties together until all the ties are used. Press with an iron.
|
|
|
|
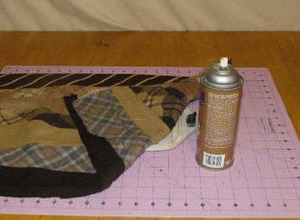
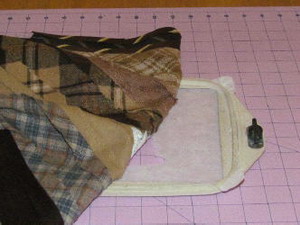
Step 13: Hoop tear away stabilizer. I didn’t want to leave hoop burn so I used spray stabilizer also. I sprayed the hoop and centered the ties in the hoop. I also used pins along the edges just in case of shifting. But I really don’t think it’s necessary with this particular design.
|
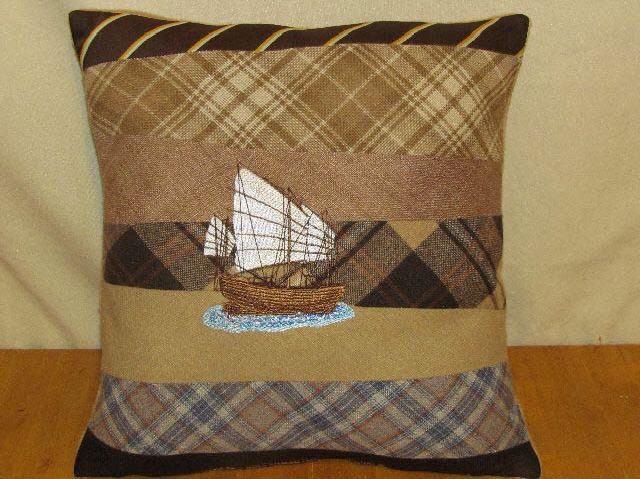
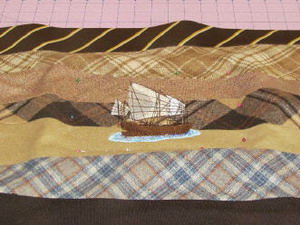
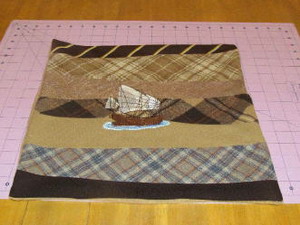
Step 14: Embroider the design. This is also the time to do any personalization.
|
|
|
|
Step 15: When finished embroidering the design, remove the fabric from the hoop and remove any excess stabilizer.
|
Step 16: Press with an iron.
|
|
|
|
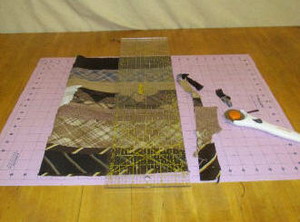
Step 17: Fold the sewn tie fabric in half and square it up. Should measure 16 ½ inches square.
|
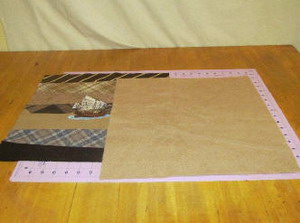
Step 18: Choose ½ yard of coordinating fabric. You can use whatever you want. I used fleece. Lay the tie piece of fabric down and cut out the backing using the tie piece as your pattern.
|
|
|
|
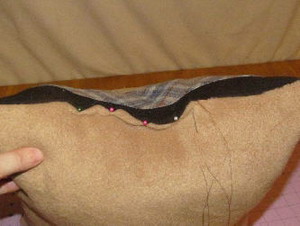
Step 19: With right sides facing, place the tie piece of fabric with the backing piece of fabric. Pin along the edges. Sew along the edges using ½ inch seam, leaving an opening for turning and stuffing.
|
Step 20: Cut off all the corners, being sure not to cut the threads.
|
|
|
|
Step 21: Turn the tie pillow inside out and press with an iron.
|
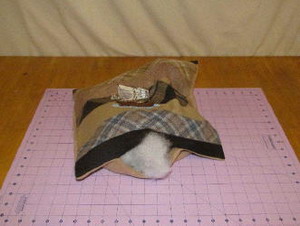
Step 22: Stuff the pillow with pillow batting. Stuff with as little or as much as you like.
|
|
|
|
Step 23: With a sewing needle and thread close the pillow opening with a whip stitch
|
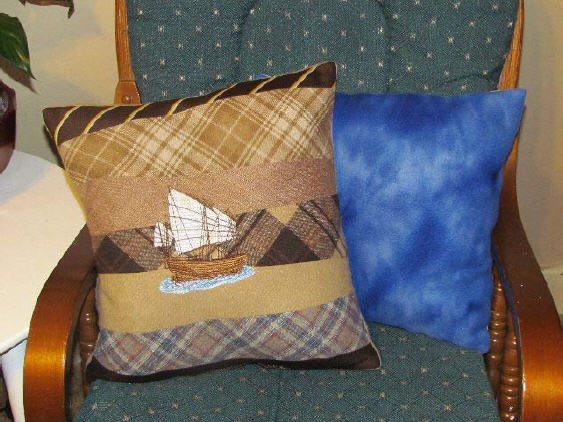
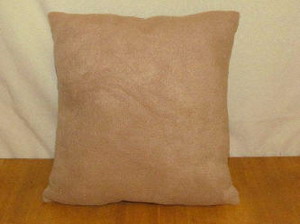
Step 24: Finished back of the pillow.Step 24: Finished back of the pillow.
|


")