|
|
|
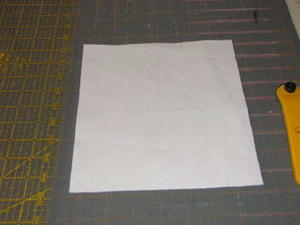
Step 1: Cut one piece of the duck cloth or canvas 9 inches wide x 7 ½ inches high.
|
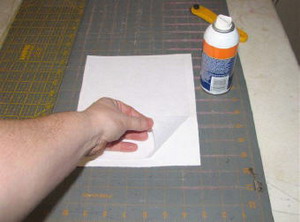
Step 2: Cut one piece of medium weight cutaway stabilizer just smaller than the duck cloth. Using the spray stabilizer-spray the stabilizer and smooth it to the back of the fabric.
|
|
|
|
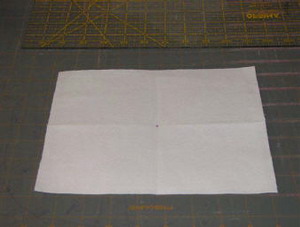
Step 3: Find and mark the center of the duck cloth (canvas) with the fabric pen. I folded mine in half both ways to get my center.
|
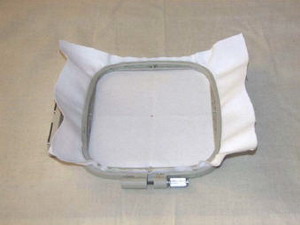
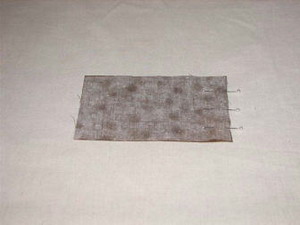
Step 4: Hoop the duck cloth along with the stabilizer, centering in the hoop.
|
|
|
|
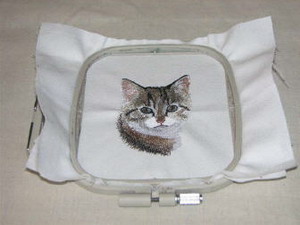
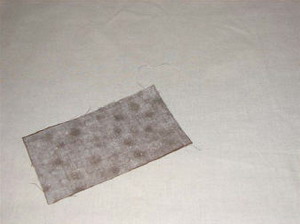
Step 5: Embroider the design. Remove the fabric from the hoop when finished. Cut away the excess stabilizer from the back.
|
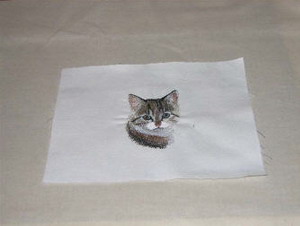
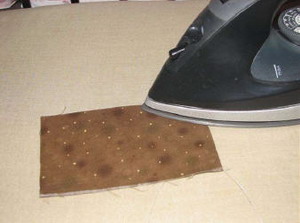
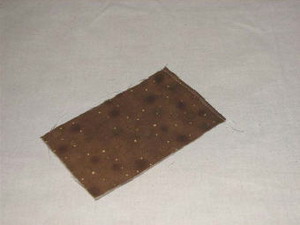
Step 6: Press the fabric with an iron.
|
|
|
|
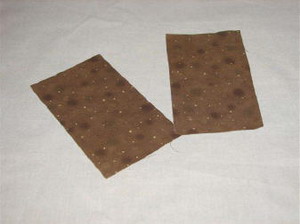
Step 7: Cut two pieces of the cotton fabric 3 ½ inches x 6 inches.
|
Step 8: With right sides facing, pin the two pieces of fabric together on one short end.
|
|
|
|
Step 9: Sew the one end together with a ¼ inch seam.
|
Step 10: Turn the fabric with wrong sides together and press with an iron.
|
|

|
|
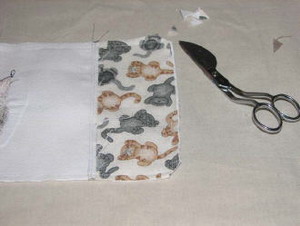
Step 11: Top stitch the top of the pocket with 1/8 inch seam.
|
Step 12: Cut 2 pieces of the coordinating fabric - - -3 ½ inches x 7 ½ inches.
|
|
|
|
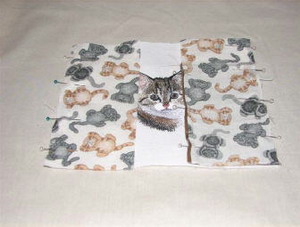
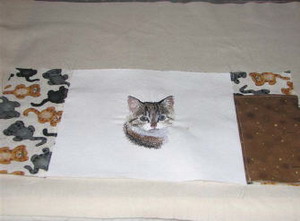
Step 13: Place the pocket onto one of the panels. Pin the right side edge to hold in place.
|
Step 14: Place the panels right sides down onto the duck cloth and pin in place on the outer edges. Sew the outside raw edges.
|
|

|
|
Step 15: Open the panels out and press the seams away from the center panel. Top stitch 1/8 inch on the seams just sewn.
|
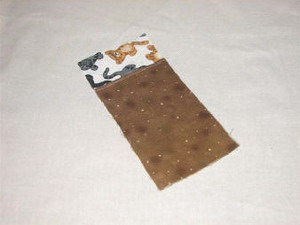
Step 16: Cut one piece of the duck cloth (canvas) - 7 ½ inches x 15 inches. This should be the same size of the front finished panels. Pin this fabric to the top panel-leaving about 3 inches open on the side that doesn't have the pocket. Sew using 1/4 inch seam all the way around, except for the opening for turning around.
|
|
|
|
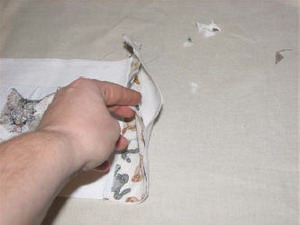
Step 17: Clip all 4 corners- close to the seam, but not cutting the threads.
|
Step 18: Turn the project inside out through the opening on the side. Using a blunt object, push out the corners to make them look pointed.
|
|

|
|
Step 19: Sew all the way around the mug rug using 1/8 inch - ¼ inch, making sure to close the opening.
|
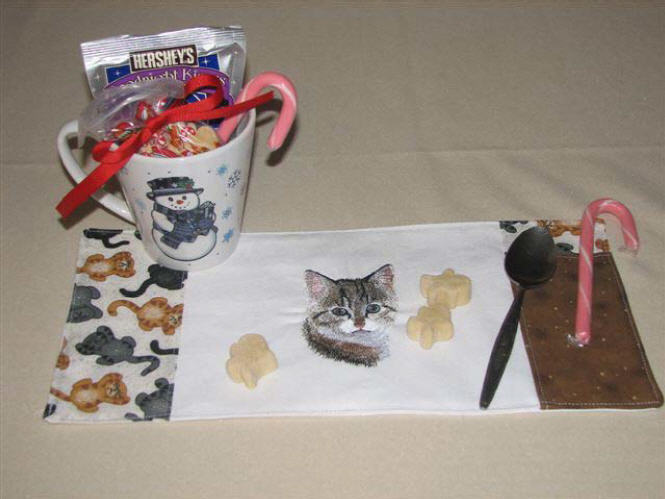
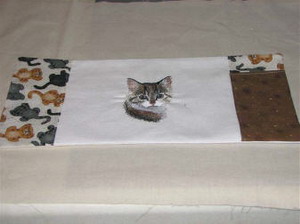
Finished!
|


")