|
|
|
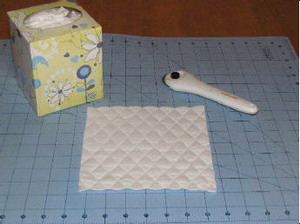
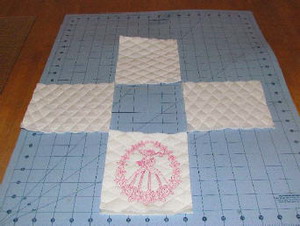
Step 1: Cut out 1 square 6 inches x 6 inches.
|
Step 2: This square is 2 inches larger than needed, we will be cutting it down after the embroidery.
|
|
|
|
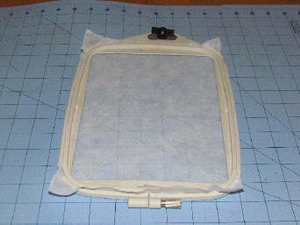
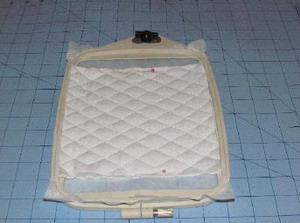
Step 3: Hoop tear away stabilizer.
|
Step 4: Hoop the quilted fabric in your desired method.
|
|

|
|
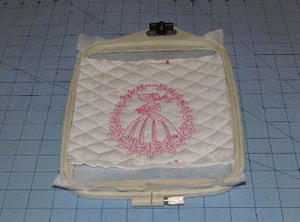
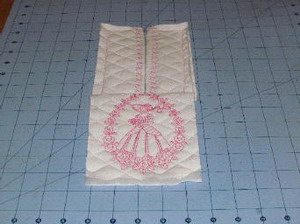
Step 5: Embroidery the design in the center of the fabric. Remover the fabric from the hoop and remove the excess stabilizer. I embroidered closer to the bottom of the square. There must be at least ½ inch between the bottom of the fabric and the design.
|
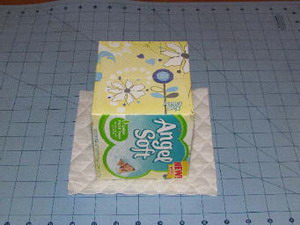
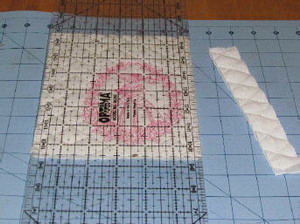
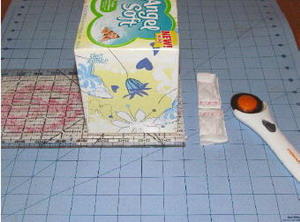
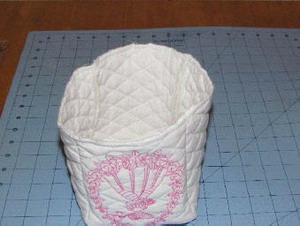
Step 6: My box measures just under 4 ½ inches wide.
|
|
|
|
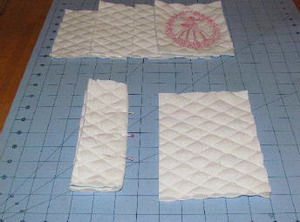
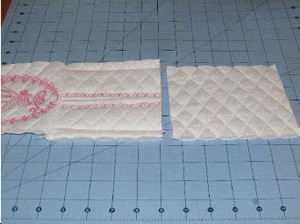
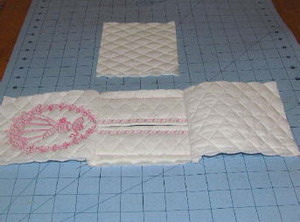
Step 7: I cut off the edges of the fabric on the sides of the design to ½ inch.
|
Step 8: Also cut off to ½ inch from the top of the design.
|
|
|
|
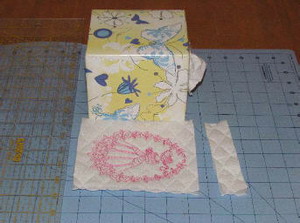
Step 9: Cut out 3 more matching quilted squares for the sides and the back. 5 inches x 6 inches.
|
Step 10: Cut 2 pieces of the quilted fabric 5 inches x 6 inches. This will be the top of the box.
|

|
|
|
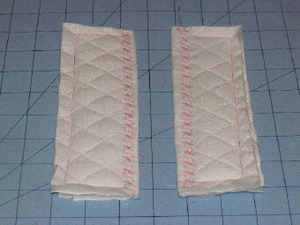
Step 11: Use the stick pins and fold the fabric in half and pin along the folded edge.
|
Step 12: Use your sewing machine and add a decorative edge. I place stitches along the sides and the back to keep fabric from shifting.
|
|
|
|
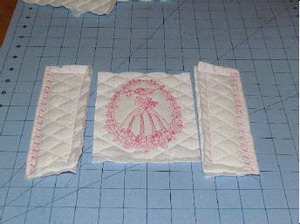
Step 13: Place the top pieces with the stitches facing out, on the outside of the embroidered fabric.
|
Step 14: Lay the top pieces right sides facing onto the front panel. Pin in place. Sew ¼ inch from edge.
|
|
|
|
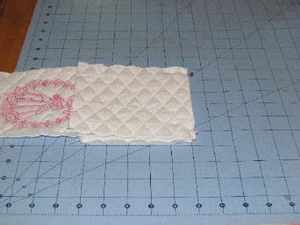
Step 15: Cut off the excess fabric on the other end of the top pieces ½ inch from the box.
|
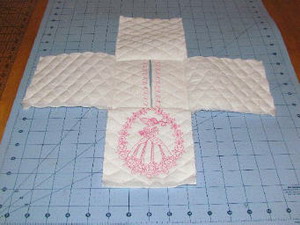
Step 16: Place one of the matching quilted fabric squares next to the top panel pieces.
|
|
|
|
Step 17: Pin and sew ¼ inch seam along the edge that’s pinned.
|
Step 18: Place one of the matching quilted fabric squares next to the top panel pieces. Like the example. Pin and sew ¼ inch seam along the edge that’s pinned.
|
|
|
|
Step 19: Finished sewing sides panels on.
|
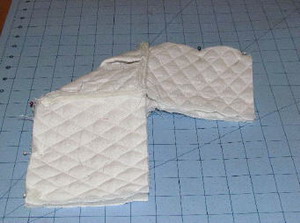
Step 20: Fold the box in half diagonal ways. Both sides will be touching on each side. Pin in place. Sew ¼ inch seam on outer edge where the pins are.
|
|

|
|
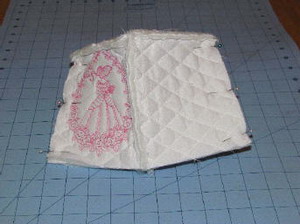
Step 21: Fold the cover the other way and pin the other sides together. Sew ¼ inch seam.
|
Step 22: Turn the cover inside out.
|

|
|
|
Step 23: Turn the box upside down.
|
Step 24: Serge or zigzag the raw edges of the bottom.
|
|
|
|
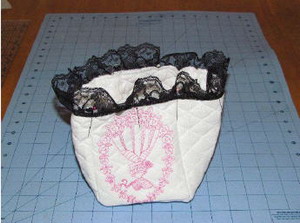
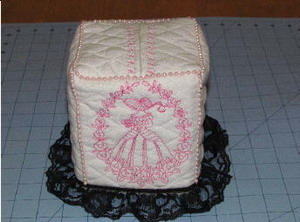
Step 25: Pin 18 inches of lace to the bottom of the box cover. Sew in place.
|
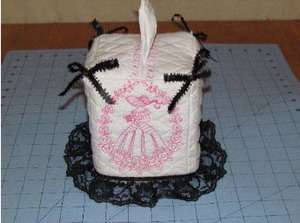
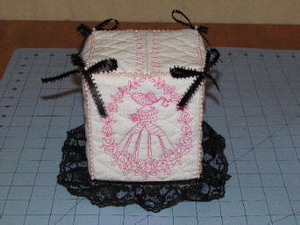
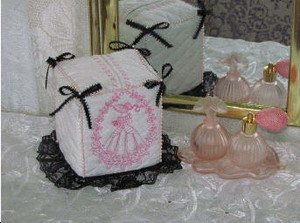
Step 26: Make 4 bows from the ribbon.
|
|
|
|
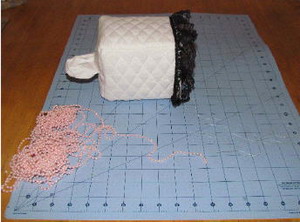
Step 27: Optional-Hand stitch a string of beads along all the edges of the box.
|
Step 28: Beads sewed in place.
|
|
|
|
Step 29: Sew the bows in place -1 on each corner.
|
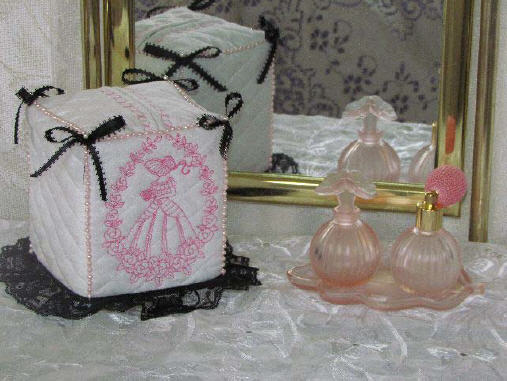
Step 30: Finished! Fast and fun!
|


")