|
|
Step 1: Cut three pieces of the white cotton 10
inches x 10 inches square.
|
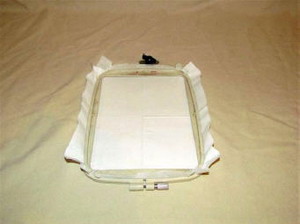
Step 2: Hoop tear away stabilizer with one 10 inch x 10 inch white fabric (make sure to center the fabric in the hoop). I find it helpful to use spray stabilizer on the tear away stabilizer then smooth onto the white fabric, then place in the hoop. I fold the fabric in half one way then the other to find my center.
|
|
|
|
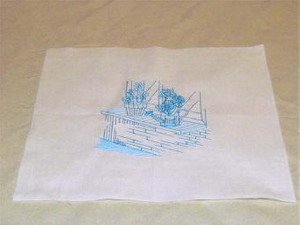
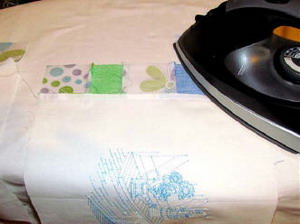
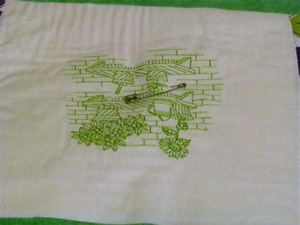
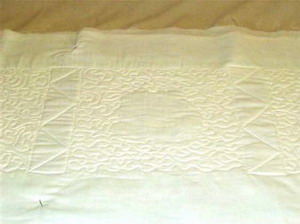
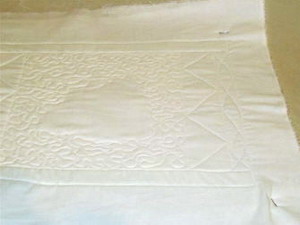
Step 3: Embroider the design. Remove the fabric from the hoop and gently remove the tear away stabilizer from the back of the fabric. Iron the fabric to get rid of hoop marks. Cut all the loose threads on the back. They will show through the top of the quilt. Repeat steps 2 & 3 until all three designs are embroidered.
|
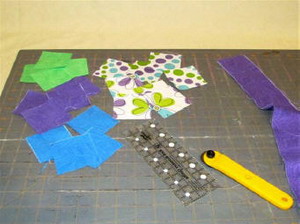
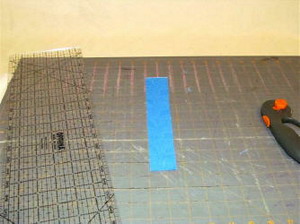
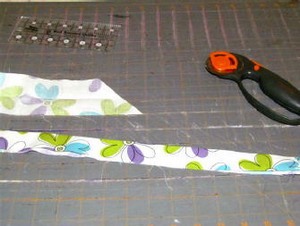
Step 4: Now it's time to cut the sash strips. I used one jelly roll of rainbow colors (2 1/2 inches wide x 43-44 inches long). You can cut these strips from other coordinating cotton fabrics, by using the cutting mat and rottery cutter. Cut 2 1/2 inch x length of fabric. You will need twenty 2 1/2 inch x 2 1/2 inch squares. These are for the little square accents.
|
|
|
|
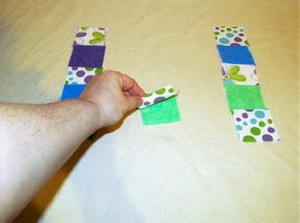
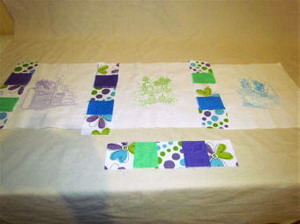
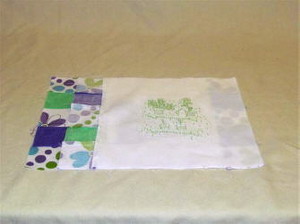
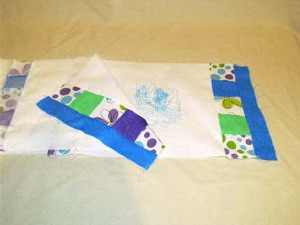
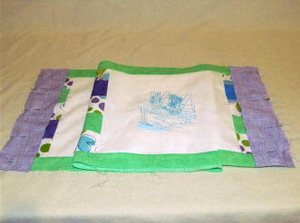
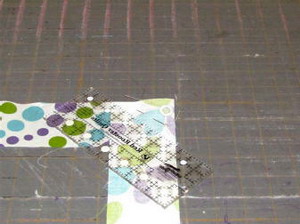
Step 5: Lay out the pieces to decide where you want your pieces to go.
|
Step 6: Sew the top two pieces, with right sides together, using a 1/4 inch sewing foot. Set the stitches to 2.5 stitch length. (This is in case you make a mistake you can take the stitches out easier). Sew a 1/4 inch seam along the edge. It's not necessary to back stitch at the beginning or the end.
|
|
|
|
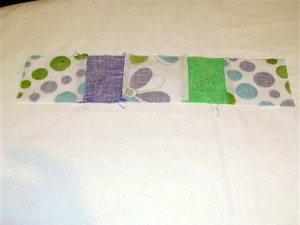
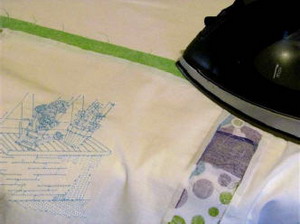
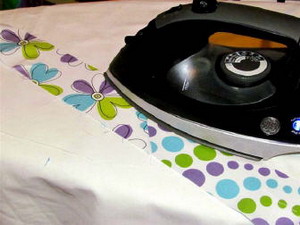
Step 7: Press the seam on the back towards the darker colors.
|
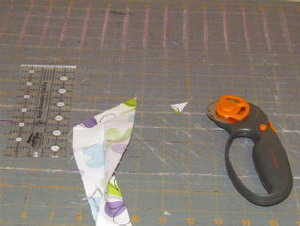
Step 8: These pieces are about 1/2 inch too long. Cut off 1/4 inch from the top and the bottom of each strip.
|
|
|
|
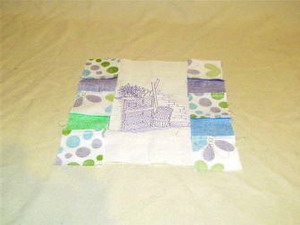
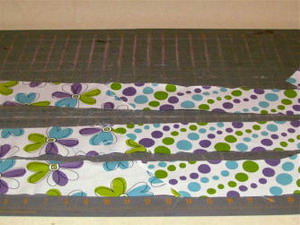
Step 9: Take one embroidered 10 inch square and lay one set of sew strips on the left side of the square, right sides facing. Do the same with the next strip on the other side of the square.
|
Step 10: Pin along the outside of both edges.
|
|
|
|
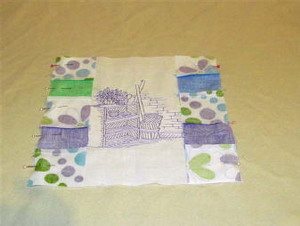
Step 11: Take the center 10 inch square and pin the next set of sach strips to the right side-with right sides facing. Do the same with the last square and last sash.
|
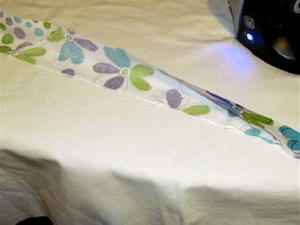
Step 12: Sew the sashes on using a 1/4 inch seam. Press when finished towards the darker fabric.
|
|
|
|
Step 13: Continue with the next square. Lay the next embroidered square/sashing face down onto the first square. Sew in place with a 1/4 inch seam. Press seam towards the darker fabric.
|
Step 14: Continue with the square and sashing strips until you are done.
|
|
|
|
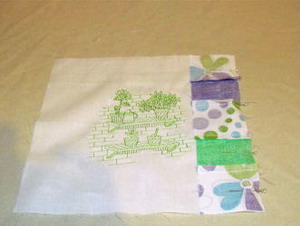
Step 15: Next-(Blue fabric)-cut two 1.5 inches x 10 inches.
|
Step 16: With right sides together, place the first blue strip of fabric onto the left side of the sew fabric strip- sew in place, then continue with the second piece of blue fabric on the right side. Sew in place. Press the seam on the back towards the darker color.
|
|
|
|
Step 17: Green fabric-Using a jelly roll strip of fabric or other coordinating fabric cut two 1.5 inche tall x 38 inches long. With right sides together, place the first green strip of fabric onto the top side of the sewn fabric strips- sew in place, then continue with the second piece of green fabric on the bottom side. Sew in place.
|
Step 18: Press the seam on the back towards the darker color.
|

|
|
|
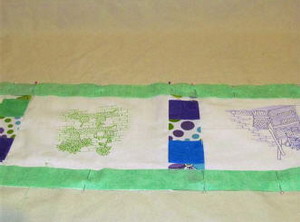
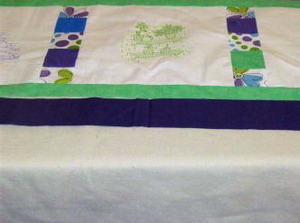
Step 19: Finished sewing on green strips of fabric.
|
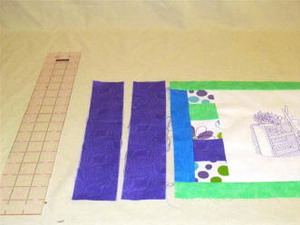
Step 20: Purple fabric-Cut two 2 1/2 inches wide x 12 inches long.
|
|
|
|
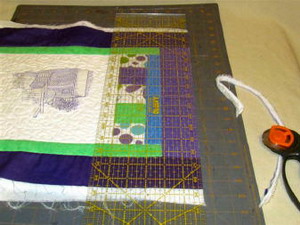
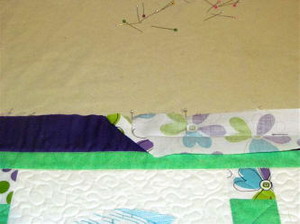
Step 21: With right sides together, place the first strip purple strip onto the left side of the blue sash, sew in place, then the other one on the right side. Press the seams on the back towards the darker color.
|
Step 22: Dark Purple-Cut two 2 1/2 inches x 42 inches long (width of fabric-using 1/4 yard) or using a jelly roll strip of fabric or other coordinating fabric. With right sides together, place the first dark purple strip of fabric onto the top side of the sewn fabric strips- sew in place, then continue with the second piece of dark purple fabric on the bottom side. Sew in place.
|

|
|
|
Step 23: Press the seam on the back towards the darker color.
|
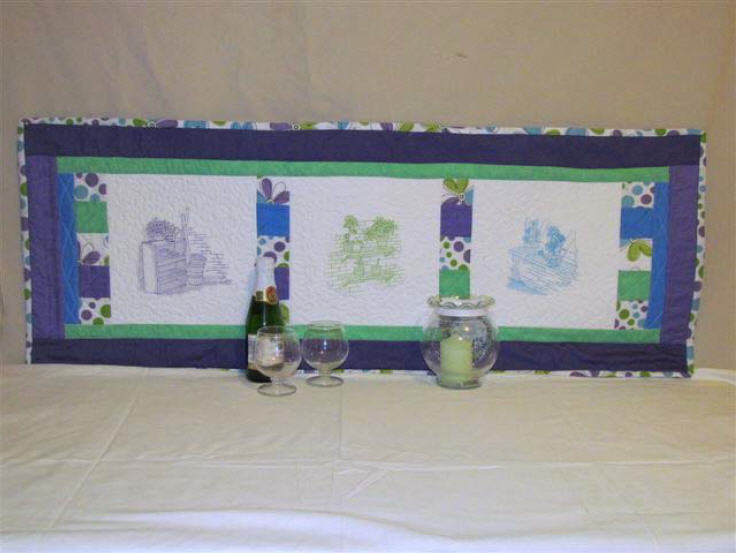
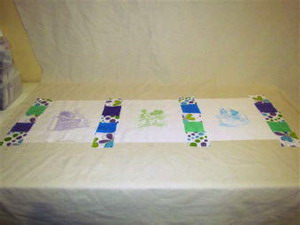
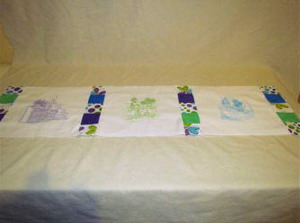
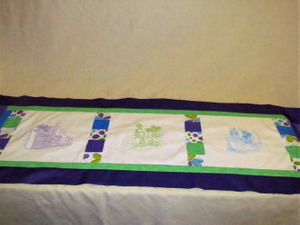
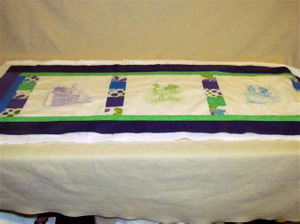
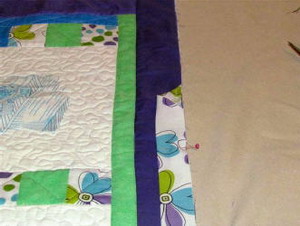
Step 24: Finished top, ready to quilt.
|
|

|
|
Step 25: Cut one piece of warm and natural bigger than the quilt top. I have about 2 inches extra on all four sides.
|
Step 26: Cut one piece of muslin bigger than the quilt top. I have about 2 inches extra on all four sides. First layer - the muslin, second layer - the Warm & Natural (or other preferred batting), third layer - quilt top.
|

|
|
|
Step 27: There are two ways of stabilizing the sandwiched fabrics together. I like to use temporary spray stabilizer. Pull back half the fabric and spray. Lay it back onto the batting and smooth into place, then do the same with the other half. Flip it over and do the same to the backing.
|
Step 28: The second way is using safety pins. Pin through all three layers about every 4-6 inches. I pinned through the middle of each embroidered design. Also pin the corners and edges of the quilt. This will keep the back and batting from shifting while quilting.
|
|

|
|
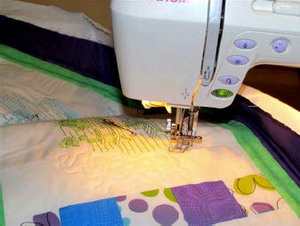
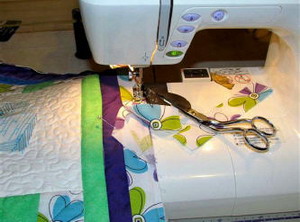
Step 29: Using your darning foot (an open toe foot), starting in the center white square, working left to right, move slowly, making puzzle-like shapes on the fabric. Never cross over the stitches you have already made. Be sure to back stitch at the beginning and the end of the stipplng. Be sure to remove the safey pins as you go. I worked the stipple moving around the design(not on the design), moving the topper away from me, stippling towards me.
|
Step 30: Continue with the other two white embroidered square in the same way.
|
|
|
|
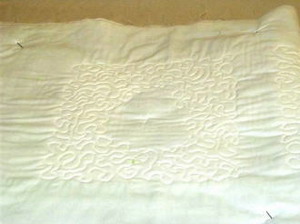
Step 31: Back of stippled design.
|
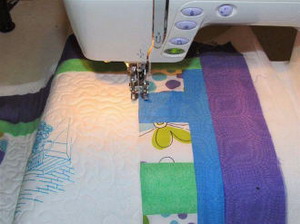
Step 32: Starting in the upper left corner of the pieced squares, stitch in the ditch all the way around the four sides. Once you have reached your staring point, cross over each square diagonally, until finished.
|
|
|
|
Step 33: Back of stitching on pieced squares.
|
Step 34: Back of blue sashes. You can play around with quilting designs. You can play around with the fancy stitches in your machine also on this quilt topper.
|
|
|
|
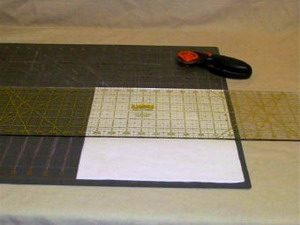
Step 35: Square off all the edges of the quilted topper using your rottary cutter and mat.
|
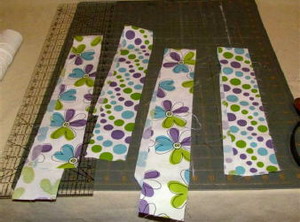
Step 36: Using the cutting mat and rottery cutter. Cut 2 1/2 inch strips.You can use the jelly roll strips or use another cordinating fabrics. Your quilted topper should measured 116 inches all the way around. You need to make about 6-10 inches more binding that your quilted topper measure. I cut two different coordinating fabrics, this gives it a twisted effect.
|
|
|
|
Step 37: Take two of the binding strips and lay them right sides together. Mark the fabric with a 45 degree angle, from outside corner to outside corner. Pin in place and sew with a 1/4 inch seam. Cut off the excess fabric. Continue to sew pieces together until the length is 116 inches.
|
Step 38: Press open the seams.
|
|
|
|
Step 39: Binding sewn together.
|
Step 40: Fold and press the 2 1/2 inch x 116 inches long piece of fabric lengthwise.
|
|
|
|
Step 41: On one end, cut the end off at a 45 degree angle.
|
Step 42: Press the end in 1/2 inch and cut off the little triangle hanging over the edge of the fabric.
|
|
|
|
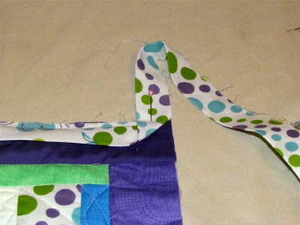
Step 43: Pin the binding to the edge of the right side of the quilt. Using the walking foot, sew about 3 inches. Be sure to back stitch at the beginning and the end.
|
Step 44: Fold the binding back over so it is even with the edge of the quilt. Sew 1/4 inch all the way around the quilt, stopping 1/4 inch from the end.
|
|
|
|
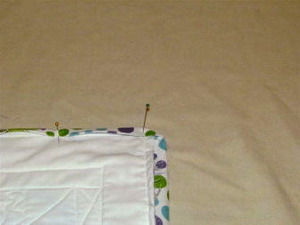
Step 45: Sew all the way to the end of the first side of the quilt, stopping 1/4 inch from the end. Back stitch and cut the thread. Remove the quilt from the machine. Make a mitered corner. Fold the binding up making a 45 degree angle and bring the fabric back down. Making the binding folded edge even with the outside edge of the quilt. Continue to sew at the beginning of the fold, back stitching at the beginning of the corner and at the end when you come to a corner. Remember to stop 1/4 inch from each end and make a new mitered corner. Continue all the way around the quilt til you get about 3 inches from where you started.
|
Step 46: Ready to finish off attaching the binding. There will be extra fabric on the binding. Cut off anything you don't need. I kept about a 1 inch piece extra. Open the beginning fold and tuck the rest of the binding into it. Fold the beginning back over the end and stitch it in place. Make sure to back stitch at the end.
|
|
|
|
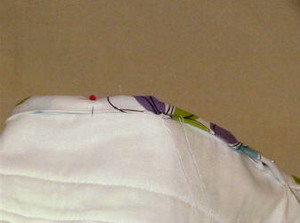
Step 47: Fold the binding over to the back. Pin in place. The binding should cover the 1/4 inch seam from adding the binding.
|
Step 48: With a needle and thread, whip stitch the binding to the back side of the quilt. Thread should not be longer than 20 inches (longer thread causes knotting). When you run out of thread, knot a new piece and start where you left off. This helps secure the last tie off.
|


")