|
|
|
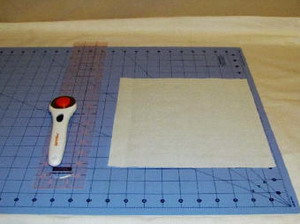
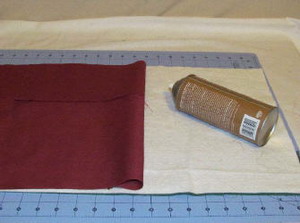
Step 1: Cut one piece of cream or white fabric 10 x10 inches. This will be the center piece of fabric for the embroidery.
|
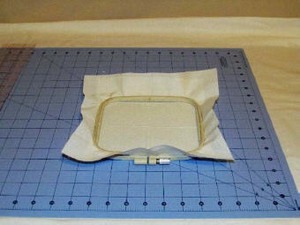
Step 2: Center and hoop a piece of tear away stabilizer with the cream fabric.
|
|
|
|
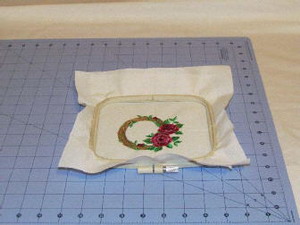
Step 3: Embroidery the design.
|
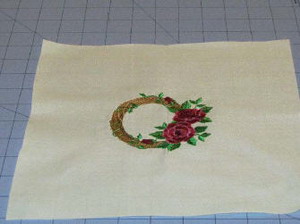
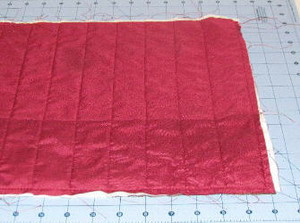
Step 4: Remove the embroidered fabric from the hoop. Remove any excess stabilizer on the back and press with an iron.
|
|

|
|
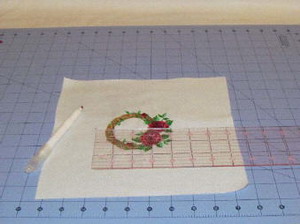
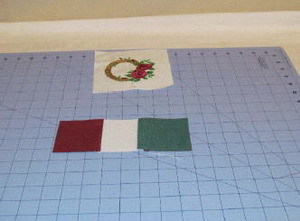
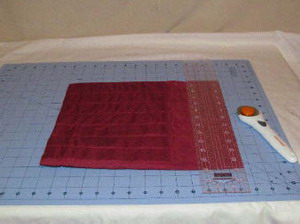
Step 5: Find the center of the fabric. Measure and mark 2 ½ inches in all four directions with a washable fabric pen. This will be the center of the bag pocket.
|
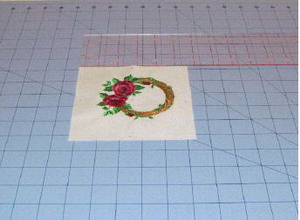
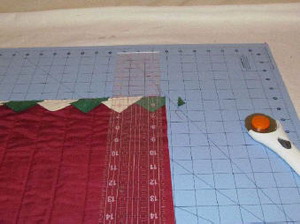
Step 6: Using your rotary cutter cut ¼ inch away from the marks you just made. Cut all four sides.
|
|
|
|
Step 7: After cutting this square should be a 5 ½ inch square.
|
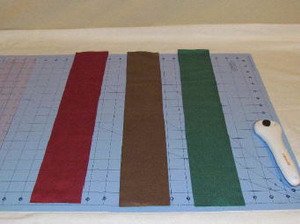
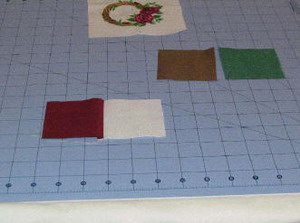
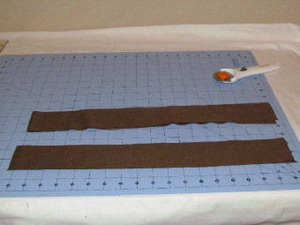
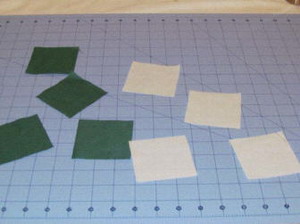
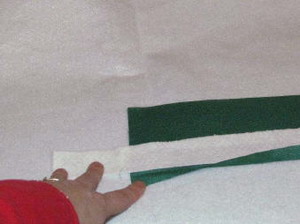
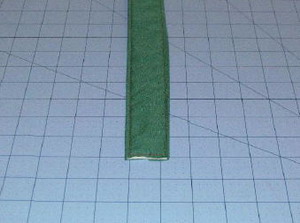
Step 8: Cut 3 inch strips from each of your four fabric choices.
|
|
|
|
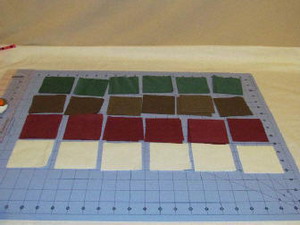
Step 9: Cut each strip into 3 inch squares. You will need a total of 36 squares for the pockets.
|
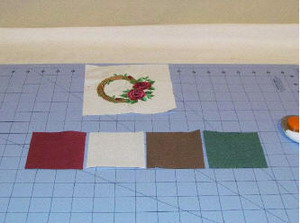
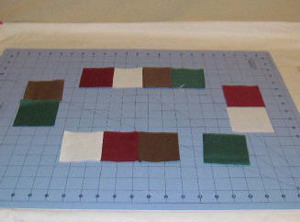
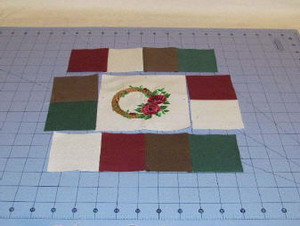
Step 10: Do a position test. Lay out the embroidery fabric and placed each square you will be using ¼ inch over the cream fabric and ¼ inch over-lapping each 3 inch square. Once you have the color choices in position you are ready to assemble.
|
|
|
|
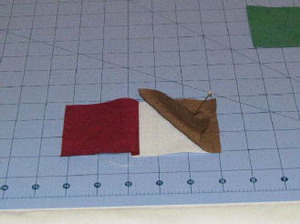
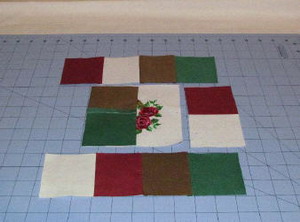
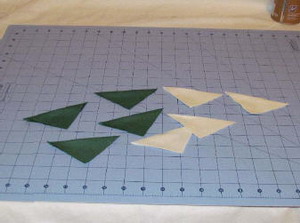
Step 11: To better explain the sequence of colors, I'll name the ones in the images. You can substitute any combinations you wish. Starting with the red fabric first. Lay the cream fabric right sides together on to the red fabric. Sew a ¼ seam.
|
Step 12: Press the back seam toward the dark fabric. DO NOT USE STEAM.
|
|
|
|
Step 13: Place the brown fabric right sides facing on to the cream fabric. Sew ¼ inch seam. Press with an iron towards the darker fabric.
|
Step 14: Next, place the green square onto the brown and sew ¼ inch seam and press with and iron.
|
|
|
|
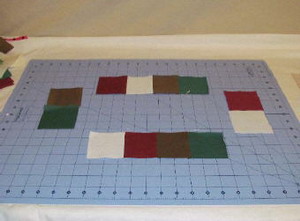
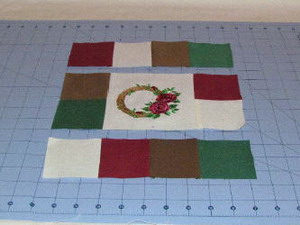
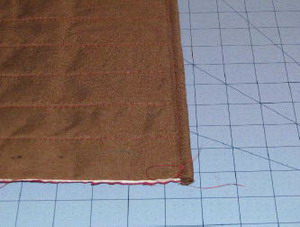
Step 15: Top row finished.
|
Step 16: Let’s move onto the bottom row. Place the red square onto the cream square and sew ¼ inch seam and press. Then sew the brown onto the red and then the green onto the brown using ¼ seam and press all the seams towards the darker fabric.
|
|
|
|
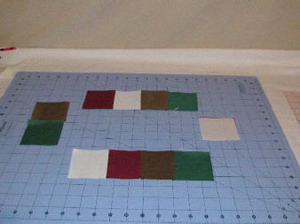
Step 17: Finished bottom row.
|
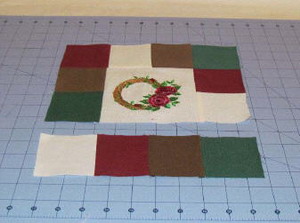
Step 18: Next, work on the right side strips. Sew the two pieces together using ¼ inch seam. Press.
|
|
|
|
Step 19: Move onto the left side and sew the last two remaining pieces together with ¼ inch seam and press.
|
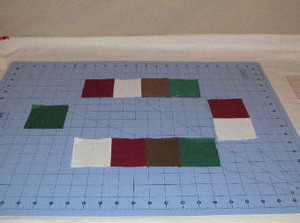
Step 20: Finished sewing side pieces together.
|
|
|
|
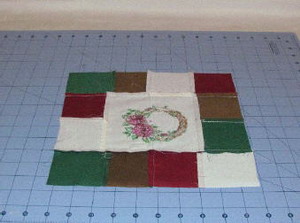
Step 21: Take the left piece and place it onto the embroidered fabric. Sew on the left raw edges ¼ inch seam, and press.
|
Step 22: Next do the right side. Place the sewn pieces onto the right side of the embroidered fabric along the raw edges using ¼ seam and press.
|
|
|
|
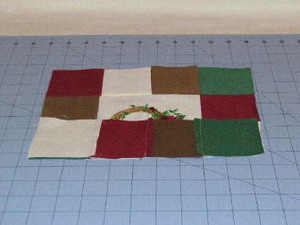
Step 23: Next, place the top row of sewn squares onto the embroidered square right sides facing. Sew ¼ inch seam and press.
|
Step 24: Next do the bottom row. Place the bottom row of sewn squares onto the embroidered square right sides facing. Sew ¼ seam and press.
|
|
|
|
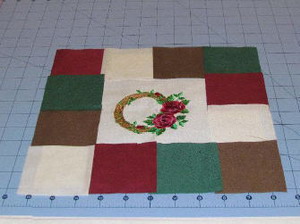
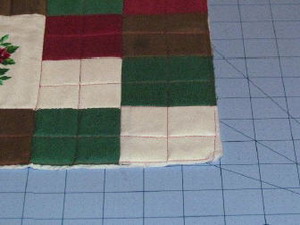
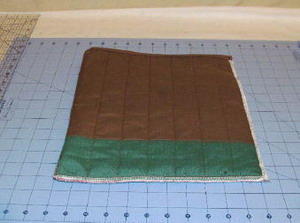
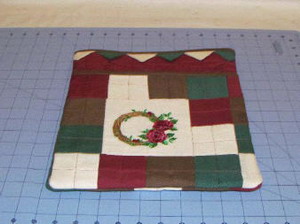
Step 25: Finished back. Make sure to clip all thread tails.
|
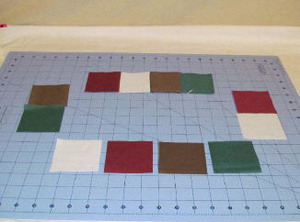
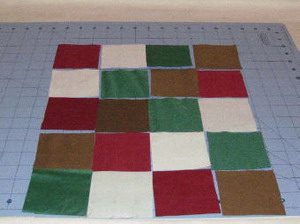
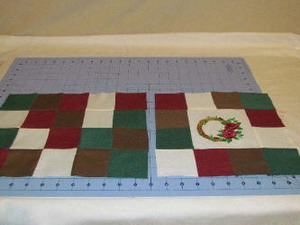
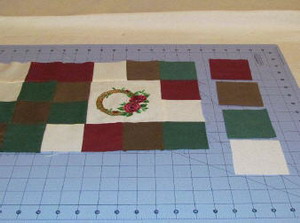
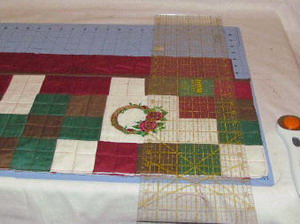
Step 26: You will need to sort out your fabric squares the way you want them. These will mostly be the back pocket. There should be 20 squares.
|
|
|
|
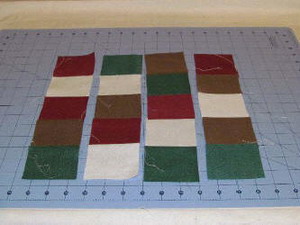
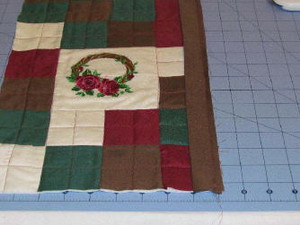
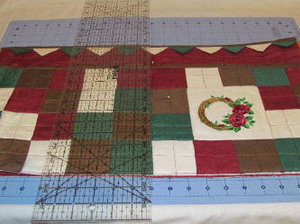
Step 27: Once you have decided how you want your squares to look, sew them together. You will need 4 blocks high in each row. The picture is sideways.
|
Step 28: Sew the 20 piece block to the left side of the previous block you already made, using ¼ seam and press.
|
|
|
|
Step 29: Take the remaining four blocks and sew them together in the same manner as before using ¼ inch seam. Sew it to the right side of the embroidered block.
|
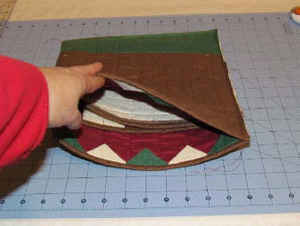
Step 30: Cut one piece of batting by laying the pieced square on top of the batting, also cut one piece of fabric of your choice the same size. This will be the inside lining to the pocket. Should measure 10 ½ inches x 24 inches. Make a quilt sandwich. Place quilt blocks on the top, batting in the middle and the lining on the bottom. Use spray stabilizer to hold them together. Baste stitch all four sides using 1/8 seam. Quilt this any way you like. I quilted by just sewing down the center of each square, then the opposite direction in the middle of each square.
|
|
|
|
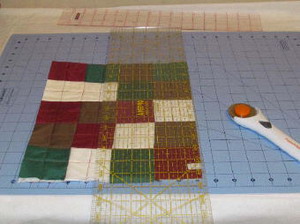
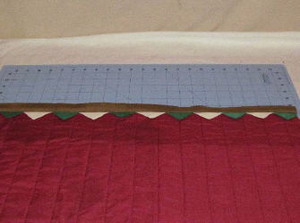
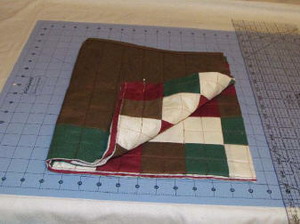
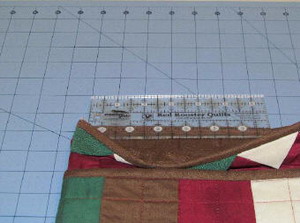
Step 31: Square up the quilted rectangle pocket.
|
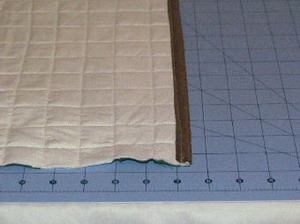
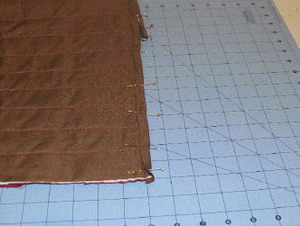
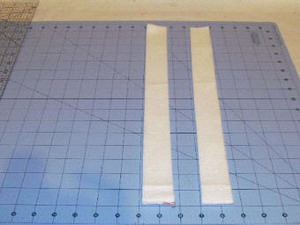
Step 32: Cut two 2.5 x 24 inches strips of your choice of fabric for the binding. Set one aside for later.
|
|
|
|
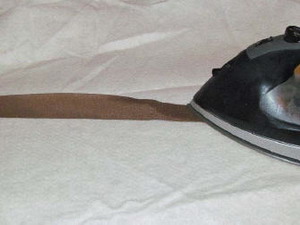
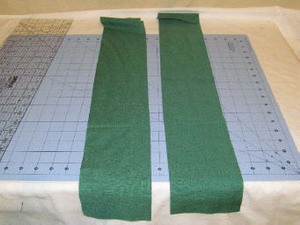
Step 33: Fold the 2.5 inch x 24 inch strip of fabric in half long ways and press.
|
Step 34: Pin the binding to the top of the quilted pocket with raw edges touching. The fold should be facing down. Sew using a narrow seam 1/8 to ¼ will be fine. Try staying less than ¼ inch.
|
|

|
|
Step 35: Flip the binding to the back of the pocket , pin in place. I top stitched the binding in place by following the seam on the top of the quilted pocket.
|
Step 36: Cut two pieces of fabric of your choice and batting 14 x 24 inches. This will be the bag lining and the outside of the bag.
|
|
|
|
Step 37: Spray all three layers together as we did with the pocket fabrics. Be sure to smooth out the wrinkles with your hands.
|
Step 38: With your walking foot and bar, sew down the center of the sandwiched fabric. I have my spacing bar set at 1 ½ inches. When finished sewing down the middle, turn the fabric around and sew 1 ½ inches away from the last, continue until this piece of fabric is completely quilted.
|
|
|
|
Step 39: Square up the quilted piece of fabric. It should measure 13 inches x 23 inches.
|
Step 40: Place the pocket onto the second quilted piece of fabric. Cut off the extra 1 inch to line both the pieces up.
|
|
|
|
Step 41: Making prairie points; You need to cut eleven 3 inch squares out of the fabric of your choice.
|
Step 42: Fold each square in half to make a triangle. Press with a hot iron. You can use steam on these pieces.
|
|
|
|
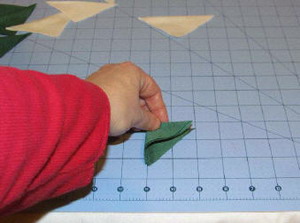
Step 43: Fold each triangle in half and press again. Press all eleven triangles.
|
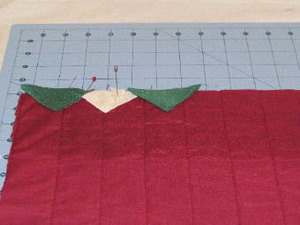
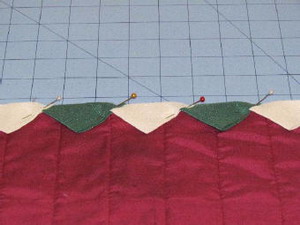
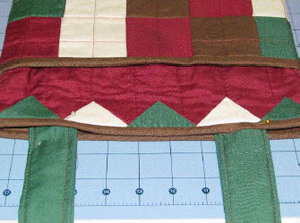
Step 44: Place the triangle face point down with raw edges at the top of the quilted rectangle. All the triangles will be facing in the same direction, opening to the right. Open the first triangle and place the next triangle in about ½ inch. Pin these in place as you go, Continue to the end. It okay to have a hangover of fabric, we will cut it off later.
|
|
|
|
Step 45: Close up of the pinned prairie points.
|
Step 46: Sew the prairie points using 1/8 inch along the raw edge of the fabric. When finished, cut off the excess fabric.
|
|
|
|
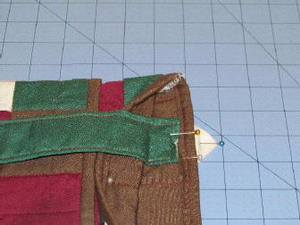
Step 47: Make another piece of binding. Lay out the piece of fabric you cut and set aside for binding. Press it in half long ways like you did the other piece. Pin the raw edge of the fabric with the other raw edges along the top of the quilted piece on top of the prairie points. Sew ¼ seam and press the fabric upwards.
|
Step 48: Flip the binding up and over to the back of the quilted fabric and pin in place.
|
|
|
|
Step 49: Top stitch in the ditch of the binding on the top of the quilted fabric.
|
Step 50: Place the pocket on top of the bag lining as in the picture. All binding pointing up. Find the center of both pieces and pin in place. Sew a line from the top of the pocket binding to the bottom. This will help keep things in the front of the bag from moving to the back of the bag.
|
|
|
|
Step 51: Fold all the layers of fabric in half according to the stitch you just made. Sew a ¼ inch seam along the side and the bottom of the bag.
|
Step 52: Surge or zigzag all the raw edges.
|
|
|
|
Step 53: Turn the bag inside out and press. Make sure your corner come to a clean point.
|
Step 54: Cut two pieces of the batting 1.5 inches x 27 inches. This will be used for the handles.
|
|
|
|
Step 55: Cut two pieces of fabric 4.5 x 27 inches for the handles.
|
Step 56: Press one edge long ways in ½ inch. Place your batting strip on the inside of the fold. Fold over the remainder of the fabric to cover the batting. Fold under the last remaining ½ inch of fabric. Press the length of the strap.
|
|
|
|
Step 57: Sew 1/8 inch seam along all the edges of the strap.
|
Step 58: Measure 1.5 inches from both the edges of the bag. This will be the placement for the handles.
|
|
|
|
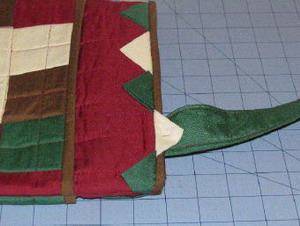
Step 59: Pin the handle in place just under the binding on the inside of the bag. Be sure to pin the prairie point up and out of the way.
|
Step 60: Zigzag stitch this handle to the bag in a matching color of thread as the outside fabric.
|
|
|
|
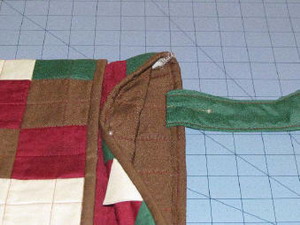
Step 61: Do the same for the other side of this handle. Make sure the handle is laying the way you want.
|
Step 62: Flip the straps upwards and straight stitch along the bottom to hold the straps in place.
|
|
|
|
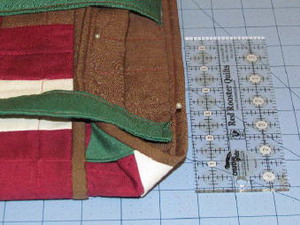
Step 63: These straps should be 4.5 inches apart.
|
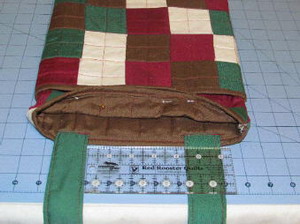
Step 64: Use the finished handles as a guide for the opposite side. Pin the handles in place the open up the bag and replace the pins so they are facing in the right direction. Be sure to pin the prairie points out of the way. Zigzag stitch in place, then flip up the handle and straight stitch across the bottom of the handle as before with the other handle.
|
|

|
|
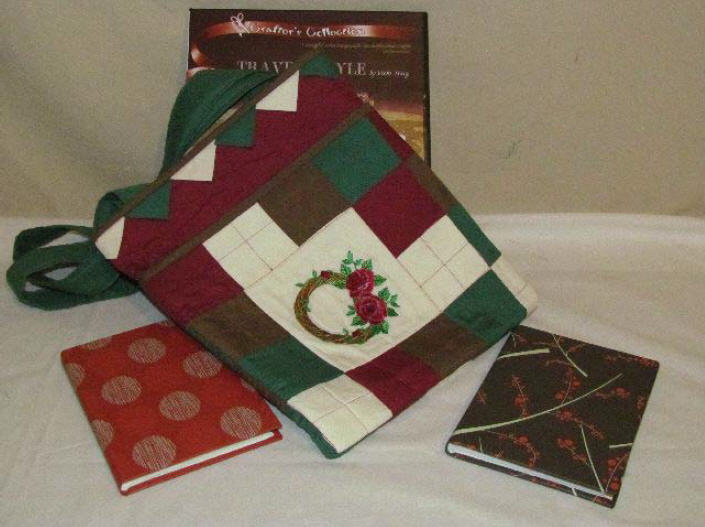
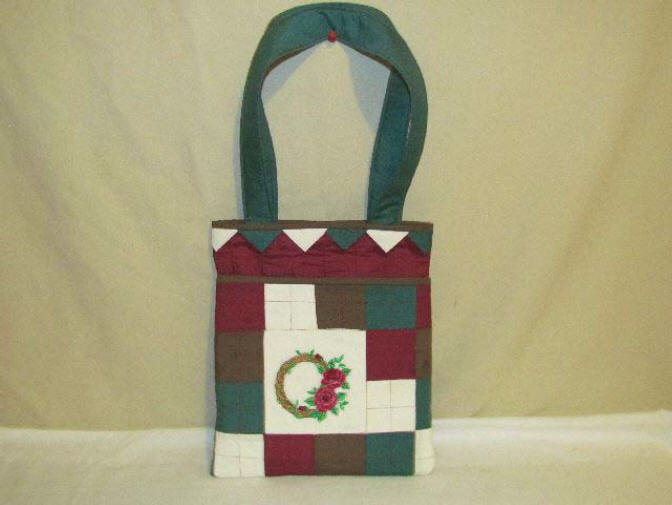
Finished Bag!
|


")