|
|
|
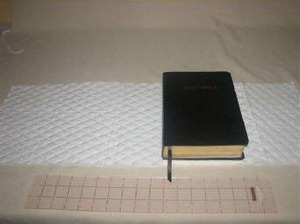
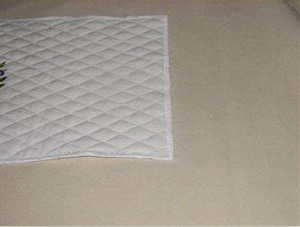
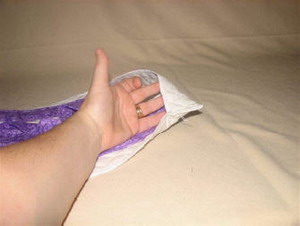
Step 1: First cut a piece of double sided quilted fabric in your choice of fabric. I laid out my book onto a piece of quilted fabric and folded the fabric around the book. I allowed extra for a pocket on the inside of the book cover. Make sure there is enough fabric to fold over on the inside of the book ends. ** My bible measures 6½ inches wide x 9½ inches tall x 1¾ inches thick.
|
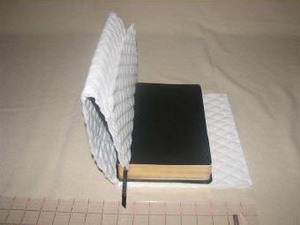
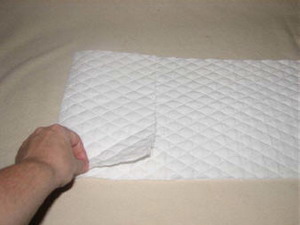
Step 2: My fabric measures 10½ inches x 29 inches. Add 1 inch to your book for the height, as there will be a ½ inch seam allowance. On the inside front cover, I added a pocket for keys andextra papers. This pocket fabric is included in the measurements of the cover. This can be sewn separately like I did, or folded to make a finished pocket without serging the bottom. My back pocket was a little short (approx. 3 inches), I would recommend a full back inside pocket flap.
|
|
|
|
Step 3: Cut a piece of the double fold bias tape and sew it to the top of the fabric where the top of the pocket will be. If you are making this in one piece of fabric, it will just be the end of the quilted fabric you just cut. If using a separate piece for the pocket set it aside for later.
|
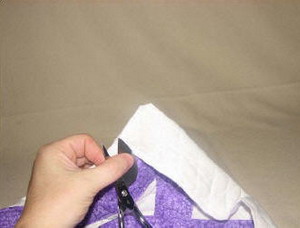
Step 4: Fold the inside flap of the fabric inside the book and find the center of the outside of the book and mark it with a washable fabric pen.
|
|
|
|
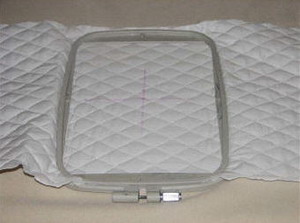
Step 5: Center the fabric in the hoop with tearwaway stabilizer.
|
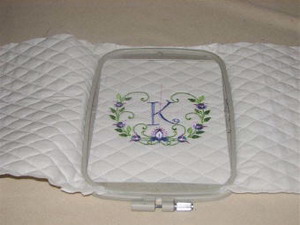
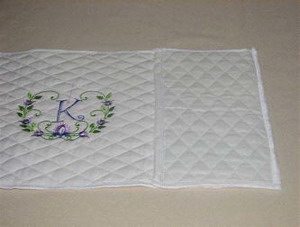
Step 6: Embroider the design and remove fabric from the hoop. Remove stabilizer.
|
|
|
|
Step 7: Serge or zigzag all raw edges, including the edges of the fabric for the pocket.
|
Step 8: Making the pocket ‐ Place the fabric on the table with design facing down. Fold the left end of the fabric to the right. This is the inside flap that holds the book flap in place.
|
|
|
|
Step 9: Fold back the finished end to form a pocket (if you are using a single piece) or lay the finished pocket piece in place (if you are using a separate piece. The bias tape should already be sewn onto this fabric).
|
Step 10: Lay the fabric out flat right side up‐ and serge the separate pocket piece onto the end of the fabric on the right side. Do not sew this pocket on the sides just yet.
|
|
|
|
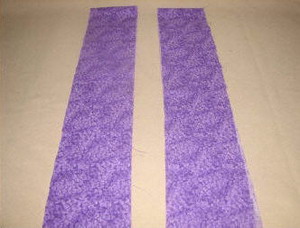
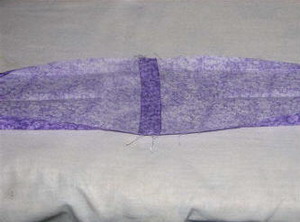
Step 11: Making the straps ‐ Cut the ¼ yard piece of coordinating fabric in half long‐ways. This will make two 4 ½ inches by approx 80 inches.
|
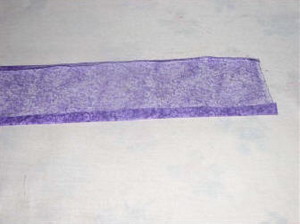
Step 12: Press in fabric edges ½ inch on both sides of the fabric. Then fold fabric again in half longways and press with iron.
|
|
|
|
Step 13: Open the end and sew the two pieces together. Press the seam open, then press the strap closed when finished.
|
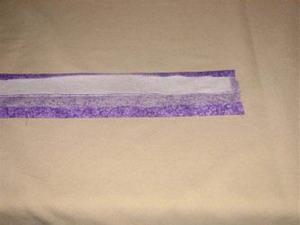
Step 14: I cut 2 pieces of felt 1½ inches wide to fit inside the handles. The felt from the bolt is 60 inches wide so I used a good long piece, then I cut another piece to fill the rest.
|
|
|
|
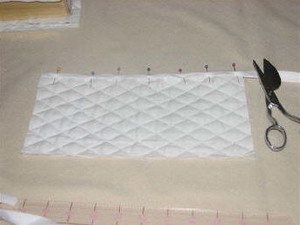
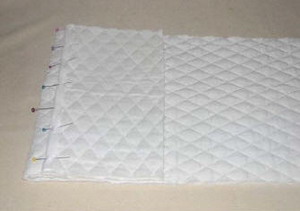
Step 15: Pin the edges of the fabric closed and sew along the edge on both sides leaving approx. 1 inch on one end unsewn. Lay it out and place the book on it to see how the straps fit. My finished strap is 68 inches long. I cut off about 9 inches for my book.
|
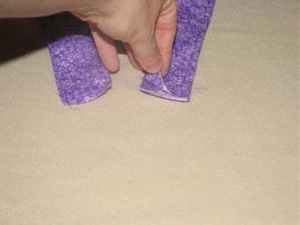
Step 16: When finished sewing the sides of the straps, connect the two ends together. Tuck one end into the other and fold one end ½ inch, then stitch in place to give it a finished look. Baste stitch this closed.
|
|
|
|
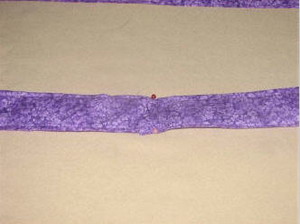
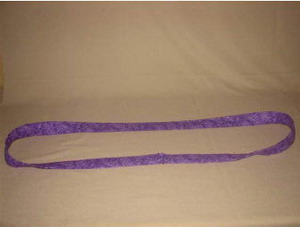
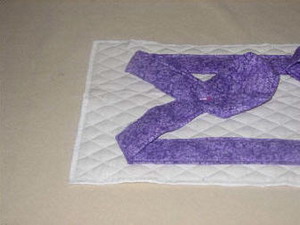
Step 17: Here is the finished handle. It should be a circular shape.
|
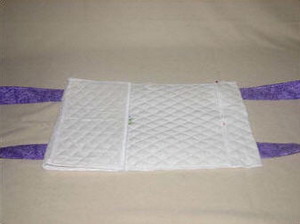
Step 18: Lay the quilted fabric onto the straps and fold in half. Making sure the straps are the desired length. I pinned my straps in place so I could get an idea where they should go, and to make sure they were centered.
|
|
|
|
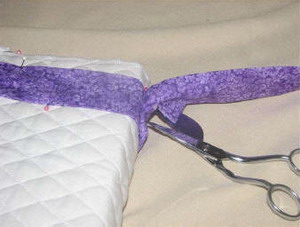
Step 19: Cut off the extra fabric you don't need.
|
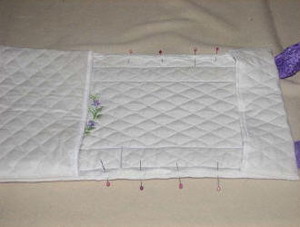
Step 20: Pin the straps in place being careful "NOT" to pin the pocket and flaps into the straps. Opening the flaps and pocket will be helpful in this step.
|
|
|
|
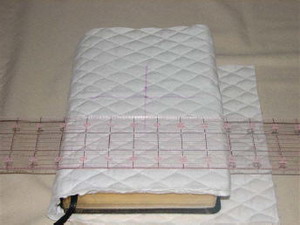
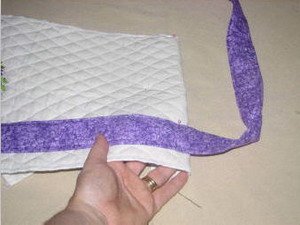
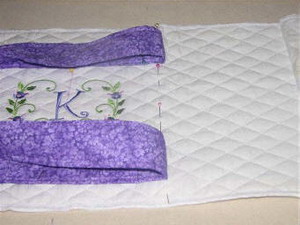
Step 21: I made markings with pins to show where the straps will meet the edge of the book. Do not sew past this mark on either side or you'll be sewing into your pocket and flaps.
|
Step 22: Wrong side after straps are sewed in place.
|
|
|
|
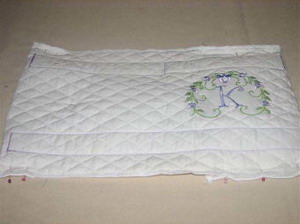
Step 23: Right side after straps are sewed in place.
|
Step 24: Sewing in flaps and pocket ‐ Lay the cover wrong side down and fold the pocket flap back towards you, on top of the embroidered design. Making sure to pin straps out of the way, so that don't get sewn into the sides. Pin both flaps to form pocket on the outside of the cover. Sew the sides in place with ¼ inch seam allowance.
|
|
|
|
Step 25: Pocket formed.
|
Step 26: Trim all corners before turning rightside out.
|
|
|
|
Step 27: Turn rightside out and press pocket and flaps flat. Turn the two edges inward and baste stitch ¼ inch between the 2 pockets, making sure not to sew into the pocket flaps.
|
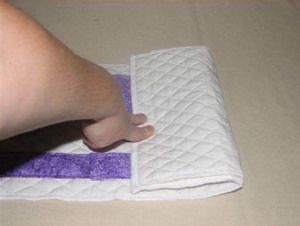
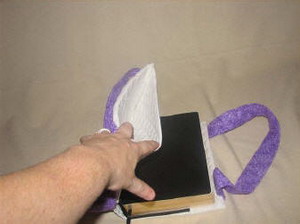
Step 28: Place the left book panel into left flap and the same to the other side.
|
|
|
|
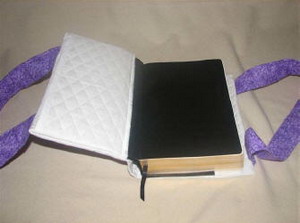
Step 29: Picture of the open pocket.
|
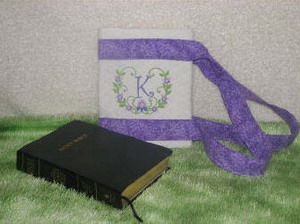
Step 30: Finished!
|


")