Embroidery Home My Account  Cart Contents  Checkout  
  Top » Catalog » Articles » My Account  |  Cart Contents  |  Checkout   
Quick Find


Advanced Search
Categories

Animals

Domestic Animals-Land

| Cat | Dog | Sheep | Horse | Cow | Pig
| Donkey | Hen, Rooster, Chick | Duck
| Rabbit |

Wild Animals-Land

| Bear | Monkey | Panda | Wolf | Tiger
| Lion | Leopard | Elephant | Giraffe
| Dinosaur | Deer | Fox | Moose | Squirrel
| Penguin | Koala | Rhino | Hippo | Zebra
| Antelope | Camel | Hedgehog |

Sea Animals

| Fish | Aquarium Fish | Shell | Seahorse
| Dolphin | GoldFish |

Air Animals

| Bird | Swan | Dove | Eagle | Parrot
| Ladybug | Butterfly | Dragonfly
| Blue Jay | Chickadee | Cardinal
| Hummingbird | Bee | Owl | Bluebird
| Peacock | Flamingo | Crane | Feather

Season

Season

| Spring | Summer | Autumn | Winter
What's New? more
Christmas Filigree 08(Sm)
$10.00
$4.00
Affiliate
Affiliate Log In
Affiliate FAQ
Information
Shipping & Returns
Privacy Notice
Conditions of Use
Contact Us

Quilted Hot Pads

  • 1 8"x8" pieces of solid quilters cotton
  • 1 8"x8" printed quilters cotton or choice
  • Two 1 1/2" wide x 5" Long pieces of matching printed quilters cotton
  • Two 1 1/2" X 7" Matching printed quilters cotton
  • 1 8"x8" piece of hotpad batting
  • Medium weigh cutaway stabilizer

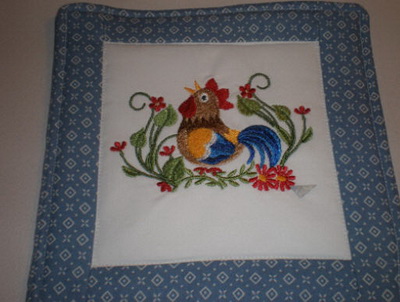
1. Prepare solid cotton and print 4x4 rooster design. Trim square to 5"x5" when
completed do not remove stabilizer from the back of the embroidery.


2. Align the two 1 1/2" x 5" pieces with the right sides facing. Pin in place and sew a
1/4 in seam along the pinned edges.


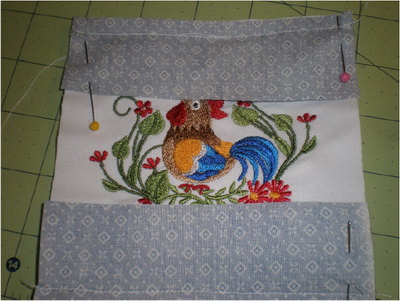
3. Lay the fabric flat and press the seams.


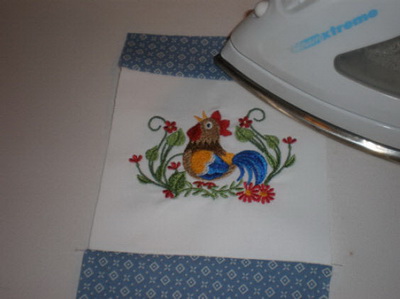
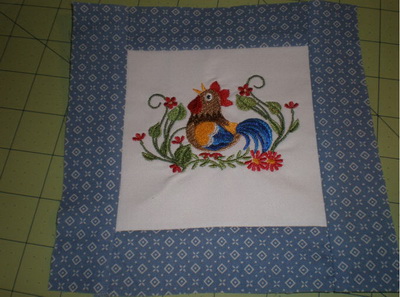
4. Align the two 1 1/2" Wide x 7" Pieces face down on the sides and sew a 1/4" seam
then press. Trim if needed


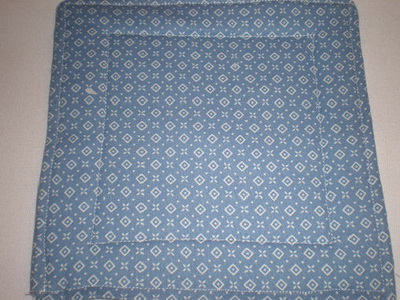
5. Lay the assembled top on top of the hotpad batting (shiny side up) and the 8x8
printed cottom face down on top of embroidered piece. Trim and leave about a 1/2
inch longer on the bottom.


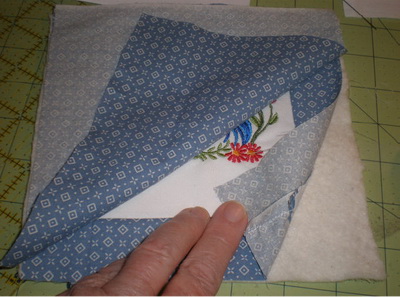
6. Pin in place and sew a 1/4" seam along the top and sides edges only. Leave the
bottom edge open for turning. Turn the pad right side out and press the seams.Turn
bottom under and pin.


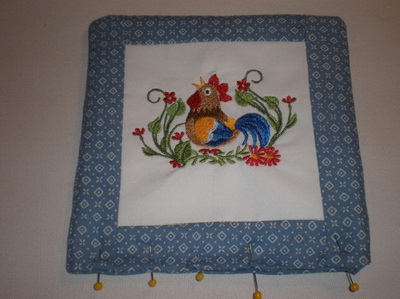
7. Sew 1/8" seam along the opening to close and all around the pad. Top stitch around
the inside of trim to match material and you are done.

Current Reviews: 0
Write Review
Tell a friend
Tell a friend about this article:  
Shopping Cart
0 items
My Wishlist more
0 items
Currencies
Articles
All Topics
 Project (25)
 Instruction (51)
 Tips
 Troubleshooting
 FAQ (6)

Submit An Article
 Search Articles  

Facebook Twitter
Copyright © 2024 Embroidery Home-Susan