|
|
|
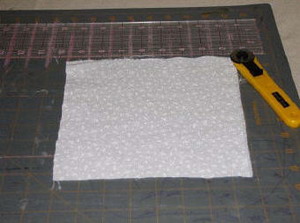
Step 1: Cut one piece of fabric 8x8 inches. This will be the center of the star block. I chose a white on white floral design for my fabric.
|
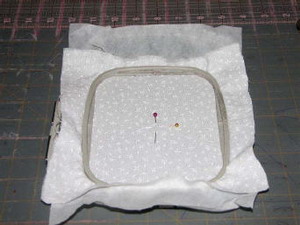
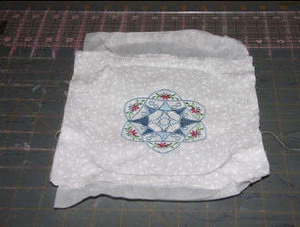
Step 2: Hoop the white fabric with tearaway stabilizer. Centering the white fabric. Enbroider design in your choice of colors.
|
|
|
|
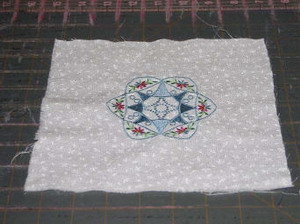
Step 3: Remove fabric from hoop and remove stabilizer from the back and press with dry iron. NOTE: Never use steam when quilting.
|
Step 4: Here’s the finished fabric after pressing.
|

|
|
|
Step 5: Find the center of the design and mark 2 ¼ inches from center on all sides. This will make the square 4 ½ inches. Cut off all excess fabric.
|
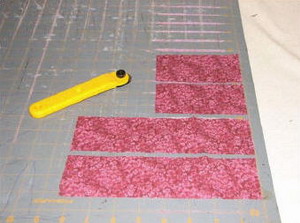
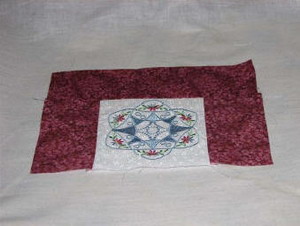
Step 6: With coordinating fabric, cut two strips of fabric 2 ½ inch wide x 8 ¼ inch long (top and bottom) and two strips 2 ½ inches x 4 ½ inches (sides).
|

|
|
|
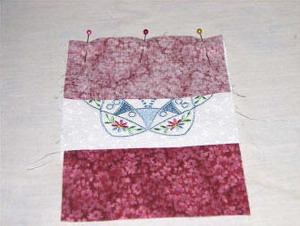
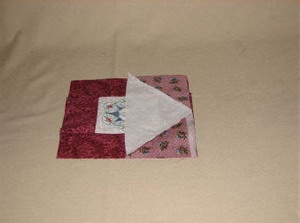
Step 7: Pin 2 ½ inch x 4 ½ inch strips to 4 ½ inch embroidered square. With right sides facing, sew the seam using ¼ inch. When finished, press the seam toward the darker fabric.
|
Step 8: Repeat Step 7 for the other side.
|
|
|
|
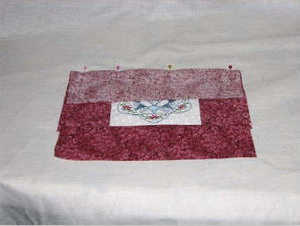
Step 9: Using one piece of the 2 ½ inch wide x 8¼ inch long fabric, pin to the side of fabric, centering as shown. Sew 1/4 seam and press.
|
Step 10: Repeat steps for the last 2 ½ inch wide x 8¼ inch long fabric. Always use a ¼ seam and press toward the darker fabric.
|
|
|
|
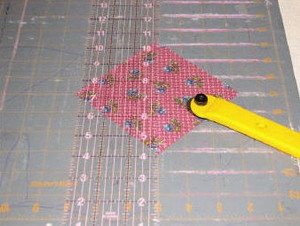
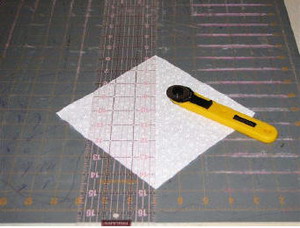
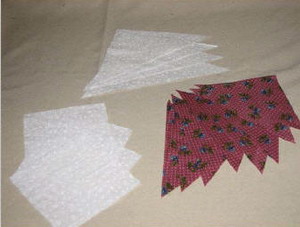
Step 11: Cut four 5 inch squares ‐ These are for the triangles. Cut the squares in half as shown to create the triangles.
|
Step 12: Cut two 6 ½ inch squares ‐ These are for the bigger triangles on the outside. Also cut them in half to form two triangles.
|
|
|
|
Step 13: When finished there should be eight smaller triangles, four larger triangles and four squares.
|
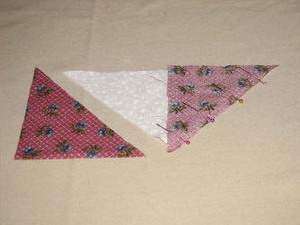
Step 14: Lay out two smaller triangles and one larger triangle as shown.
|
|

|
|
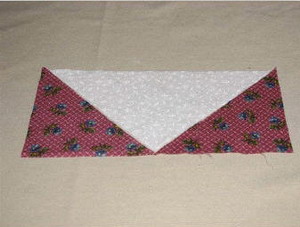
Step 15: Flip one smaller triangle onto the larger one, so the right sides are together and pin it in place. Sew ¼ inch seam and press the seam to the darker fabric.
|
Step 16: Repeat Step 15 for the other side.
|
|
|
|
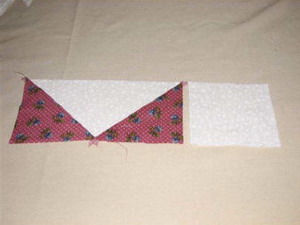
Step 17: Take one 4 ½ inch square and lay it beside the finished pieces. Flip so the right sides are together, pin in place and sew ¼ inch seam and press. Repeat and sew other square to the other side.
|
Step 18: Repeat for the other side.
|
|
|
|
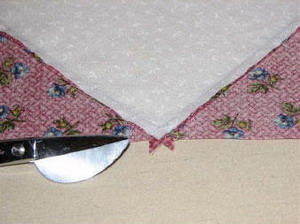
Step 19: Trim off the excess little triangles.
|
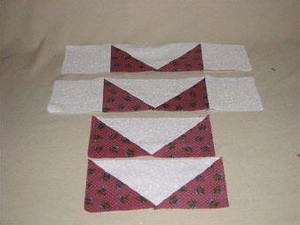
Step 20: Finish sewing the other two sets of triangles together and you should have two short sets of triangles and two sets of long triangles with squares.
|
|
|
|
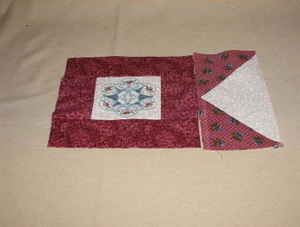
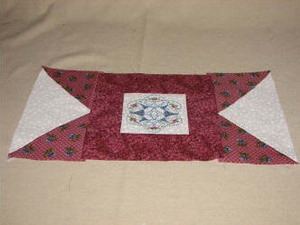
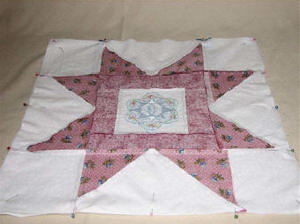
Step 21: Lay a short set of finished triangles by the finished center square.
|
Step 22: Flip the smaller triangle set onto the square, so the right sides are together and pin in place. Sew ¼ inch seam and press the seam to the darker fabric.
|

|
|
|
Step 23: Repeat Step 21 and 22 for the other side. Press the seams.
|
Step 24: Now you are finished with the center and sides.
|
|
|
|
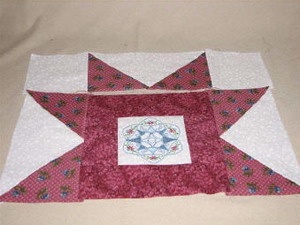
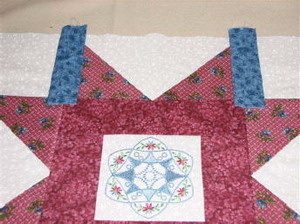
Step 25: Lay one TOP‐longer set of finished triangles by the finished center square. Flip the longer triangle set onto the square, so the right sides are together and pin in place. Sew ¼ inch seam and press the seam to the darker fabric.
|
Step 26: Lay one BOTTOM‐longer set of finished triangles by the finished center square. Flip the longer triangle set onto the square, so the right sides are together and pin in place. Sew ¼ inch seam and press the seam to the darker fabric.
|
|
|
|
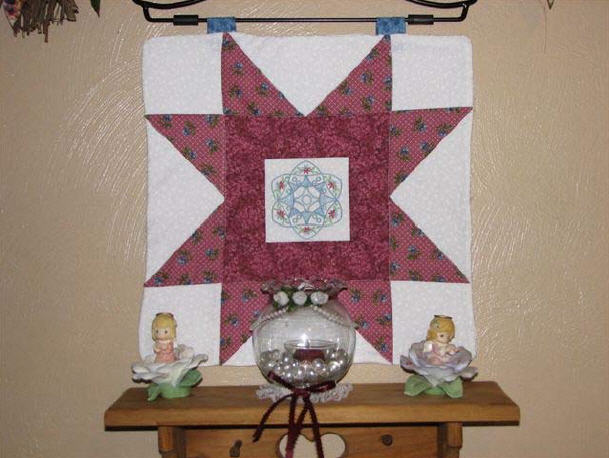
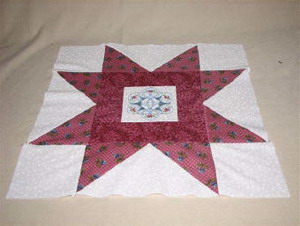
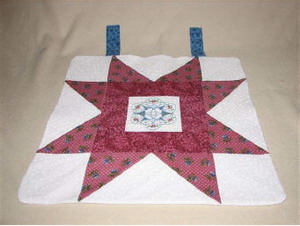
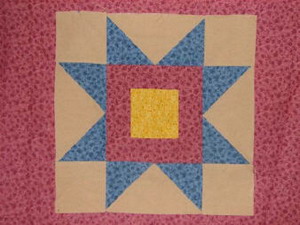
Step 27: Finished star pattern mini quilt top piece. The finished size should be 16 ½ inches square.
|
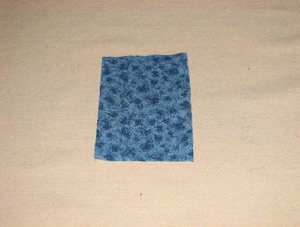
Step 28: Cut two 3 inch x 5 inch pieces from coordinating fabric for hangers.
|
|
|
|
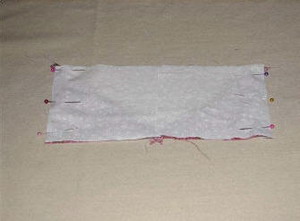
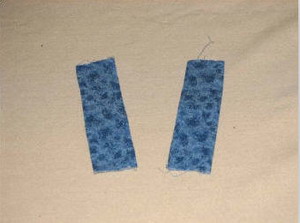
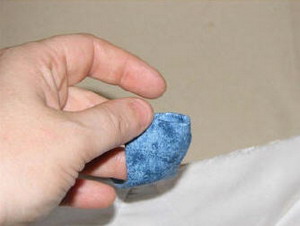
Step 29: Fold fabric in half longwise and pin. Sew ¼ seam and press. Turn fabric inside out. Press flat making sure the seam is in the middle.
|
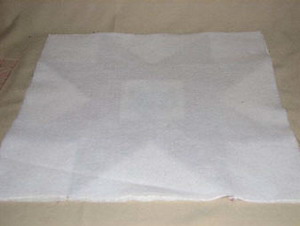
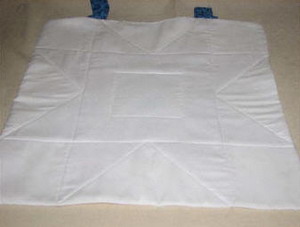
Step 30: Cut one piece of batting of your choice to a 16 ½ inch square and cut one piece of cordinating fabric for the back into a 16 ½ inch square.
|
|
|
|
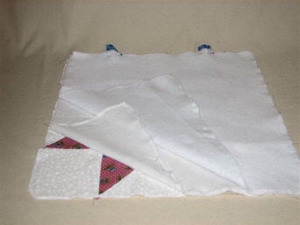
Step 31: Lay the straps with seams facing up onto the square where desired, leaving ½ ‐ ¾ inch hang over the edge. Pin in place.
|
Step 32: Place layers as follows. Front first, with right side up, back second, right side down (facing front side) and batting last.
|
|
|
|
Step 33: Pin all the layers together around the outside edge. Leaving a 3‐4 inch opening for turning around. Mine is at the top between the two straps. Sew all the layers together, being sure to secure the straps.
|
Step 34: Clip all the corners before turning inside out.
|
|
|
|
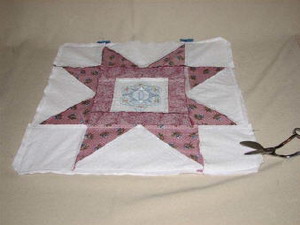
Step 35: Iron the finished piece flat. Hand sew opening closed.
|
Step 36: OPTIONAL‐I stitched in the ditch all the way around the star to give it a quilted look.
|
|
|
|
Step 37: To finish off the straps, tuck ½ inch of the fabric inside the strap fabric. Baste stitch it closed. Repeat for the other one.
|
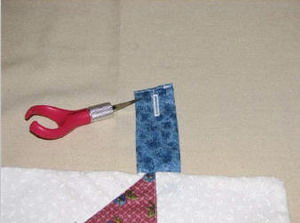
Step 38: Add a buttonhole to the end of the strap. Cut open the buttonhole with a blade or seam ripper.
|

|
|
|
Step 39: Add a button to the back side of the quilt about ½ ‐ ¾ inch down from the top edge.
|
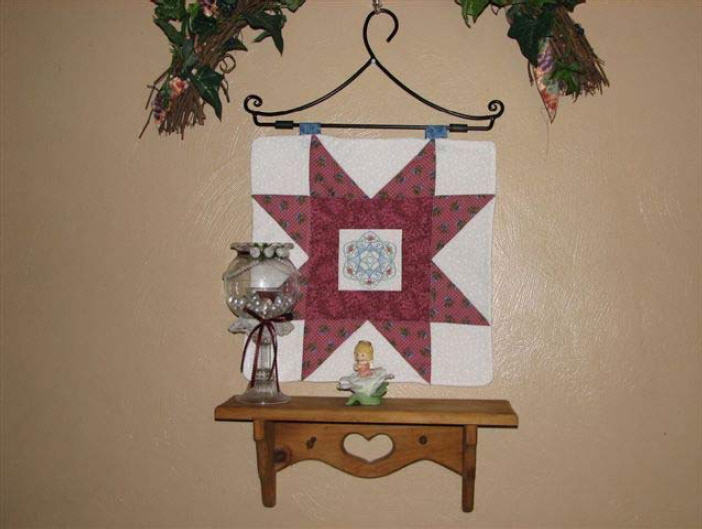
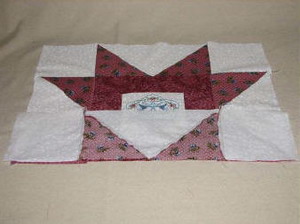
Here is a finished star without an embroidered center and in other coordinating colors. You can incorporate your stars into a quilt to match your wall hanging, if you wish…
|