|
|
|
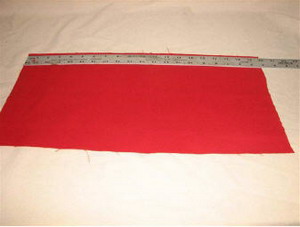
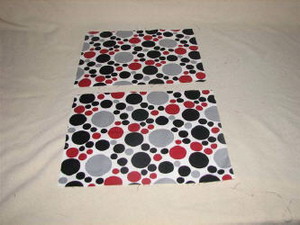
Step 1: Cut one piece of the solid duck cloth or canvas fabric- 10 1/2 inches x 19 1/2 inches.
|
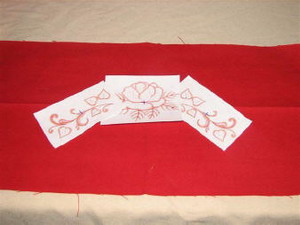
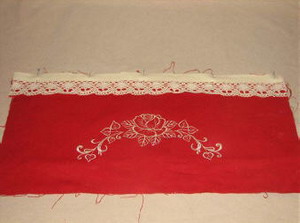
Step 2: Print off the designs with your printer to decide where you want your designs to go. The rose is in the exact center of the fabric. I decided to go with a slanted look for my leaves.
|
|
|
|
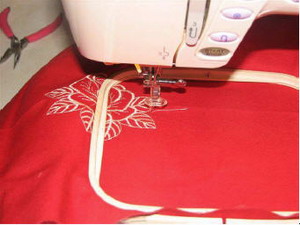
Step 3: Cut one piece of cutaway stabilizer just a little smaller than the already cut canvas. Use temporary spray adhesive and apply it to the back of the fabric. Hoop the center of the fabric and embroider the design.
|
Step 4: When finished embroidering the first design, remove the fabric from the hoop.
|
|
|
|
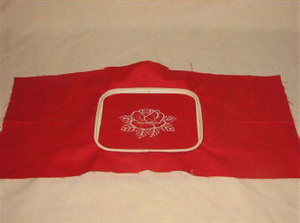
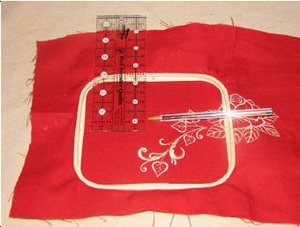
Step 5: Rehoop the fabric to the left or right just beside the rose that was just done. I used my embroidery software to turn my design a little and mirrored the image to do the other leaf. You can do your leaf designs straight, they will just go around the sides of the tote. I had to manually move my fabric in the hoop so I could get it just right.
|
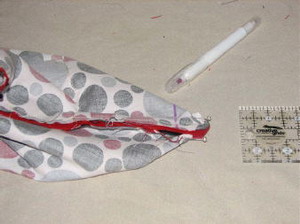
Step 6: In this picture the sewing needle in starting with the first leaf (I didn't want the leaf to start there so I had to find where the actual stem would be and move the fabric until I was satisfied). I placed the leaf designs 1 inch down from the center line.
|
|
|
|
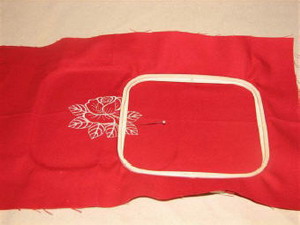
Step 7: Embroider the design and repeat for the other side of the rose.
|
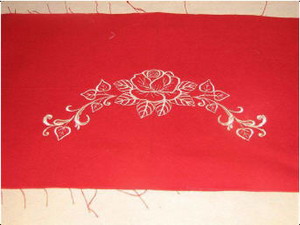
Step 8: Finished with the embroidery designs.
|
|
|
|
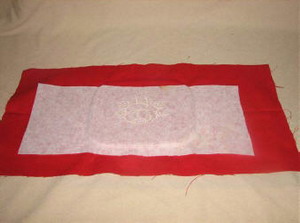
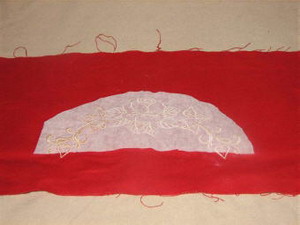
Step 9: Cut the excess stabilizer from the back of the fabric.
|
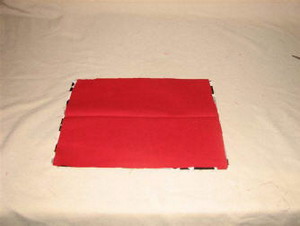
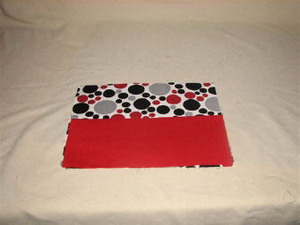
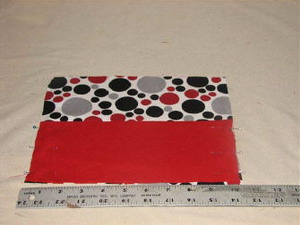
Step 10: Before adding the blanket binding to the top of the fabric. Cut off 2 inches lengthwise. Now your fabric should measure 8 1/2 inches x 19 1/2 inches. Pin and sew the blanket binding to the top of the fabric, sewing close to the stitches and not to the top edge of the fabric.
|
|
|
|
Step 11: Fold the fabric with right sides facing. Stitch the two raw edges on the side together using 1/4 inch seam allowance.
|
Step 12: Flatten the fabric so that the design is in the middle. Pin the bottom of the fabric and sew 1/4 inch seam.
|
|
|
|
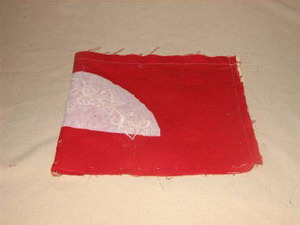
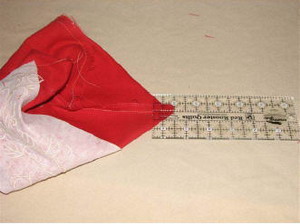
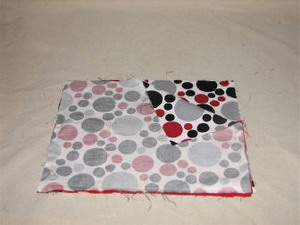
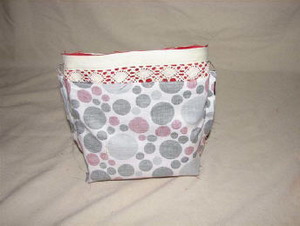
Step 13: Turn the fabric right side out and it will look like the picture.
|
Step 14: Turn the fabric wrong side out. Flatted the corner of the fabric on the straight hem and mark 1 inch with air-erase pen and use a stick pin to hold it in place.
|

|
|
|
Step 15: Repeat for the other side and stitch in place.
|
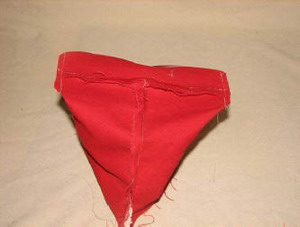
Step 16: Cut off the corners 1/4 inch away from the seam.
|
|
|
|
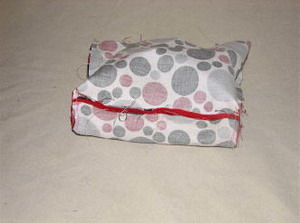
Step 17: Finished with this part of the bag, set it aside.
|
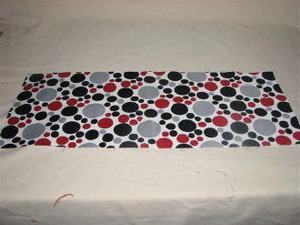
Step 18: Making the lining and pockets: Cut the fat quarter 8 1/2 inches by 22 inches.
|
|
|
|
Step 19: Cut the piece you just cut in half.
|
Step 20: Cut two pieces of the duck cloth or canvas to the size of the printed fabric. Lay the fabric on top of the lining fabric and cut off 1/2 inch on one of the sides (left or right-not top or bottom)
|
|
|
|
Step 21: Fold the canvas fabric down and press with an iron.
|
Step 22: Pin the two sides and the bottom of the pocket and sew in place with 1/4 inch seam. Sew down the middle of the pocket panel to make two pockets.
|
|
|
|
Step 23: Repeat for the second pocket. You can make your pockets as big or as small as you like. I have a 3 inch pocket here.
|
Step 24: Place the two pocket panels right sides facing.
|
|
|
|
Step 25: Pin the bottom and sides together and stitch with 1/2 inch seam.
|
Step 26: Just like the outside of the bag, you need to turn the fabric wrong side out, flatten the corner of the fabric on the straight hem and mark 1 inch with air-erase pen, using a stick pin to hold it in place.
|
|
|
|
Step 27: Repeat for the other side and stitch in place. Cut off the corners 1/4 inch away from the seam.
|
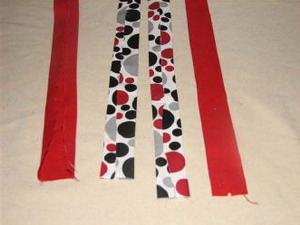
Step 28: Making the straps: Cut two pieces of fabric from the duck cloth- 3 inches x 22 inches and two pieces from the printed fabric--3 inches x 22 inches. Fold in the two long edges, touch them in the middle and press with the iron. Do this with all 4 pieces.
|
|
|
|
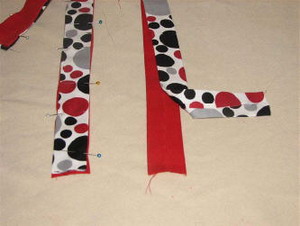
Step 29: Place the opposites together, a solid with a print, with the raw edges facing.
|
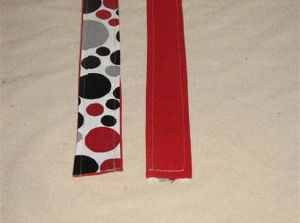
Step 30: Top stitch 1/8 inch all the way around the strap.
|
|
|
|
Step 31: Flatted the bag right-side out. With the center back seam of the bag facing up, pin the straps to the top of the bag, with the raw edges even. There should be 1 1/2 inches from the edges of the bag. Stitch the straps in place.
|
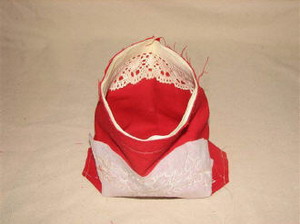
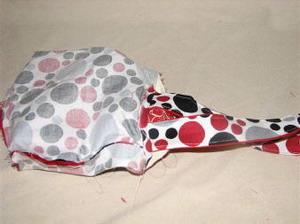
Step 32: With the outside of the tote still facing out and the lining of the bag still facing in. Place the outside piece inside the lining. Like the example.
|
|
|
|
Step 33: Pin the top edges together, leaving 3 inches open for turning around. Stitch 1/4 inch all the way around the top, except the 3 inches left for turning around.
|
Step 34: Gently pull the tote bag inside out.
|
|
|
|
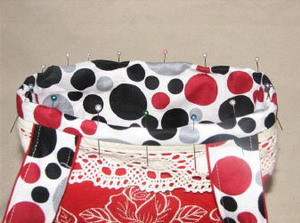
Step 35: Pin the opening closed. Pin the rest of the top.
|
Step 36: Stitch close to the edge, touching the blanket binding with 1/8 seam.
|
|

|
|
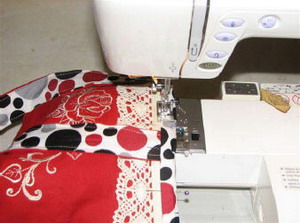
Step 37: Pin the straps upward to the bag. Stitch around the bag once more over the last stitches you just made.
|
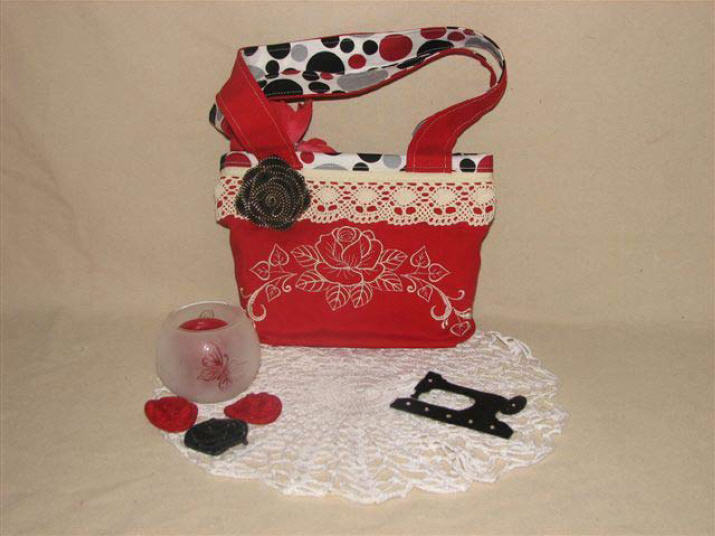
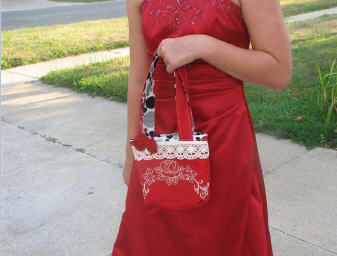
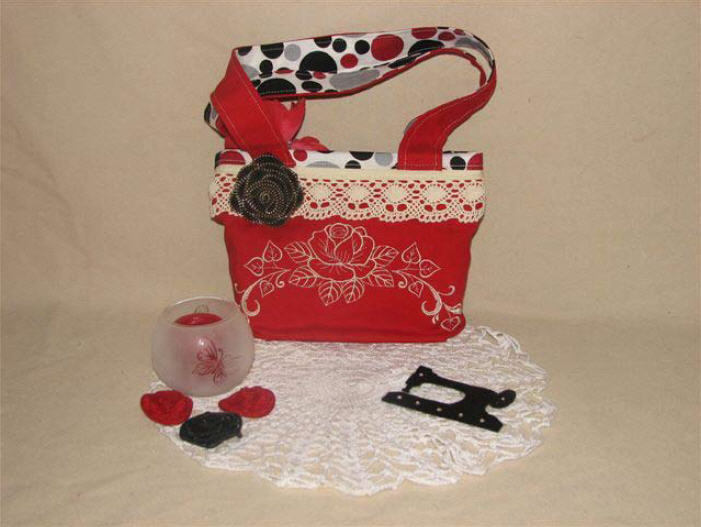
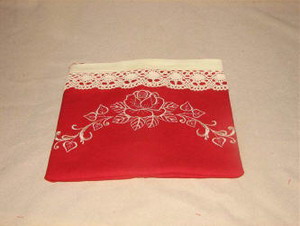
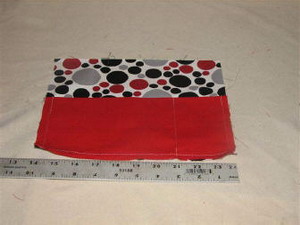
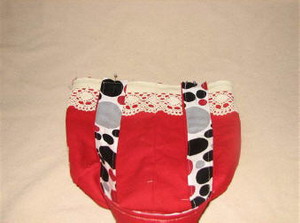
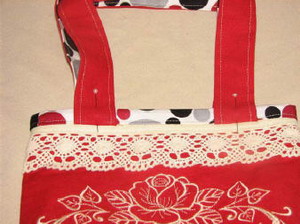
Step 38: Mini Purse tote finished. Add ribbons or flowers to decorate to your taste.
|
|
|
|
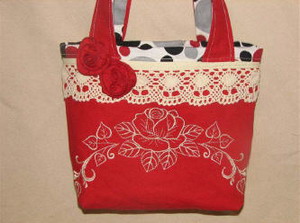
Step 39: Close-up of the bag.
|
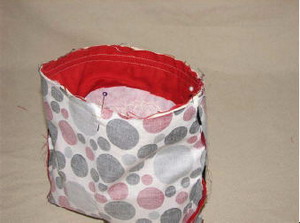
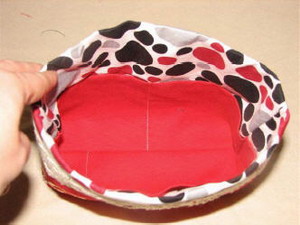
Step 40: Inside of the bag empty.
|