|
|
|
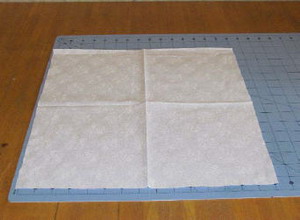
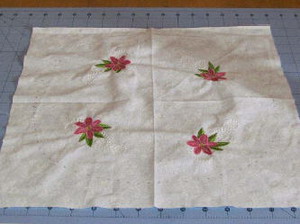
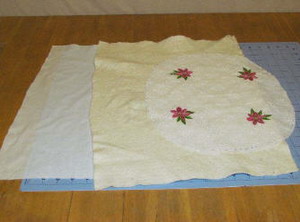
Step 1: Cut one piece of white fabric 15 inches by 15 inches. Lightly press the center of the fabric as in the example.
|
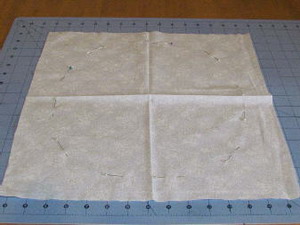
Step 2: My shape is sort of oblong. I just used pins to see the shape that I desired.
|

|
|
|
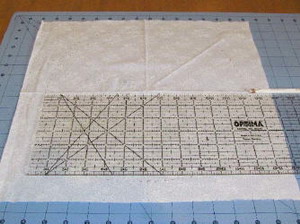
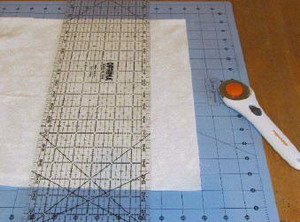
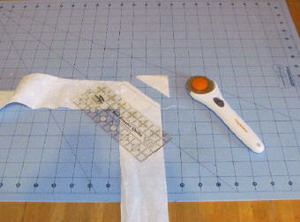
Step 3: With a fabric pin mark out the oblong shape.
|
Step 4: The width of the oblong shape is 12 ¼ inches.
|
|
|
|
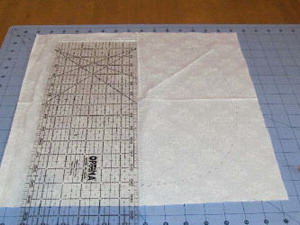
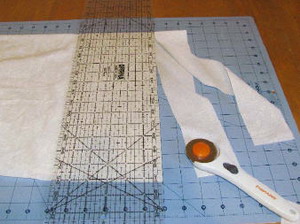
Step 5: The length of the oblong shape is 13 ¼ inches. You will also have to make more pie shapes. Fold the fabric diagonal one direction and press, then fold the other direction and press again. This will be the area for embroidery.
|
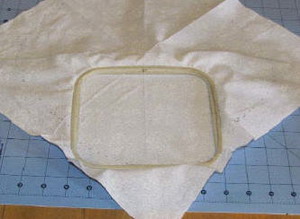
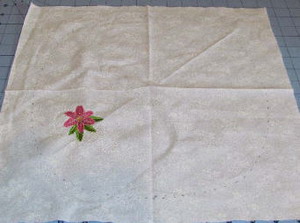
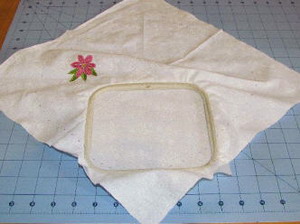
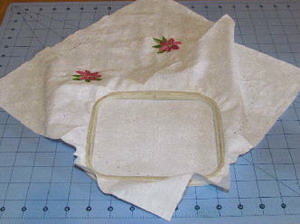
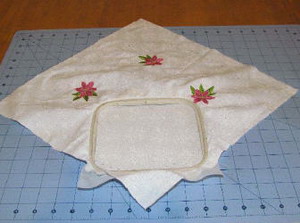
Step 6: Hoop fabric and tear away stabilizer together. Matching up center lines, I placed the bottom curve of the fabric along the inside bottom of the hoop.
|
|
|
|
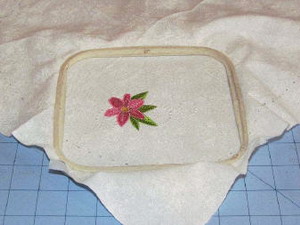
Step 7: Embroider the design.
|
Step 8: After embroidering the design, remove the stabilizer from the back of the fabric.
|
|
|
|
Step 9: Repeat steps 6, 7, & 8 on the next section of the fabric.
|
Step 10: Repeat steps 6, 7, & 8 on the next section of the fabric.
|
|
|
|
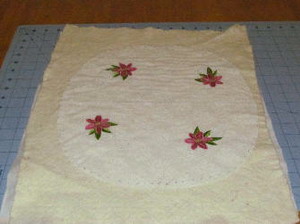
Step 11: Repeat steps 6, 7, & 8 on the next section of the fabric.
|
Step 12: Finished with all 4 designs.
|
|
|
|
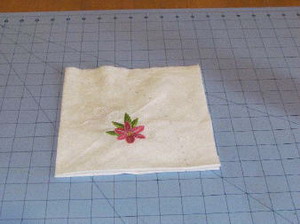
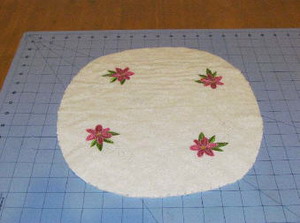
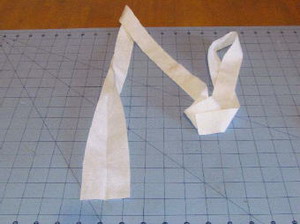
Step 13: Fold the fabric in half and then again. Like the example.
|
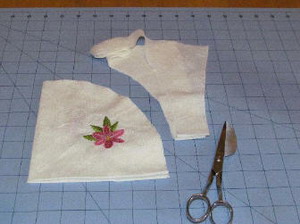
Step 14: Cut out the oblong shape along the lines.
Cutting doesn’t have to be perfect; we will be sewing over this.
|
|
|
|
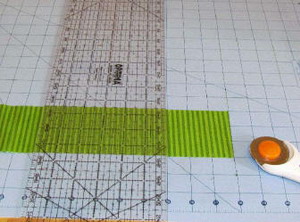
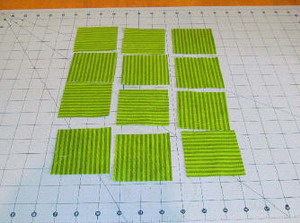
Step 15: With the green fabric, cut a 3 inch wide strip the length of the fabric.
|
Step 16: Cut the strip of fabric into twelve 3 inch squares.
|
|
|
|
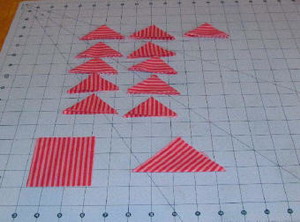
Step 17: Repeat steps 15 & 16 with the pink fabric. Fold all the twenty four squares in half into a triangle. Then fold again into a smaller triangle. Press each shape with an iron.
|
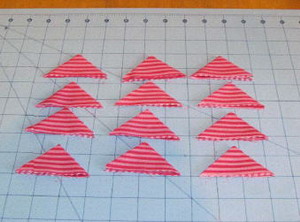
Step 18: Completed triangles.
|
|
|
|
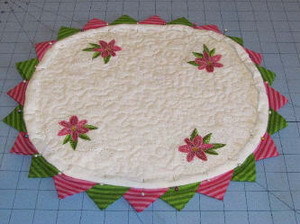
Step 19: I placed the prairie points about 1 inch inside the next prairie point. Make sure all your point look the way you want them to. The other side of my points is facing up and down.
|
Step 20: Cut one piece of low pile batting 15 inches x 15 inches. Also cut one piece of white fabric for the backing 15 inches x 15 inches.
|
|
|
|
Step 21: Use the spray adhesive between all three layers...backing on the bottom, batting in the middle, and the design fabric on the top.
|
Step 22: Cut the batting and the backing following the oblong shape.
|

|
|
|
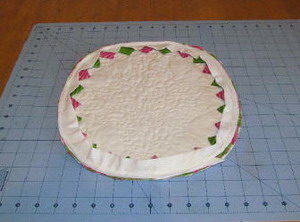
Step 23: Quilt this mat as desired. I did a stipple design.
|
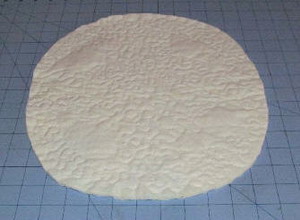
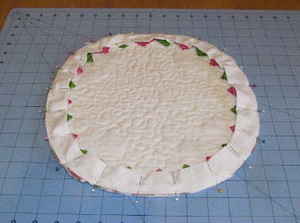
Step 24: Finished back stipple.
|
|
|
|
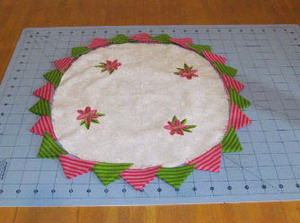
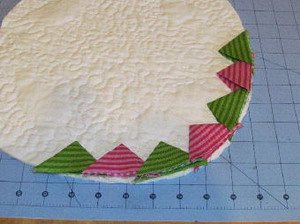
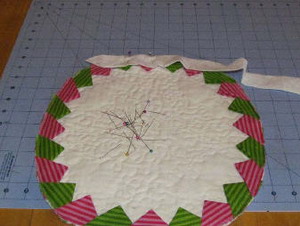
Step 25: Place the prairie points on the back of the mat.
|
Step 26: Pin the prairie points in place.
|
|
|
|
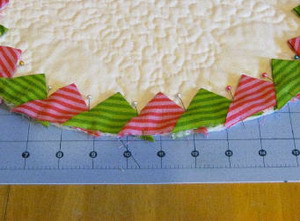
Step 27: Close up of the pinning process. It should be 1 inch inside the next prairie point.
|
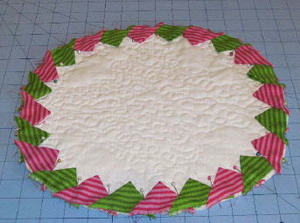
Step 28: Sew along the edge ¼ inch, to attach the prairie points.
|

|
|
|
Step 29: Trim the excess fabric from the prairie point around the oblong shape.
|
Step 30: Making the binding. (You can also use purchased binding) Cut one strip of the white fabric 2 inches wide x 1 ½ yards long.
|
|
|
|
Step 31: I used a scrap piece of fabric so I needed to make a long strip of fabric. I cut two pieces of fabric and sewed them together.
|
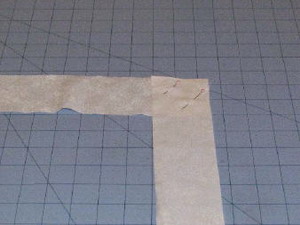
Step 32: If you need to make your own binding longer, follow these steps. Place the fabric right sides together as shown in the example. Pin them together.
|
|
|
|
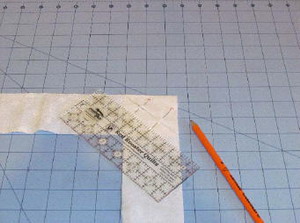
Step 33: Mark across the fabric where the top and bottom diagonals are. This will be the sewing line.
|
Step 34: Sew along the marking. Cut off the excess fabric ¼ inch from the stitch line.
|
|
|
|
Step 35: Fold and press the binding fabric in half length wise.
|
Step 36: Pin the raw edge of the binding to the raw edge of the mat on top of the prairie points as shown.
|
|
|
|
Step 37: Continue until all the binding is pinned in place. The end tail should tuck inside the beginning of the binding. Clip any extra fabric to make it fit.
|
Step 38: Sew along the outter edge just to the left of the stitches for the prairie points. This will hide the previous stitches.
|

|
|
|
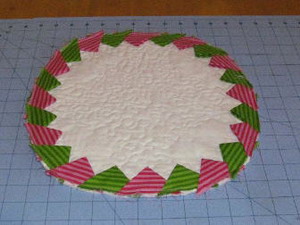
Step 39: Fold the binding towards the top of the mat. Pin in place. Making sure to cover all the other work.
|
Step 40: Pin all the way around the shape. Sew along the inner edge of the binding.
|


")