|
|
|
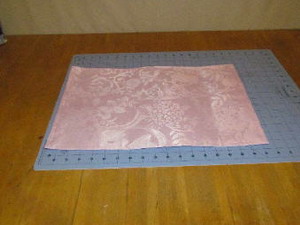
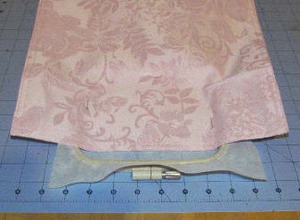
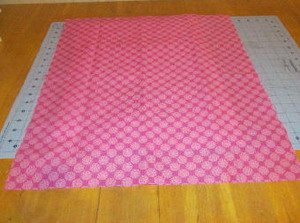
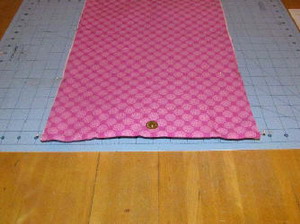
Step 1: Choose a desired place mat. I used 13 inches x 18 inches (other sizes can be used too).
|
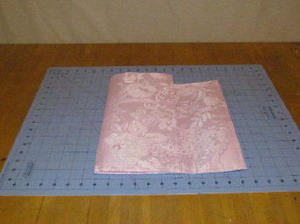
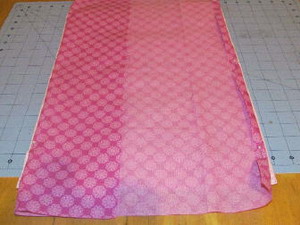
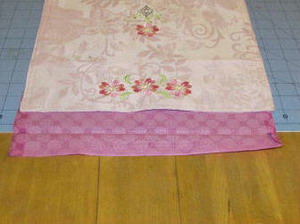
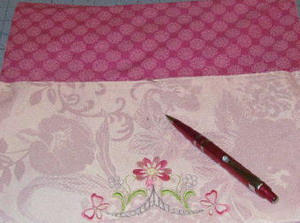
Step 2: Tri -fold the place mat. I have about 6 ¾ inches on the bottom section and 4 inches on the top. Press with an iron to mark the folds.
|
|
|
|
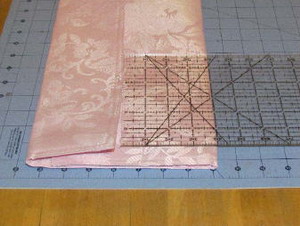
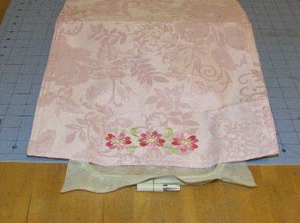
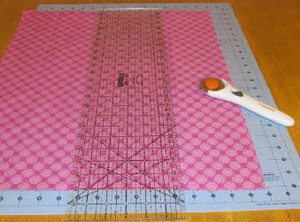
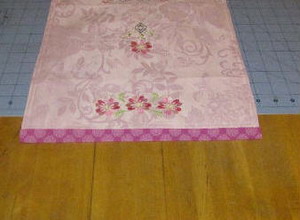
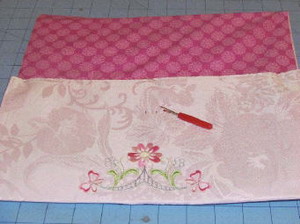
Step 3: There should be about 4 inches from the top flap to the bottom fold.
|
Step 4: On the top flap, find the center. It should be 2 inches from the edge of the placemat and 2 inches from the fold. I hooped tear away stabilizer and used temporary spray adhesive on the back of the place mat and smooth into place. I used stick pins to secure the place mat to the stabilizer.
|
|
|
|
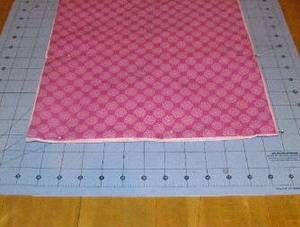
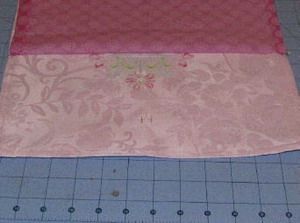
Step 5: Embroider the design. Remove the placemat from the hoop and remove the excess stabilizer. Press with an iron.
|
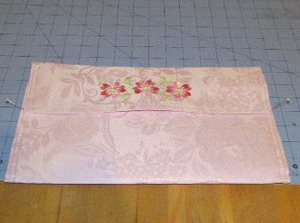
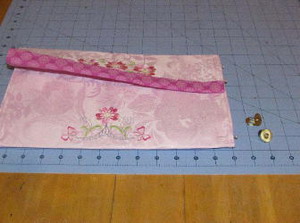
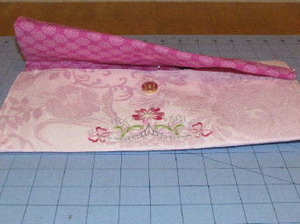
Step 6: Fold up the bottom of the placemat and tuck under the embroidered flap.
|
|

|
|
Step 7: On the bottom flap, find the center. It should be 2 inches from the edge of the placemat and 2 inches from the edge of the flap. Hoop tear away stabilizer and use temporary spray adhesive on the back of the place mat and smooth into place. Used stick pins to secure the place mat to the stabilizer.
|
Step 8: Embroider the design. Remove the placemat from the hoop and remove the excess stabilizer. Press with an iron.
|
|
|
|
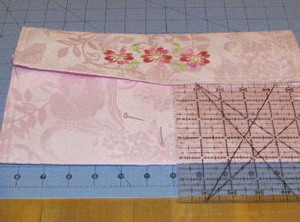
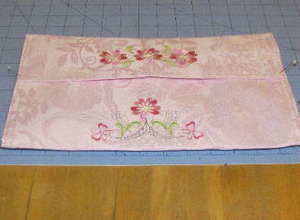
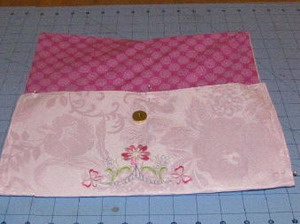
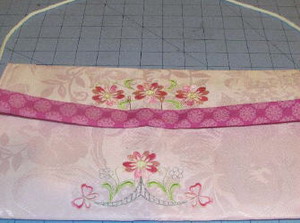
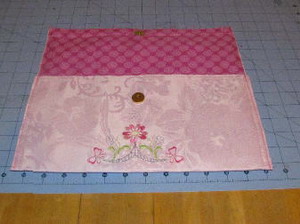
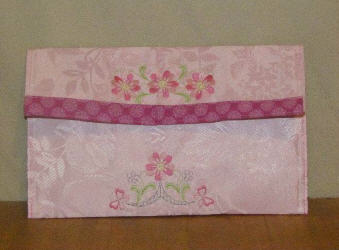
Step 9: You will have two designs on front of clutch.
|
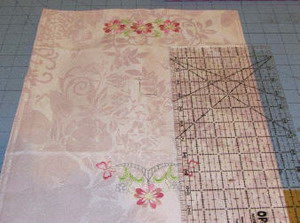
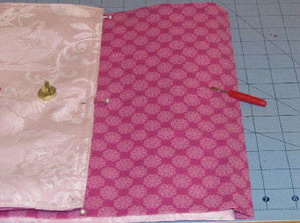
Step 10: Open the placemat. Find the center of the third section.
|
|
|
|
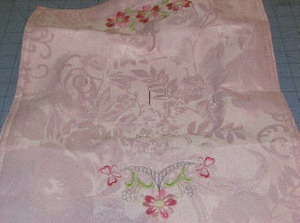
Step 11: In the middle section, find the center. Hoop tear away stabilizer and use temporary spray adhesive on the back of the place mat and smooth into place. Use stick pins to secure the place mat to the stabilizer.
|
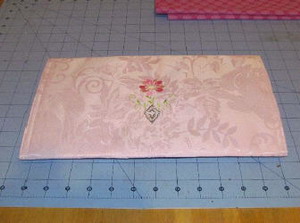
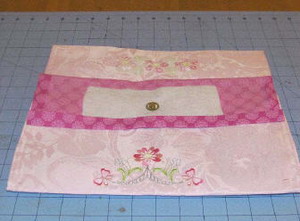
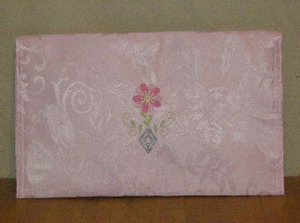
Step 12: Finished back of the clutch.
|
|
|
|
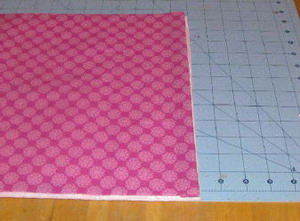
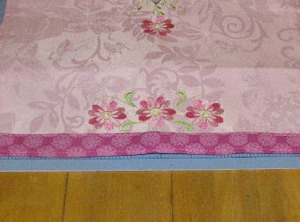
Step 13: Cut one piece of coordinating fabric 14 inches x 22 inches or fat quarter (18 inches x 22 inches) for the lining.
|
Step 14: Place the fabric on top of the place mat and fold in the edges to fit inside the placemat. Pin and iron these edges.
|
|
|
|
Step 15: Cut off the excess fabric, leave ½ inch you pressed under.
|
Step 16: Press ½ on the bottom of the fabric also. Pin the fabric wrong side against the placemat. Leave the top edge open for now.
|
|
|
|
Step 17: Now you can choose to bring the lining to the outside of the clutch or leave it on the inside.
|
Step 18: If you choose to bring the lining to the outside fold the end inwards toward the place mat about 1 inch then again, until the fold touches the edge of the placemat. Fold once more over the edge of the placemat to make a binding. Pin the fabric in place.
|
|
|
|
Step 19: If you didn’t choose to leave the fabric on the outside, then cut off the excess fabric , leaving ½ inch and fold it under and press and pin along the inside edge of the place mat.
|
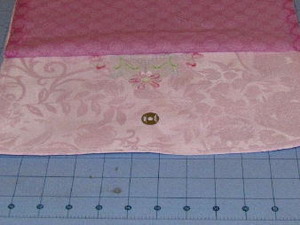
Step 20: Get ready to install the magnetic snap.
|

|
|
|
Step 21: Choose where you want the snap to go on the clutch. Mine is about 2 inches down from the edge.
|
Step 22: With a marking pen, mark the fabric where the magnet tabs will be.
|
|
|
|
Step 23: Unpin the lining, pull the lining back, use a seam ripper to cut through the markings.
|
Step 24: Put the tabs through the holes.
|
|
|
|
Step 25: Place the metal plate over the fabric and the tabs and fold the tabs over each other, according to the manufacturer’s instructions.
|
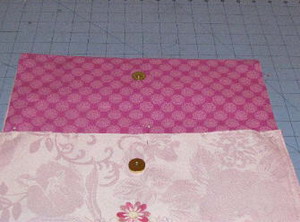
Step 26: Finished snap in place.
|
|
|
|
Step 27: Now that one snap is in place you can do the other one. Place the second half of the snap onto the secured snap. Mark the lining fabric with the pen when the tabs touch the fabric.
|
Step 28: Cut the markings with the seam ripper. Cut just the lining, not the place mat.
|
|
|
|
Step 29: Push the tabs through the holes in the lining fabric and place the piece of scrap felt over the tabs also, you will have to cut holes in this too. Place the metal plate over the tabs and fold the tabs down. The felt is to help secure the fabric.
|
Step 30: Both the magnetic snaps are in place.
|
|
|
|
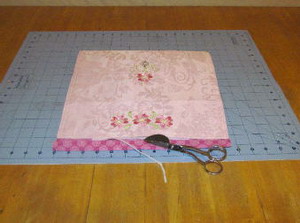
Step 31: If there is any excess felt hanging over the edge of the place mat, cut it off.
|
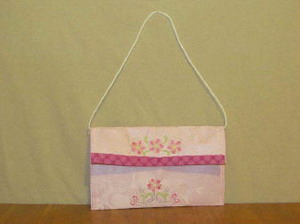
Step 32: (Optional) If you want to add a strap, now is a good time. Cut a piece of cording to your desired length and place it behind the lining at the top fold of the clutch. Pin in place.
|
|
|
|
Step 33: Since I placed my snap so close to the edge of the place mat, I needed to mark where the snap is under the fabric so I wouldn't sew over it with the machine. You can change this, by simply moving the snap up 1 inch.
|
Step 34: Pin and sew along close to all the edges, about 1/8 inch seam.
|
|
|
|
Step 35: For the binding on the outside. Pin along the edge along the top fold. Sew along the bottom edge and along the top edge. You will have to hand stitch the opening closed where the snap is.
|
Step 36: Pin the back and front together along the edges of the clutch and sew the sides together making sure to back stitch at the beginning and the ends.
|
|
|
|
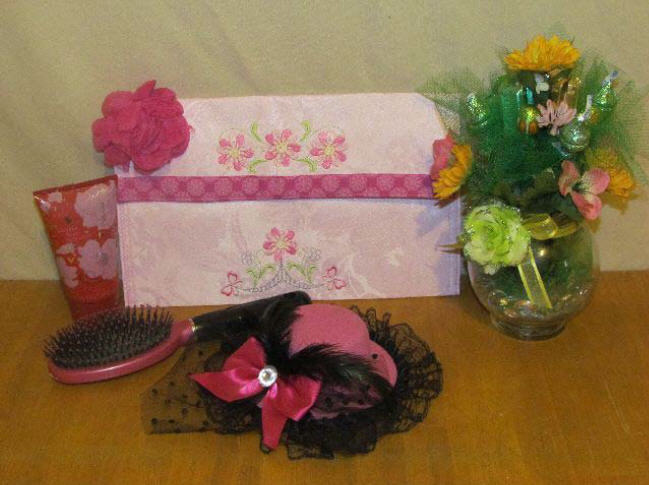
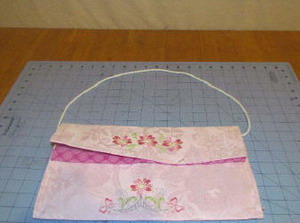
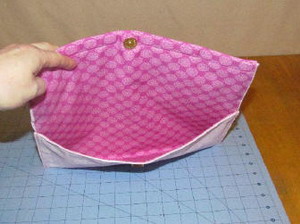
Step 37: Finished inside of the clutch. Add a cute flower pin and the clutch is finished.
|
FINISHED!
|
|
|