|
|
|
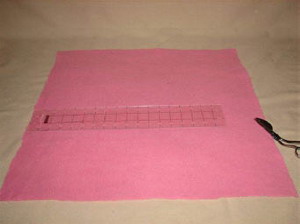
Step 1: Cut 2 pieces of fleece 22 inches x 22 inches square. Any color combination will work.
|
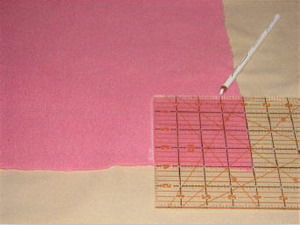
Step 2: Using a water soluble marking pen, mark 4 inch squares on all the corners of both pieces of fleece.
|
|
|
|
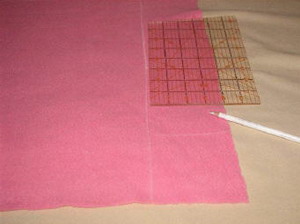
Step 3: Mark 4 inches from edge all the way around the square, connecting the 4 squares on the corners. This will be the guide line for the fringe.
|
Step 4: Starting beside the 4 inch square, mark every 1 inch with fabric pen. This will be the fringe marks. Do not cut these at this time.
|
|
|
|
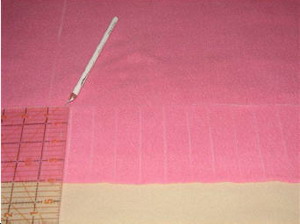
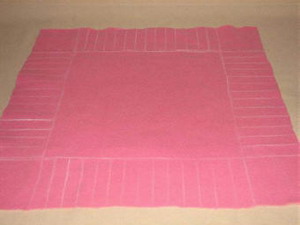
Step 5: Image shows what fleece should look like all marked out. You should have all the same amount of fringe markings all the way around.
|
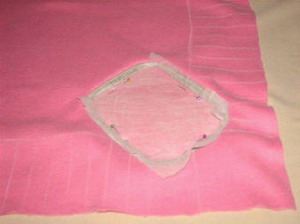
Step 6: Choose where you want the design to go. I lined up my hoop with two edges of the inner square. Starting with the left corner. Hoop fleece. Top with vilene. You can use temporary spray adhesive or stick pins to hold it in place.
|
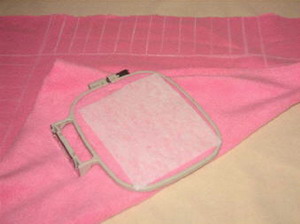
|
|
|
Step 7: Free float tear away stabilizer or use spray adhesive on the back of the hoop to hold the tear away stabilizer to the back of the fleece.
|
Step 8: Embroider the design in your color choices.
|
|
|
|
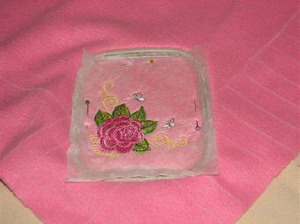
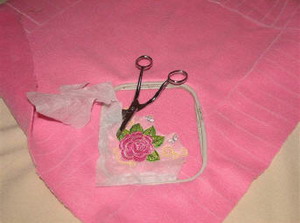
Step 9: When finished embroidering the design, remove fleece from the hoop and cut away the excess vilene. Remove the tear away stabilizer from the back.
|
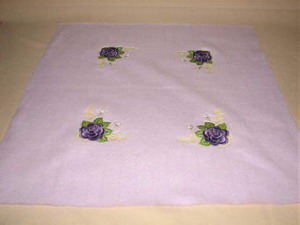
Step 10: Design finished.
|
|

|
|
Step 11: I embroidered all 4 corners the same way as the first (started a new pillow, different color!) Using the inner square as my guide line.
|
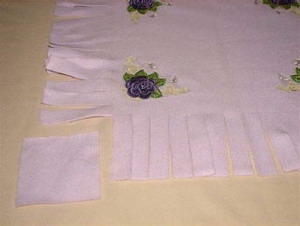
Step 12: Cut out all 4x4 inch corners on both pieces of fleece (eight in all).
|
|
|
|
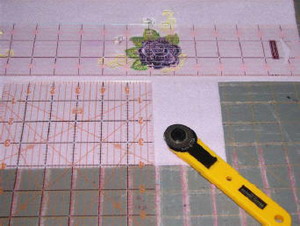
Step 13: When cutting the fringe, I use 2 rulers. One at the top is used as a blade stopper and the other for straight cuts.
|
Step 14: Place the stop ruler where your markings are about ¼ above the marked line. Using the other square ruler and blade, cut the 1 inch fringe up to the stop ruler. Continue all the way around the 2 pieces of fleece until all are cut.
|
|
|
|
Step 15: Finished cutting fringe.
|
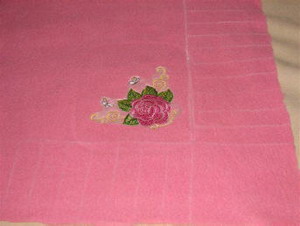
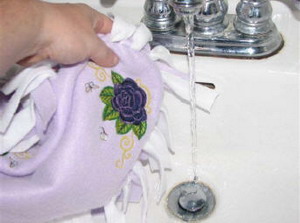
Step 16: Rinse out the vilene with warm water from the fleece. Let it dry (you can air dry or toss it in the dryer).
|
|
|
|
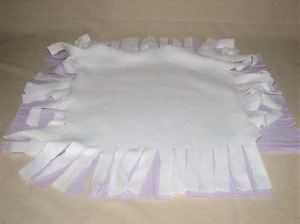
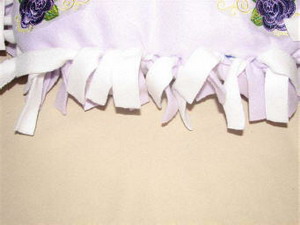
Step 17: Start tying the two pieces of fleece together, starting at 1 corner where the 4x4 square was cut away. Take a piece from one color of fleece and tie it to a coordinating piece from the other piece of fleece. I try to pull the opposite color to the other side when making my knot.
|
Step 18: Tie 3 sides. Leaving 1 side open for stuffing.
|
|
|
|
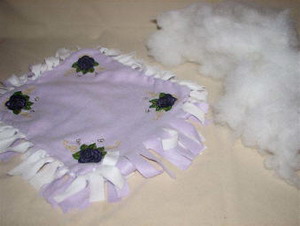
Step 19: Stuff the pillow with batting. Stuff to your liking. Finish tying up the rest of the fringes. You can also use a pre-made pillow. This pillow cover will cover a 14 x 14 inches square pillow form.
|
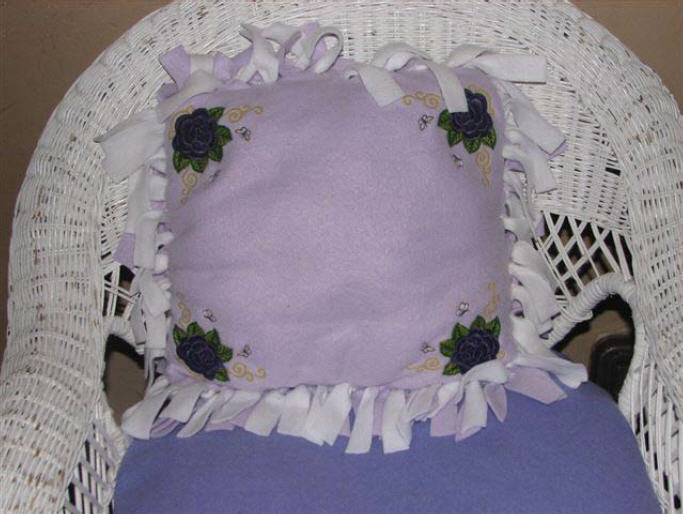
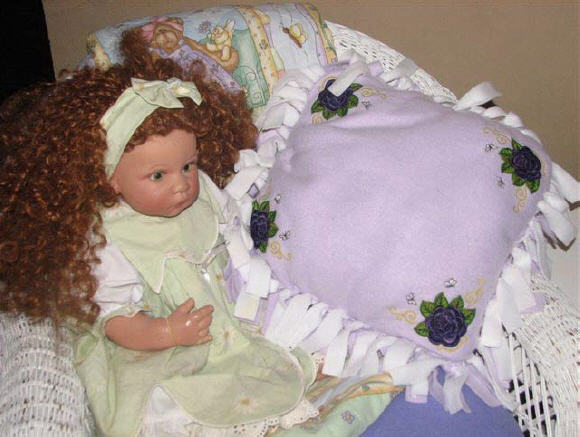
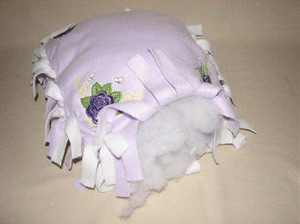
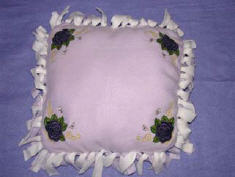
Step 20: Finished pillow.
|


")