|
|
|
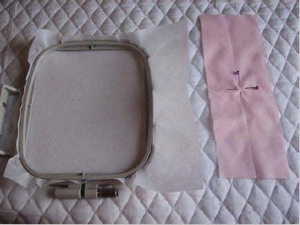
Step 1: Cut 4 pieces of fabric to 3 x 8 ½ inches for the side panels of the pillow. Fold the fabric in half. Mark the center with a pin or fabric marker. Hoop the stabilizer and fabric together, using pins or spray adhesive, if needed.
|
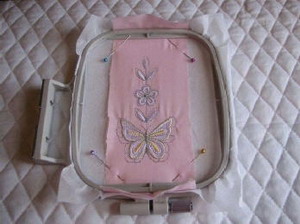
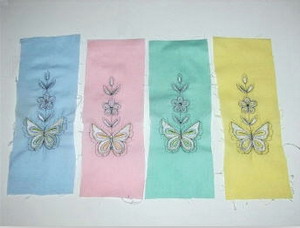
Step 2: Embroider the design of your choice.
|
|
|
|
Step 3: Repeat steps 1 and 2 until all 4 pieces of fabric are embroidered.
|
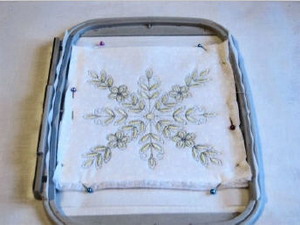
Step 4: Cut a piece of fabric 6 ½ x 6 ½ inches for the center front of the pillow. Hoop the stabilizer. Spray adhesive on the back of the felt or battingand press flat in the hoop. Next spray the back of the fabric and smooth it on top of the batting. Pin the corners for extra stabilization. Embroider the main design in the center of the fabric.
|
|
|
|
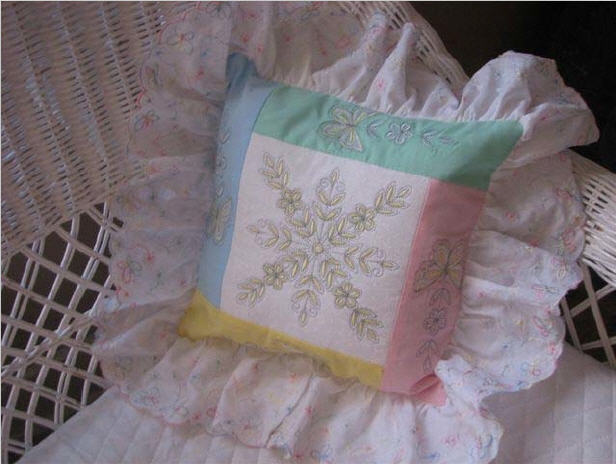
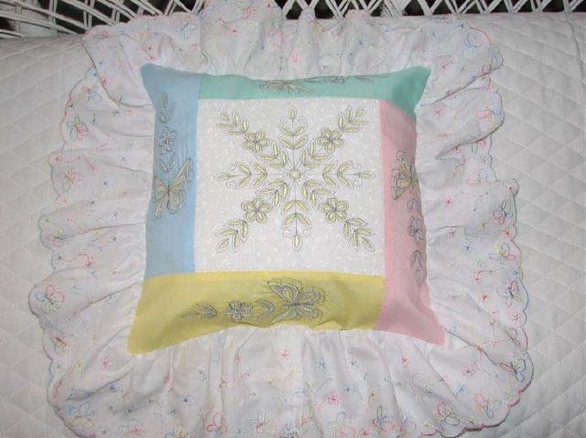
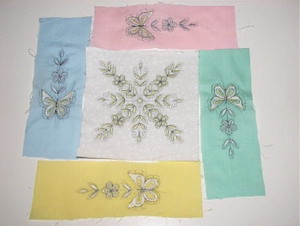
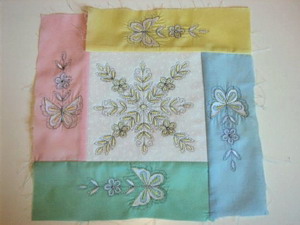
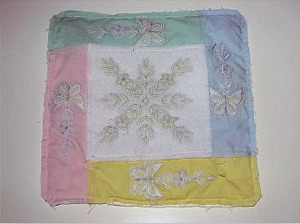
Step 5: Lay the pieces out so you’ll know what it looks like before assembling.
|
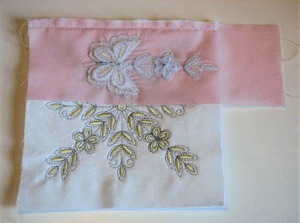
Step 6: Place one of the 3 x 8 ½ inch pieces of fabric face down on the center fabric, keeping the extra length of fabric to one side. Line up the left edges. Sew in place.
|

|
|
|
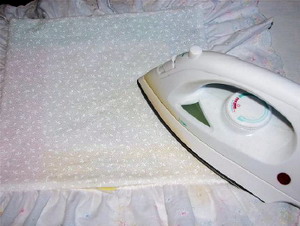
Step 7: Flip up the fabric and press the seam with an iron. Flip the 2 pieces to the right and choose another piece to sew onto the center fabric.
|
Step 8: Repeat step 7 to attach all four side panels.
|
|

|
|
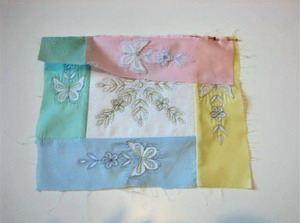
Step 9: Fold over the side panel you stitched last and line up the edges with the first side panel. Pin in place and sew in place. The front is done.
|
Step 10: Flip finished fabric square over and press with an iron (do not iron directly on embroidery face, use a scrap of fabric between the iron and embroidery). Then turn it over and press the wrong side of the quilt square.
|
|
|
|
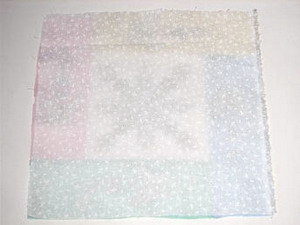
Step 11: Cut matching or coordinating fabric 11x11 inches for back of the pillow. Set aside.
|
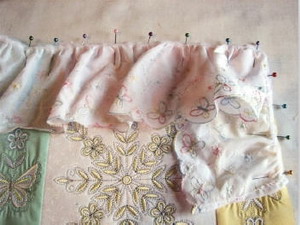
Step 12: Sew a hem on both raw ends of the ruffle to give it a finished look. Pin the ruffle to the quilt square with right sides facing each other. The fancy edge of the ruffle should be on the inside and the straight edge should line up with the outside edge of the square.
|
|
|
|
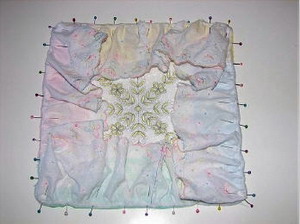
Step 13: Fold the fabric at the corners into a triangle shape, making sure none of the ruffle will be sewn into the edges of the pillow and pin on all 4 sides. Sew the ruffle to the quilt square, carefully removing the pins as you go.
|
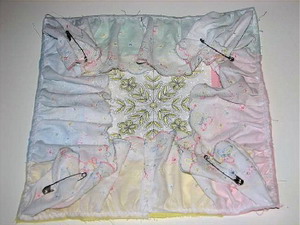
Step 14: Use safety pins to hold the ruffle out of the way.
|
|
|
|
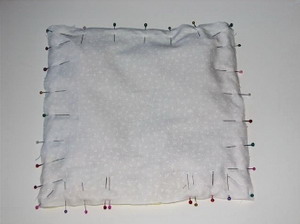
Step 15: Place the back piece right sides together with the quilt front. Put two extra pins in the bottom to mark where the opening to stuff the pillow will be. Sew the edges together using a ¼ inch seam, starting at one end of the double pins and going all the way around to the last set of double pins. Be very careful not to get the ruffle caught up in the stitches!
|
Step 16: When you are finished sewing, clip the 4 corners.
|
|

|
|
Step 17: Turn the pillow right side out and press with the iron. (Protect the embroidered area with an extra piece of scrap fabric so you are not ironing directly on the embroidery).
|
Step 18: Stuff the pillow and hand stitch the stuffing hole closed.
|