|
|
|
Step 1: Choose your colors for 1 yard of fleece fabric. Different colors can be used (Cotton fabrics can also be used). Fold the fleece in half one time.
|
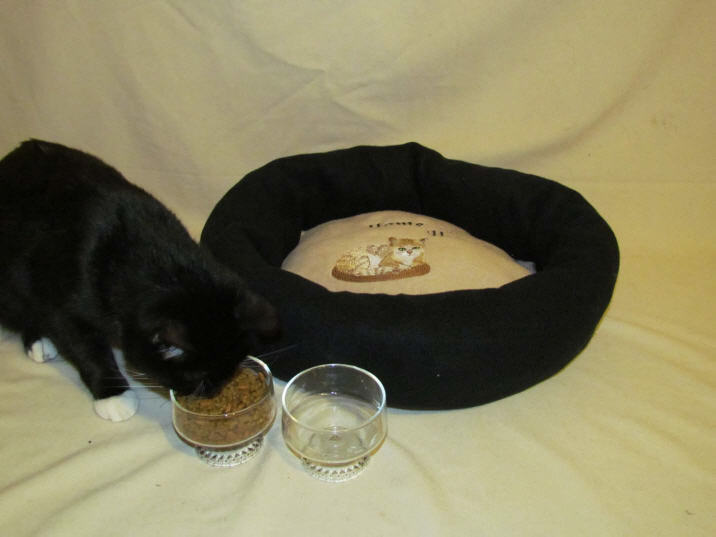
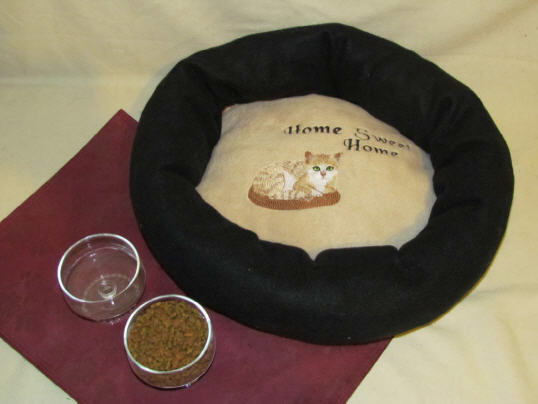
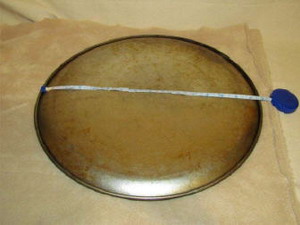
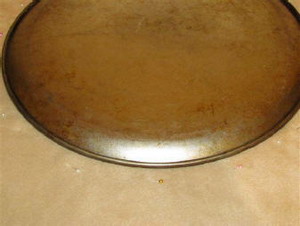
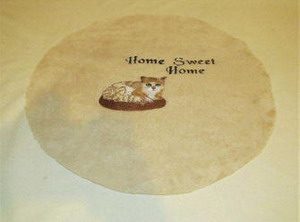
Step 2: I made a small round pet bed for small pets under 10 lbs. You can use a 15 inch pizza pan for the base. You can use any thing for the template. If you have a larger pet cut a bigger circle (20 inches or larger).
|
|
|
|
Step 3: Using stick pins, pin through both layers about 1 inch away from the pan edges all the way around.
|
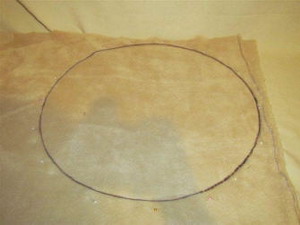
Step 4: Using fabric marker, mark around the edges of the pan.
|
|

|
|
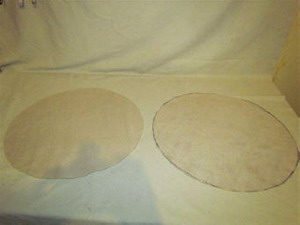
Step 5: Cut through both pieces of the fabric.
|
Step 6: Mark the center of one piece of the fabric and hoop with tearaway stabilizer.
|
|
|
|
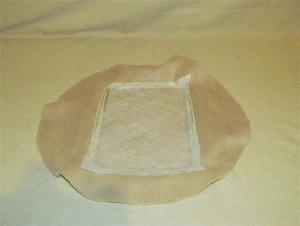
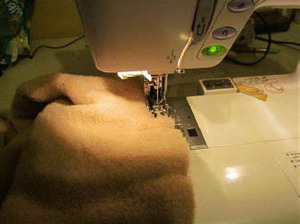
Step 7: Cut a piece of H20 to fit over the embroidery area. This will help hold down the pile of the fleece. If desired, use spray stabilizer on the top, then smooth it over the area to be embroidered.
|
Step 8: After embroidering the design, remove the fabric from the hoop.
|
|
|
|
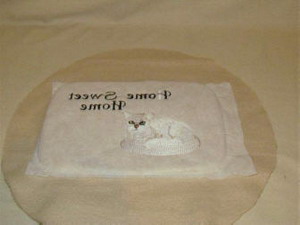
Step 9: Turn fabric over and remove the excess tear away stabilizer.
|
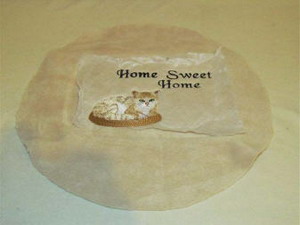
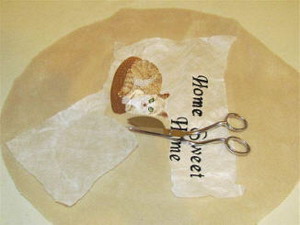
Step 10: Remove the excess H20 from the top of the design.
|
|
|
|
Step 11: Rinse out the rest of the H20 under warm water. Lay it flat to dry.
|
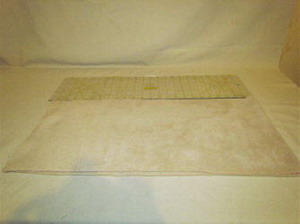
Step 12: For short sided pet bed: Cut one piece of fleece fabric 9 inches x 46 inches. For taller sided pet bed: Cut one piece of fleece fabric 14 inches x 46 inches. If you make a larger pet bed, be sure to adjust the length of the fleece to fit.
|
|
|
|
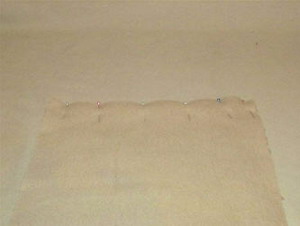
Step 13: Fold the fabric in half shortwise. Pin and sew 1/2 inch hem. This will make a tube shape.
|
Step 14: Lay fabric out flat.
|
|
|
|
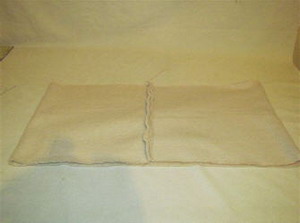
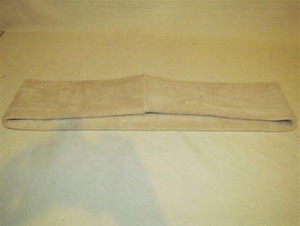
Step 15: Fold the tube of fabric lengthwise.
|
Step 16: Side tube ready to be assembled
|
|
|
|
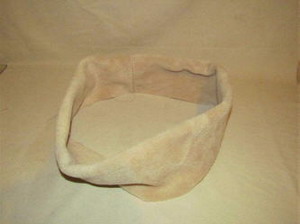
Step 17: Place the embroidered circle fabric on top of the plain circle piece of fabric.
|
Step 18: Pin the border fabric to the two circles on the raw edges, leaving about a 5 inch opening for stuffing (this image shows the sides in an alternate color, it can be the same color or a different one).
|
|
|
|
Step 19: It is helpful to use a walking foot, you just can't backstitch. Sew all pieces with 1/2 inch seam.
|
Step 20: Open the 2 layers for the center and stuff with batting. Then open the 2 layers for the border and stuff. You will have to work the stuffing to the back half. Do not over stuff.
|
|
|
|
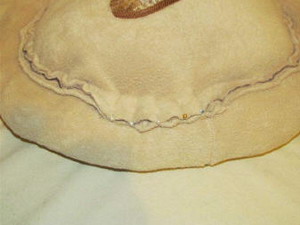
Step 21: Pin the opening closed and sew with 1/2 inch seam.
|
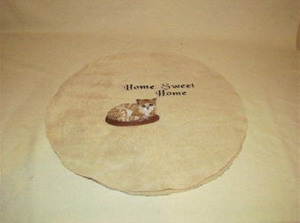
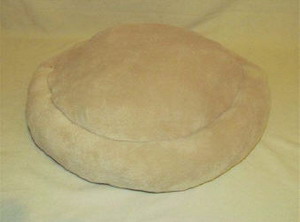
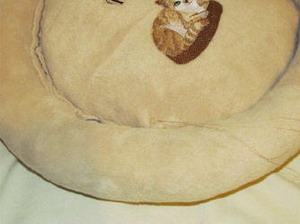
Step 22: Bottom of the finished pet bed.
|
|
|
|
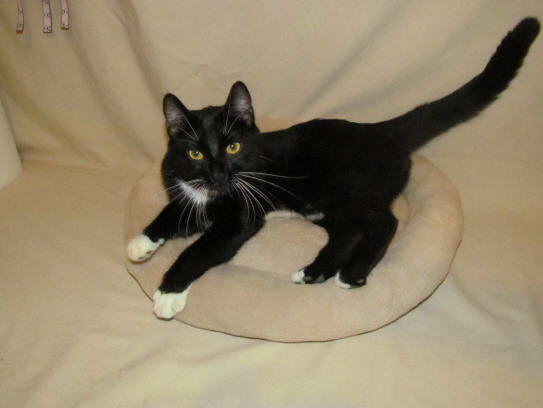
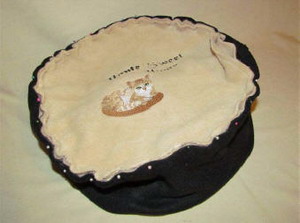
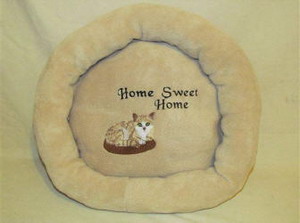
Step 23: Turn the padding toward the embroidered design. Tuck the seam deep down under the border. This pet bed can be finished as is.
|
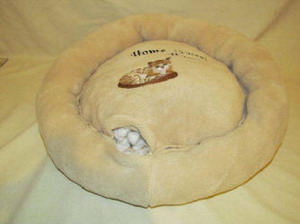
Step 24: If you feel like closing it up. You can bind the seams or you can close it up with a whip stitch. Stitch the border to the bed as shown.
|