|
|
|
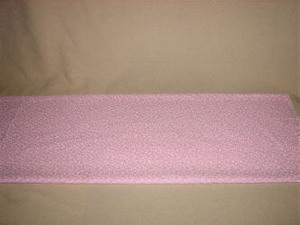
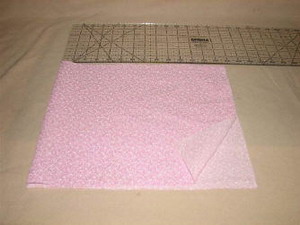
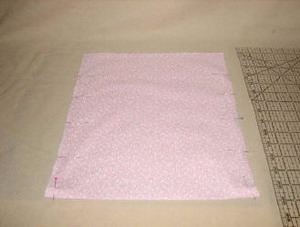
Step 1: Lay out the 1½ yards of fabric for the bodice.
|
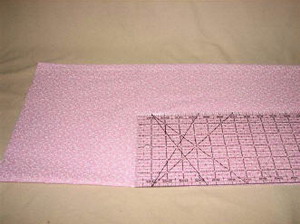
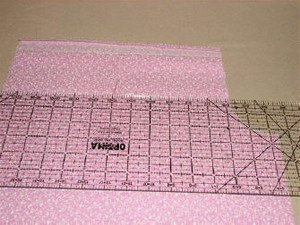
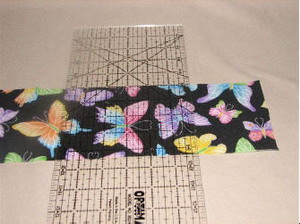
Step 2: Measure the length you want the dress to be. My dress is a size 6-8 child’s and measures 29 inches long. You might like a shorter or longer dress. Cut your fabric to your liking.
|
|
|
|
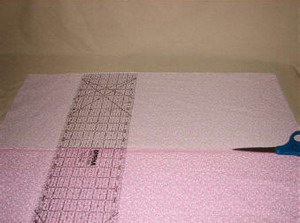
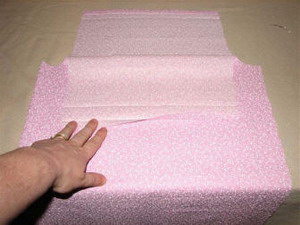
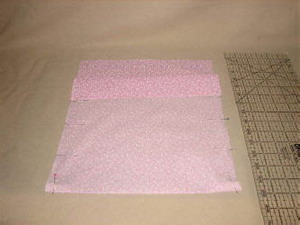
Step 3: Open the fabric and measure the distance you want to go around the child. Mine is 34 inches. I cut off the extra fabric and set it aside for the bag.
|
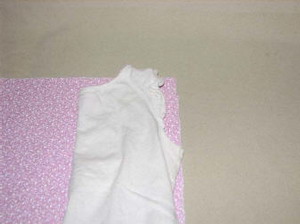
Step 4: A good way to judge the arm hole is to use an old shirt lying around.
|
|
|
|
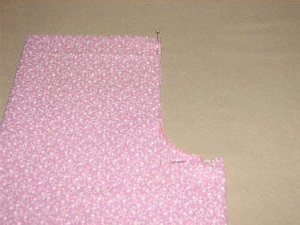
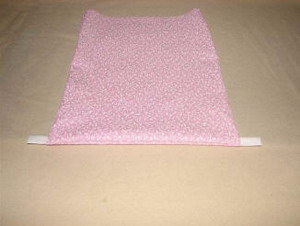
Step 5: Another way is to fold the fabric in half and measure 2 inches from the top end and about 5½ inches down and cut a "J" shape. This will make 2 arm holes at the same time. Cut the fabric where you marked it.
|
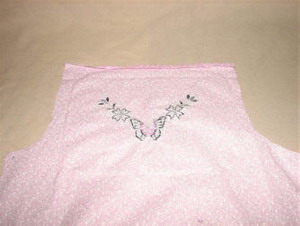
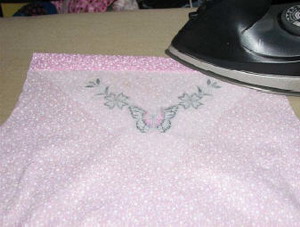
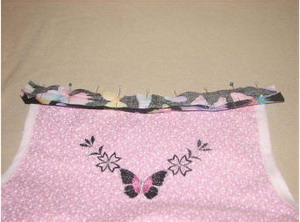
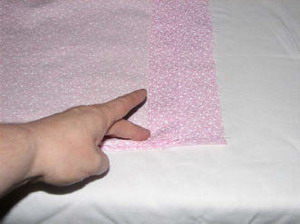
Step 6: Iron the front top of the dress ½ inch and the ½ inch again. This will help judge where the embroidery design will go.
|
|
|
|
Step 7: On the center front, mark down 3 inches from the fold and in the center front of the dress.
|
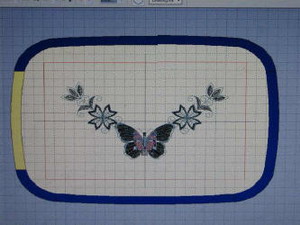
Step 8: I rotated the design in my software for placement and chose colors to go with my fabrics.
|
|
|
|
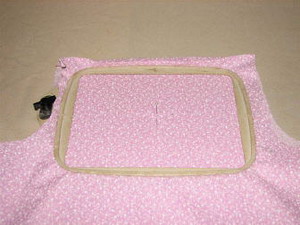
Step 9: Hoop the fabric with tear away stabilizer.
|
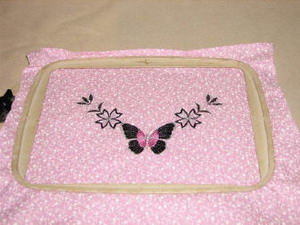
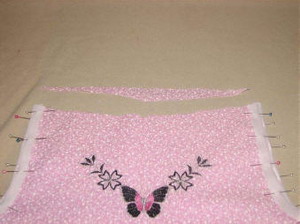
Step 10: Embroider the design.
|
|
|
|
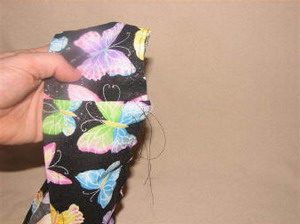
Step 11: Remove the fabric from the hoop and tear the stabilizer away.
|
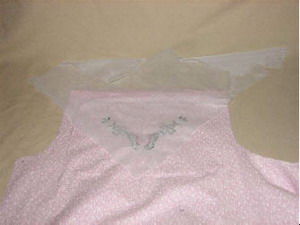
Step 12: Cut a piece of fusible nylon interfacing to cover the design. This helps protect the skin from the rough stitches.
|
|
|
|
Step 13: Iron the fusible nylon to the back side of the dress with a hot iron following manufacturer’s instructions.
|
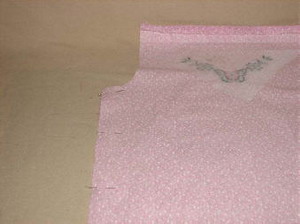
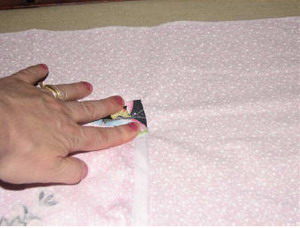
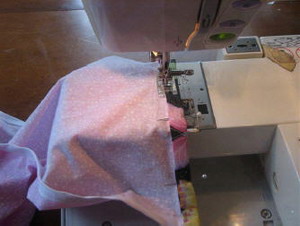
Step 14: With right sides facing, pin along the side of the open raw edges.
|
|
|
|
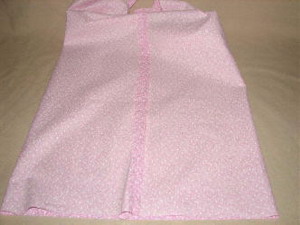
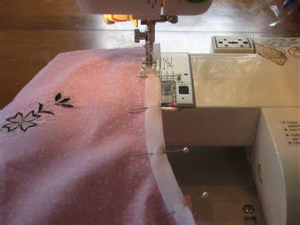
Step 15: Sew a ½ inch seam, and press open with iron.
|
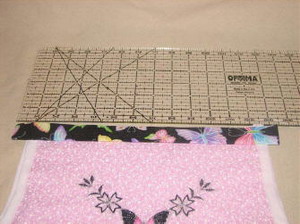
Step 16-Making the ruffle: Take the width of the dress and multiply it by 2. Cut the fabric to make the ruffle. Mine is 70 inches wide by 3½ inches tall.
|

|
|
|
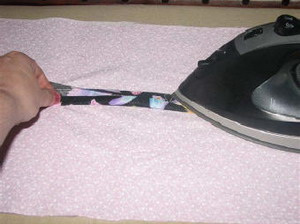
Step 17: Take the two ends with right sides facing and pin them together. Sew a ½ inch seam. Press open with an iron.
|
Step 18: Fold the bottom of the ruffle in ¼ inch, then again ½ inch, making a narrow hem. Pin in place and stitch. Pressing the hem will help keep its form and in place.
|
|
|
|
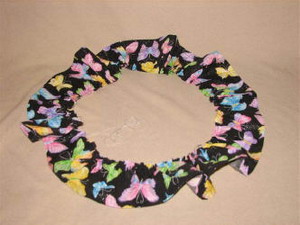
Step 19: Gather the top of the ruffle. Using a loose stitch sew ¼ inch from the raw edge and then again ¼ inch from the last set of stitches, leaving a long tail of threads on the beginning and the end. This will give you something to pull on when gathering.
|
Step 20: Only pull the two threads on the back side of the ruffle, next pull the front threads.
|
|
|
|
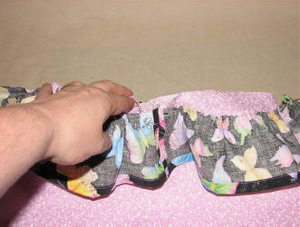
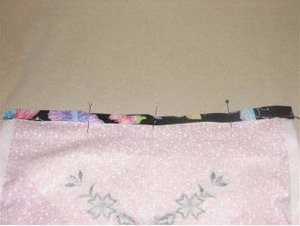
Step 21: Gather the fabric up until it fits the inside of the bottom of the bodice piece of fabric.
|
Step 22: With right sides facing, the ruffle should be upside down. Pin the ruffle to the dress, moving the gathers for even distribution.
|
|
|
|
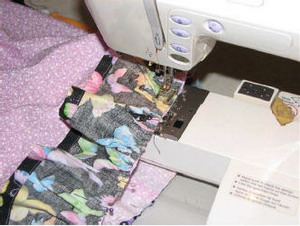
Step 23: Sew a ½ inch seam. You can serge this edge also to prevent fraying.
|
Step 24: Top-stitch close to the edge of the bottom of the dress. Iron the ruffle down.
|

|
|
|
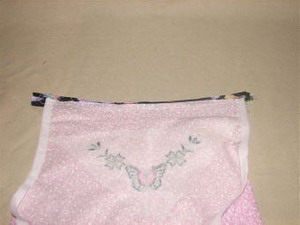
Step 25: Pin the bias tape to the arm holes. The inside and outside of the fabric should be even. The bias tape should also be even, so when you sew through the fabric-both sides catch.
|
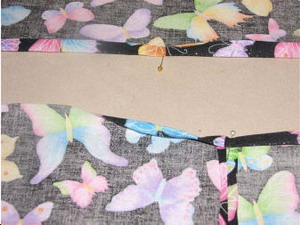
Step 26: Cut a slight curved angle in the top of the bodice at the neck. I folded the top in ½ and measured 1 inch down from the center like in the example. Cut out this fabric.
|
|
|
|
Step 27: Stitch the bias tape to the arm hole along the inside edge.
|
Step 28: Measure two pieces of fabric 2 inches high x the width of the neck plus another inch. This will be the casing for the ties.
|
|
|
|
Step 29: Iron the fabric in half, then fold the edges from both sides in to the middle and iron them too. Then fold it in half and iron one more time.
|
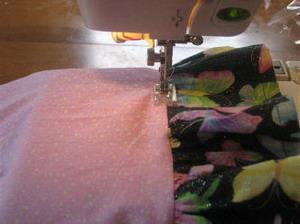
Step 30: Open the casing and pin the edge right sides facing to the neck, leaving ½ inch on both edges. Sew this along the first fold.
|
|
|
|
Step 31: Fold the casing over to the back side of the dress. Making sure that the front and back folds are even.
|
Step 32: Fold in ½ inch on the ends and press.
|
|
|
|
Step 33: Pin in place.
|
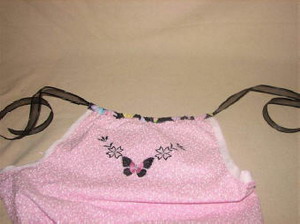
Step 34: Sew the casing closed, leaving the ends open for the ribbon.
|
|
|
|
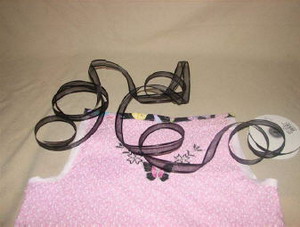
Step 35: Cut the 3 yards of ribbon in half. This is long enough to make two bows.
|
Step 36: Use a small safety pin to help get the ribbon through the casing.
|
|
|
|
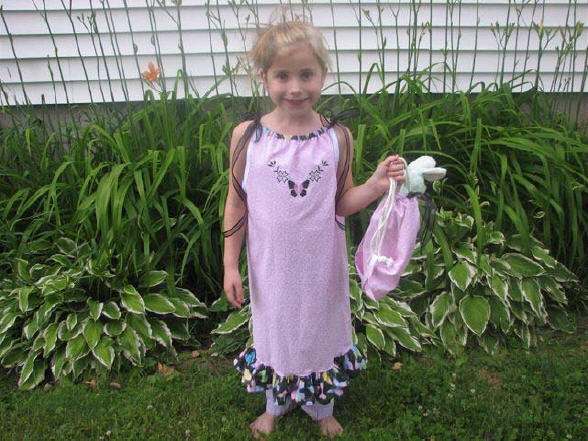
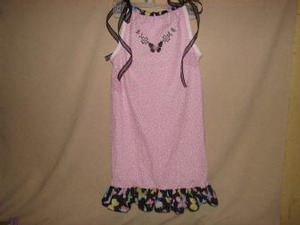
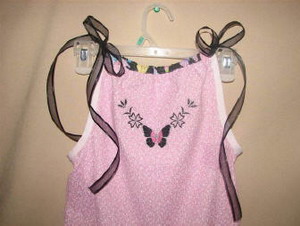
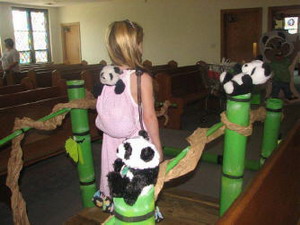
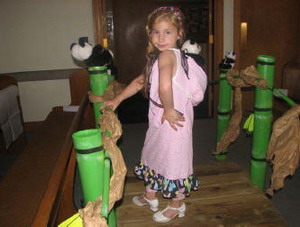
Step 37: Finished dress and close up.
|
|
|
|
Step 38-Making the drawstring bag: Measure and cut extra fabric to 11½ inches x 27 inches. I folded mine in half and measured 13½ inches.
|
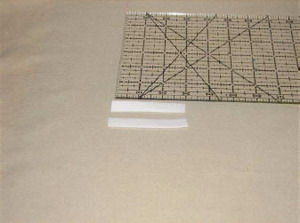
Step 39: Cut two pieces of the bias tape 3 inches long.
|
|

|
|
Step 40: Fold and press the bias tape in half.
|
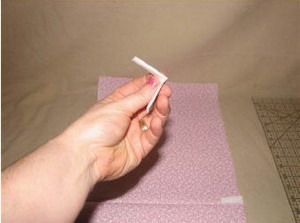
Step 41: Place the bias tape piece next to the fold at the center of the fabric. The folded ends should be facing in and the raw edges out.
|
|
|
|
Step 42: Pin both side and the bias tape in place.
|
Step 43: Mark 3 inches from the top and do not sew this. Below the marking you can sew a ¼ seam on both sides of the bag. You can also serge these edges to keep them from fraying.
|
|
|
|
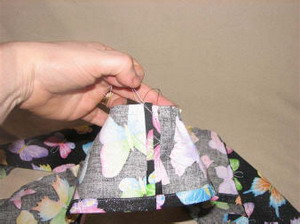
Step 44: Turn the bag inside out and press. Making sure the corners are completely turned out.
|
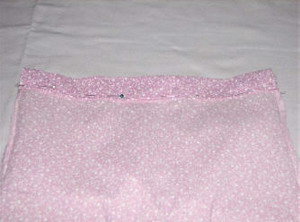
Step 45: Fold the top of the bag down ½ inch then again down to the stitches you made on the sides of the bag. Press.
|
|
|
|
Step 46: Lay the bag on its side and pin the fold on the edge. Sew along the bottom edge of this casing. Turn inside out when finished.
|
Step 47: You will need only about 10 feet of it. More if you want longer straps. Take one end of the cording and go up through one of the tabs on the bottom of the bag. Then through the casing at the top of the bag. Down through the other tab on the other side of the bag and back up to the top of the bag through the back side of the bag and back down to where you first started, but stay on the outside of the tab. Cut and gently burn the edges of the cording or just cut close to the knot and let it fray.
|
|
|
|
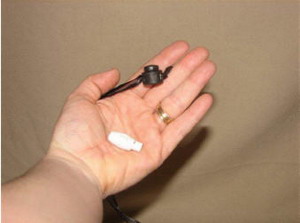
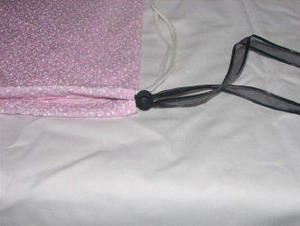
Step 48: Choose a fastener to close the bag. Make sure that the cord or ribbon with fit through the holes.
|
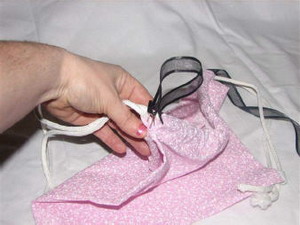
Step 49: Pin the end of the ½ yard ribbon or cording and run though one side of the casing on the bag and back through the other side and finish where you started.
|
|
|
|
Step 50: Add the fastener to the ends of the ribbon or cording according to the manufacturer’s instructions. Cut any excess off.
|
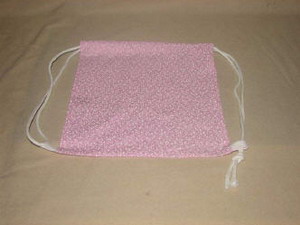
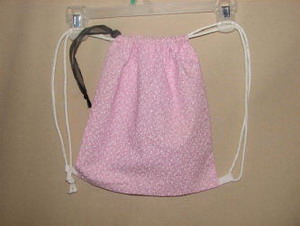
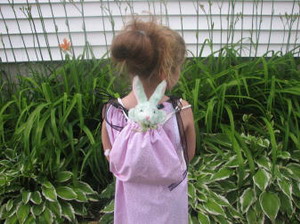
Step 51: Finished bag pictures.
|
|
|
|
How cute is that?
|

|
|
|
* Here is a chart to help figure out lengths for different size dresses: I would add 2 inches extra for hemming top and bottom of the dress.
Standard (American) Dress Lengths for Little Girls
-
6 - 9 months: 14 inches
-
12 months: 15.5 inches
-
18 months: 17.5 inches
-
2T: 19.5 inches
-
3T: 21 inches
-
4T: 22 inches
-
5/6: 24 inches
-
7/8: 26 inches
|


")