|

|
|
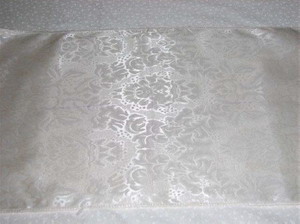
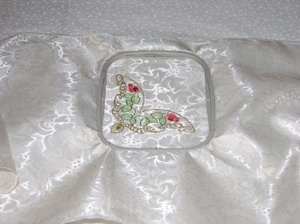
Step 1: Corner End Designs‐Method 1‐Iron a piece of fusible tear away stabilizer to the back of one triangular end of the table runner, so that you can center where you want your design in the hoop, by hooping the stabilizer only. Pin the fabric in place (optional).
|
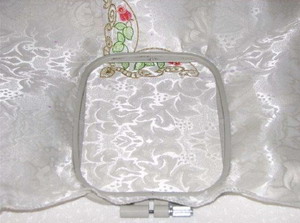
Step 2: Method 2‐You may hoop the fabric with the stabilizer, if you wish.
|
|
|
|
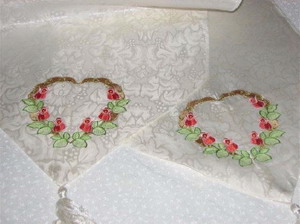
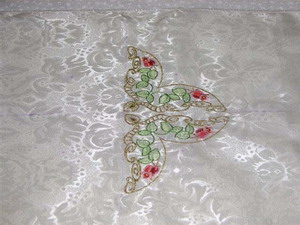
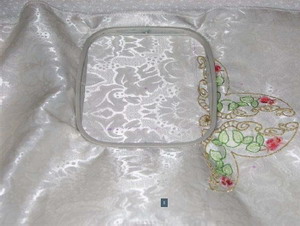
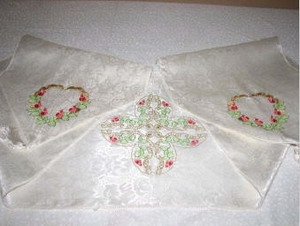
Step 3: Embroider both ends of the table runner. Tear off the stabilizer and iron.
|
Step 4: Center Design‐Find the center of the table runner and mark with a fabric pen.
|
|
|
|
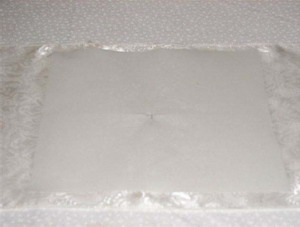
Step 5: Iron a 10x10 inch piece of fusible stabilizer to the back center (this saves you time and money by only hooping one piece instead of four).
|
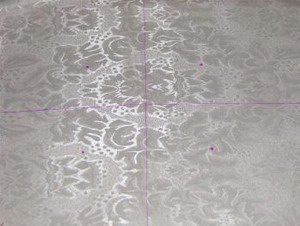
Step 6: Once you have marked the center of the table runner, mark two intercepting lines. Measure 2 inches from the center and 2 inches from each line on both sides. Mark a dot in the center of the 4 sections. This is the placement for your 4x4 design x 4, which will make a large center design.
|
|
|
|
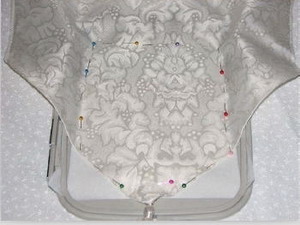
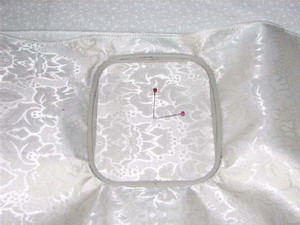
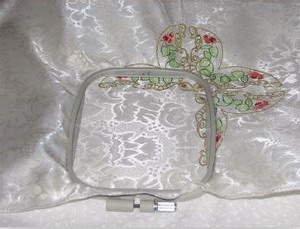
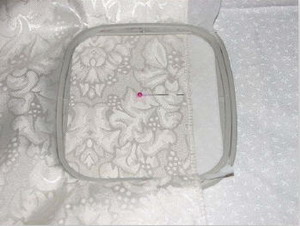
Step 7: Hoop the fabric, making sure the center mark is lined up with the hoop markers.
|
Step 8: Embroider the first part of your design. Unhoop the fabric and iron.
|
|
|
|
Step 9: Rehoop the fabric, centering the mark again. You will need to edit how you want the designs laid out. You can use your embroider machine’s editing screen to edit the direction you want the design to lay or carefully position the hoop in the correct direction. Embroider the design.
|
Step 10: Here you see half of the combined design finished. Unhoop the fabric and iron.
|
|

|
|
Step 11: Repeat Step 9 to position the next part of the design and embroider.
|
Step 12: Here you see three of the four parts of the design completed. Unhoop the fabric and iron.
|
|
|
|
Step 13: Next, repeat step 9 a final time for the last part of the design.
|
Step 14: Unhoop and iron.
|
|
|
|
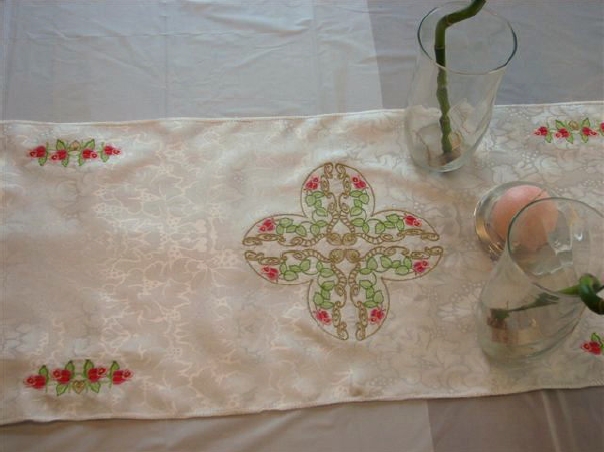
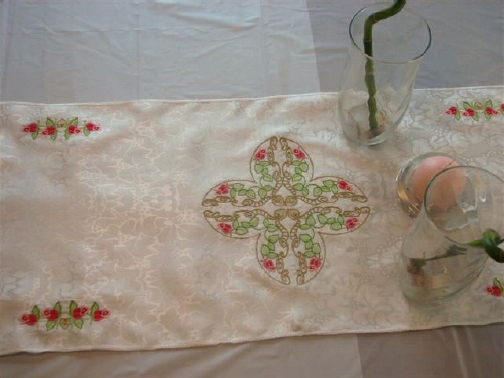
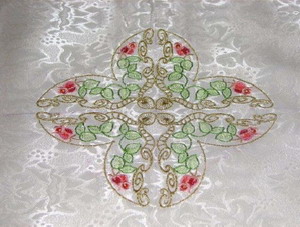
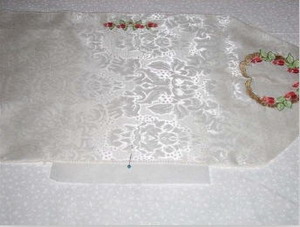
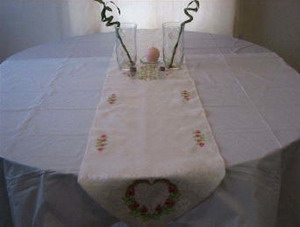
Step 15: Here you see how beautiful the designs lay out on the runner.
|
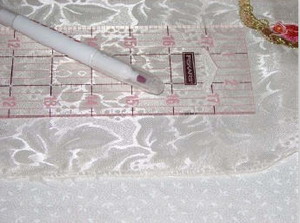
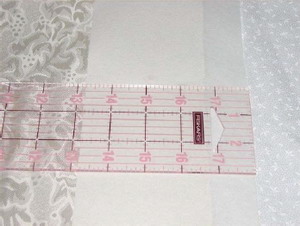
Step 16: Using your fabric marking pen, measure 1½ from the edge of the fabric. This will be for the border design. I added 8 designs, you can add as many or as few as you like to create the type of border you want. Once you decide how many you want, make a mark where the center of each design will be.
|
|
|
|
Step 17: Iron fusible stabilizer to the back of the fabric. Leave about 1 ¼ inch of stabilizer overhang on the edge.
|
Step 18: Hoop the fabric edge and stabilizer, centering your mark in the hoop. For extra stability, you can use stick pins on the top, bottom and sides of the hoop (optional). Embroider the design. When finished, remove the stabilizer and iron.
|
|
|
|
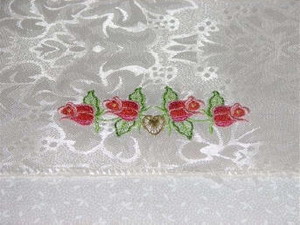
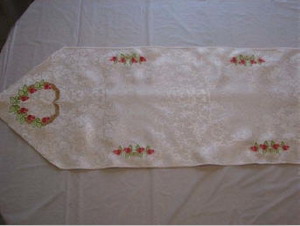
Step 19: Here you see the completed border design x 1, you can place them a distance apart or make a continuous border, if you like.
|
Step 20: Repeat steps 18 & 19 to complete the border, matching the placement on both sides of the runner. After finishing, iron the table runner one final time.
|
|
|