|
|
|
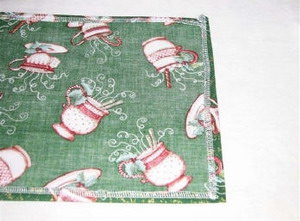
Step 1: Cut the main fabric piece 10 inches wide by 13 ½ inches long. Serge or zigzag the edges to keep them from fraying.
|
Step 2: Iron the edges ½ inch toward the wrong side of the fabric.
|
|
|
|
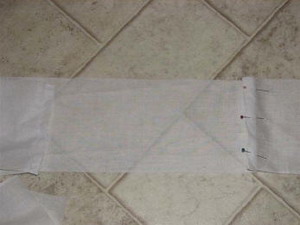
Step 3: Measure the extra wide bias tape for the neck strap – 24 inches. Sew the bias tape along the open edge and stitch the neck straps to the back upper piece of the apron.
|
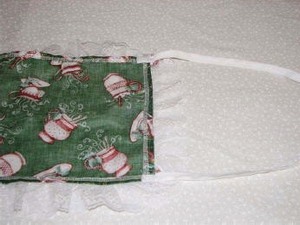
Step 4: Cut the lace 35 inches long and sew it to the front of the apron. Overlap at the corners with a little extra lace.
|
|
|
|
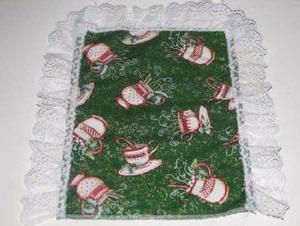
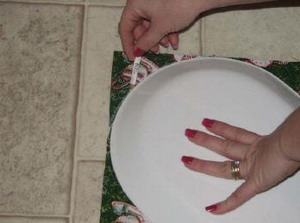
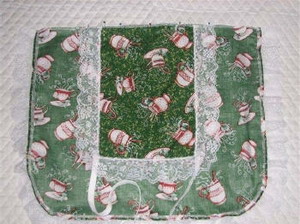
Step 5: Cut a piece of fabric 18 ½ inches long by 22 inches wide. Take a plate and draw two curves (one on each side) for the bottom edge of the apron. Serge or zigzag the edges to keep them from fraying.
|
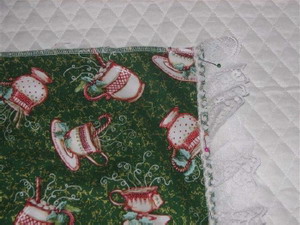
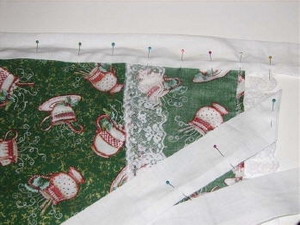
Step 6: Iron the edges ½ inch toward the wrong side of the fabric. Stitch into place. Cut a piece of lace 52 inches long and pin it to the outside edge of the bottom apron piece.
|
|
|
|
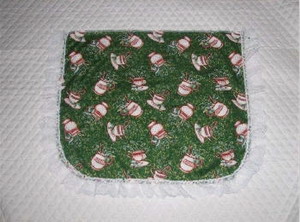
Step 7: Lace is ready to stitch into place.
|
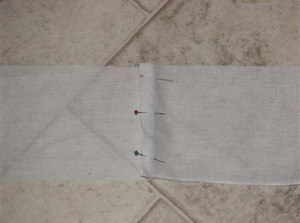
Step 8: Apron Tie Backs: Cut 2 pieces of white (or coordinating) fabric 5 ½ inches wide by 50 inches long (this can be shortened or lengthened to suit your taste). Cut another piece of white fabric 5½ inches wide by 24 inches long. With the right sides together, pin the 24 inch piece of fabric to the 50 inch piece of fabric and stitch them together.
|
|
|
|
Step 9: Pin and sew the other 50 inch piece of fabric to the other side of the 24 inch piece. Press seems open with an iron. Fold the long piece of fabric (wrong sides together) lengthwise and press in half. All the edges of the white fabric will need to be pressed under ½ inch to keep them from fraying.
|
Step 10: Line the bottom of the top apron piece up with the top of the bottom apron piece (wrong sides together) and stitch them together. After you are done sewing them, open the white tie back fabric and place the sewn apron pieces in between the ironed tie back fabric ½ inch and pin into place.
|
|
|
|
Step 11: After you are done sewing them, open the white tie back fabric and place the sewn apron pieces in between the ironed tie back fabric ½ inch and pin into place.
|
Step 12: Continue pinning the tie back fabric until you are close to the end (about 5 inches), so you can add a corner tip. Press into place. Then fold the rest of the tie back closed and pin into place. Starting from one end of the tie back working your way to the other end, sew the tie back closed. After finishing, fold the apron top up and stitch a seam along the top of the tie back on the apron. This will hold the tie back in place.
|
|
|
|
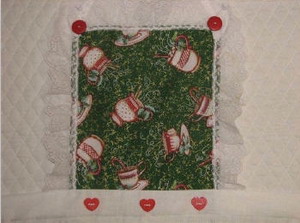
Step 13: Add your choice of embellishments to the tie back and top of the apron.
|
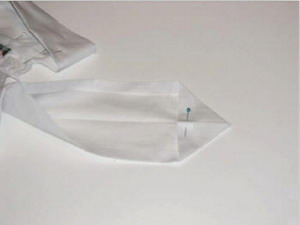
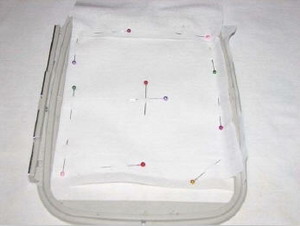
Step 14: Cut a piece of white (or coordinating) fabric 6 ½ inches wide by 14 inches long. Fold in half width‐wise (right sides out) and press. One side become the lining and the other will have the embroidery design on it. Hoop the stabilizer and spray the back of the fabric. Center ½ of it (right side up) on the stabilizer. Pin in place (optional). Mark the center with 2 crossed pins for design placement.
|
|
|
|
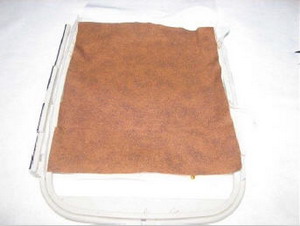
Step 15: Remove the center pins and spray the back of the fabric chosen for the applique. Finger‐press into place, removing all wrinkles.
|
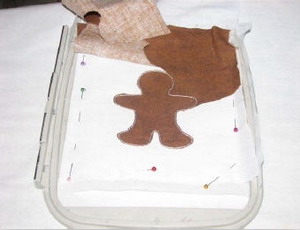
Step 16: The folded over edge will be the top of the design. Embroider the design and cut away the excess material as close to the stitches as possible without cutting the stitches.
|

|
|
|
Step 17: Finish embroidering the design until completed.
|
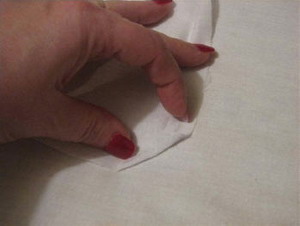
Step 18: Iron the edges ½ inch toward the wrong side of fabric. At the corners, fold the corner inward and the straight edges on top of folded corner.
|

|
|
|
Step 19: Press into place. Fold the white fabric in half in half width‐wise and press. Make sure all the edges are straight and lined up together.
|
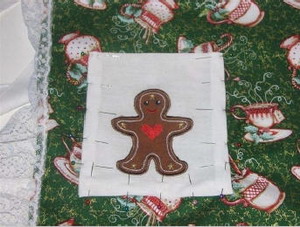
Step 19: Pin the pocket into place and stitch around the sides and bottom of the pocket, leaving the top folded over edge open.
|
|

|
|
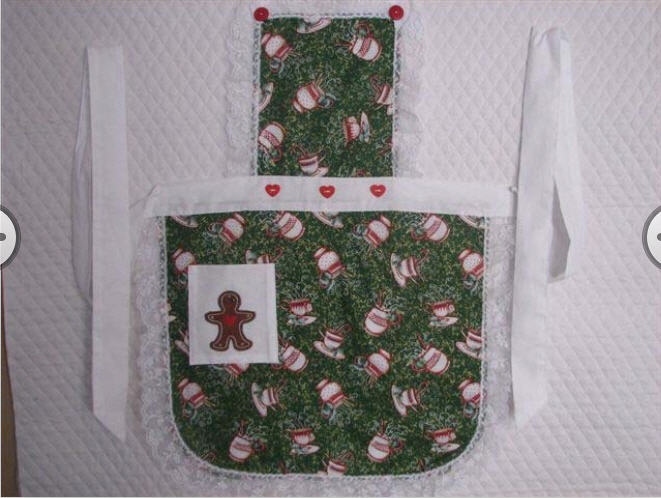
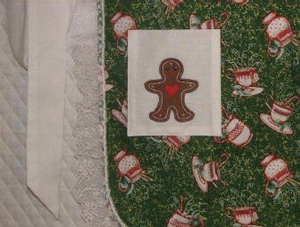
Step 20: Embellish the pocket with anything you’d like to add. Change the fabric, embellishments and designs and make an entire ensemble of beautiful aprons!
|


")