|
|
|
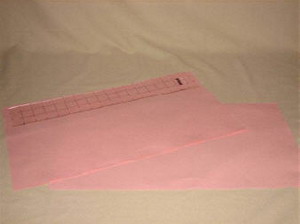
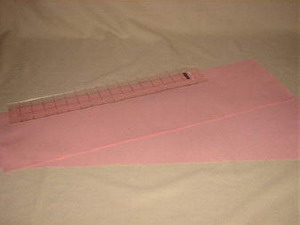
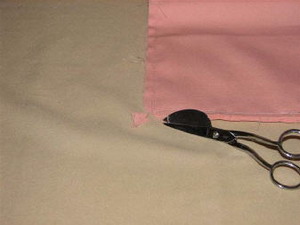
Step 1: Cut two pieces of canvas or duck cloth 11 inches x 22 inches. Set aside.
|
Step 2: Cut two pieces of canvas or duck cloth 7½ inches x 25 inches.
|
|
|
|
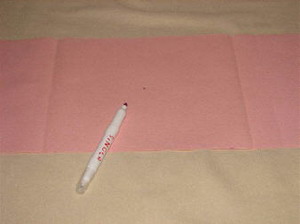
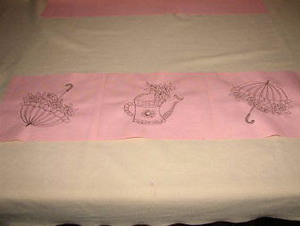
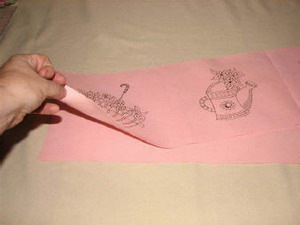
Step 3: Fold one piece of the 7½ x 25 inch fabric into thirds. These will be the pockets. Mark the folds with the fabric pen. Find the center of all three sections and mark them also.
|
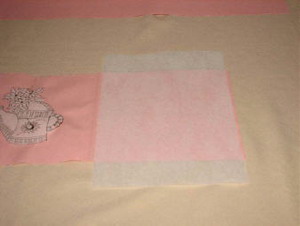
Step 4: Cut a piece of tear-away stabilizer slightly bigger than the embroidery hoop. Using the spray stabilizer, spray it onto the tear-away stabilizer and center onto the back of the canvas to be embroidered. Hoop the canvas fabric and stabilizer centered with markings.
|
|
|
|
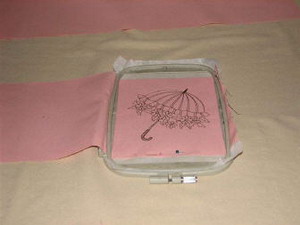
Step 5: Choose one of the three sections and hoop with tear-away stabilizer and embroider a design.
|
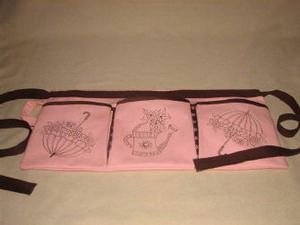
Step 6: Continue to embroider the designs on the other two sections. Remove the stabilizer from the back of the designs when finished.
|
|
|
|
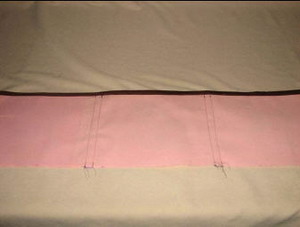
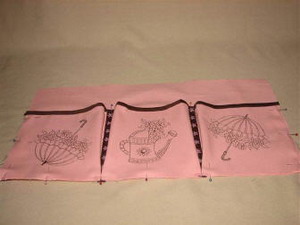
Step 7: Place the embroidered fabric on top of the other 7½ inch x 25 inch fabric.
|
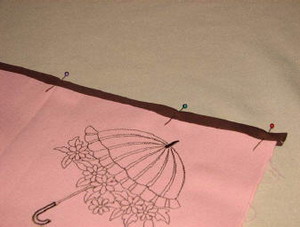
Step 8: Cut a piece of the bias tape ½ inch longer than the two pieces put together. Pin the bias tape on the top outside edge of the two layers, making sure there is ¼ inch over the edge of the fabric.
|
|
|
|
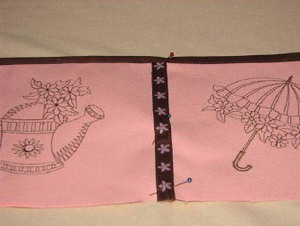
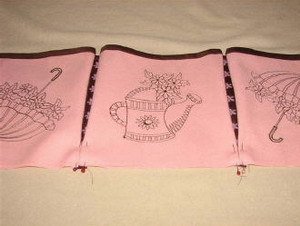
Step 9: Take a piece of the decorative ribbon and cut it to fit on the folded crease. Tuck the top end under the bias tape. Sew the ribbon and the bias tape in place.
|
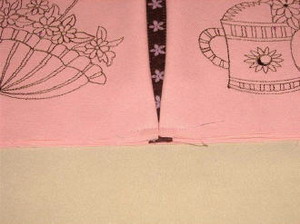
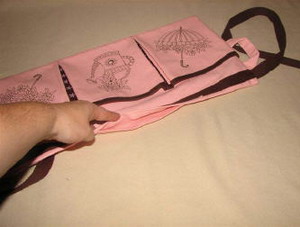
Step 10: Here is what the back of the pockets looks like.
|
|
|
|
Step 11: Now, on the bottom edge, pinch ½ inch of the fabric from both sides of the ribbon. Touching the folds together, pin in place.
|
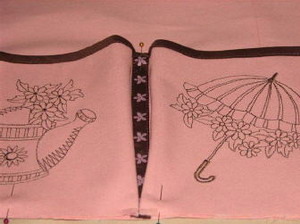
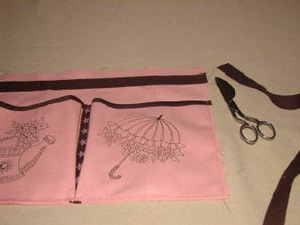
Step 12: Carefully, stitch across the folds. The fabric will start to get thick, so use caution and slow down your speed. There are four layers to sew through at this point.
|
|
|
|
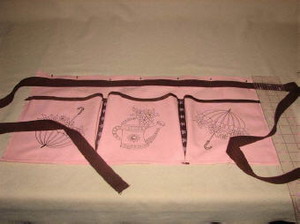
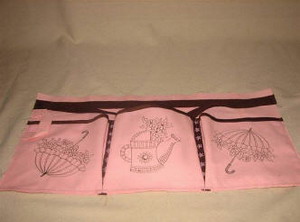
Step 13: Lay one of the 11 x 22 inch pieces flat. Place the pockets on top of it. Making sure that the bottom edges are even, pin in place from the top of the pocket all the way around the bottom to the other top side of the pockets. Pin the top of the decorative ribbon to the second layer also. Stitch down the center of the decorative ribbon. This will create the dividers for the pockets. Stitch all the way to the bottom of the ribbon, between the two folds.
|
Step 14: Then starting at the top of pocket one and going all the way to the top of pocket three, stitch the pocket piece onto the fabric panel.
|
|
|
|
Step 15: Adding the belt; Center the belting onto the top of the canvas fabric, 1 inch down from the top. Pin in place and stitch the bottom and the top of the belt to the canvas fabric.
|
Step 16: Cut off the excess belting at the edge of the canvas. This is necessary to keep down the bulk.
|
|
|
|
Step 17: Now replace the excess cut belting back on top of the sewn down belting on both sides of the apron. Stitch just the ends in place.
|
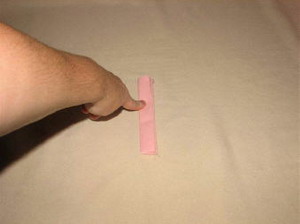
Step 18: Optional: Loop on the side-Cut a 4 x 6 inch piece of the canvas fabric. Fold and press it in half. Open the 4 x 6 fabric and fold in the two ends 1 inch and press them inwards. Then fold it all in half and stitch down the open end on the outside edge.
|
|

|
|
Step 19: Fold up the two ends and press them to hold their shape.
|
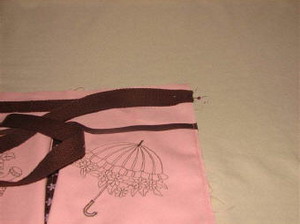
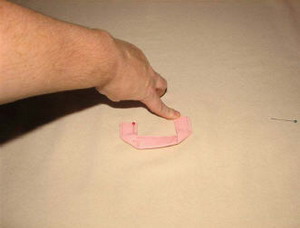
Step 20: Lay and pin the strap in place as shown in the example. Stitch in place.
|
|
|
|
Step 21: Tuck the belt into the pockets to keep them out of the way. Ready to add the back.
|
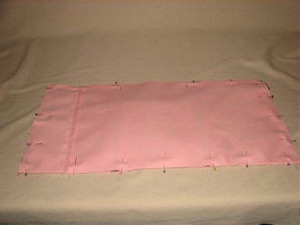
Step 22: With the pockets up, lay the remaining piece of 11 x 22 inch canvas on top and pin the edges evenly. Leave an opening at the top for turning the apron inside out. Stitch all the way around the square, except for the opening at the top, using a ¼ - ½ seam allowance. Make sure you go slowly over the bulky parts. Sometimes it might be necessary to hand crank your machine to not break your needle.
|
|
|
|
Step 23: When finished sewing, clip all four corners before turning inside out.
|
Step 24: Turn the apron inside out. Push out the corners with a blunt object and press the whole apron with the iron.
|
|
|
|
Step 25: On the open end, press the folds of the opening to make them neat. Sew across the top from one side to the other on the top edge using about an 1/8 inch stitch to close the opening and finish the edge. Zigzag stitch the ends of the ties to keep them from fraying.
|
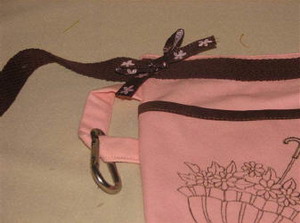
Step 26: Optional: Add bows on both ends of the tie and tack into place. Add a hook ring to the loop, if desired.
|