|
|
|
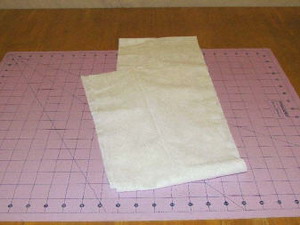
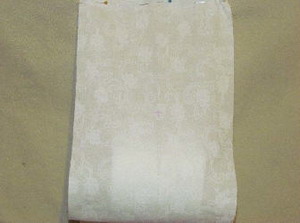
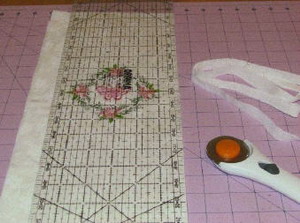
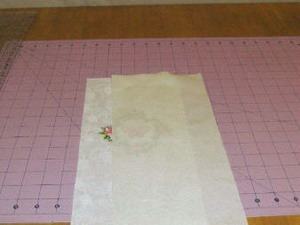
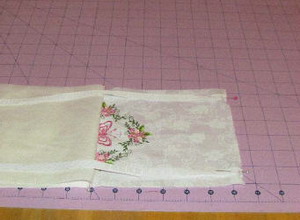
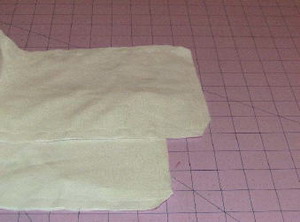
Step 1: Cut one piece of main fabric 8 x 64 inches. I used a white fabric with a white floral print.
|
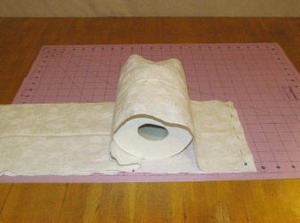
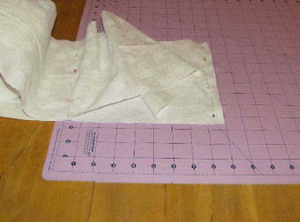
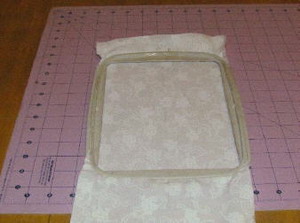
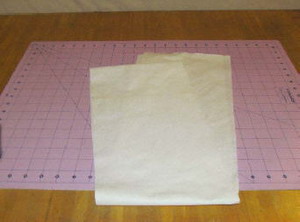
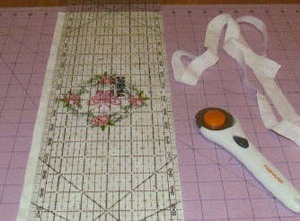
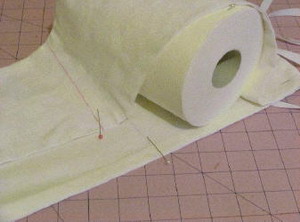
Step 2: Fold the fabric in half (short ends touching). Pin the top. I used mega rolls for this project.
You might not need your holder pockets to be that large. You want to tuck the fabric under the roll of paper and pin the fabric in place.
|
|
|
|
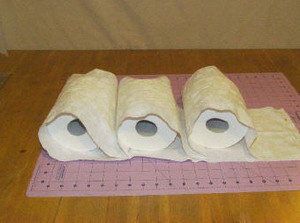
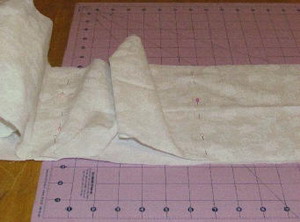
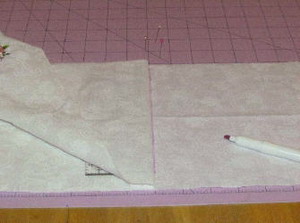
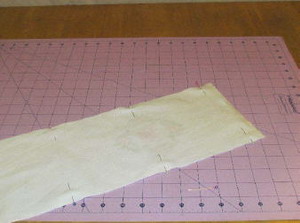
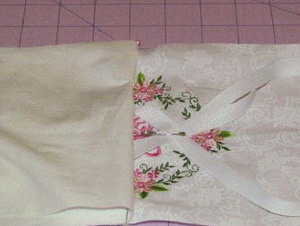
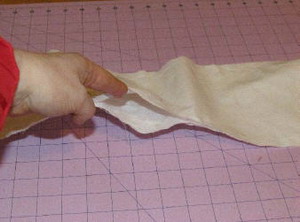
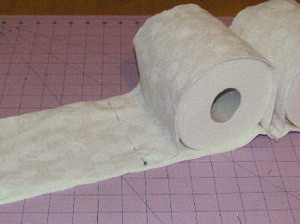
Step 3: Continue to add another roll into the next space under the first roll of paper. Again there should be some slack at the top of each new roll. Pin under the roll.
|
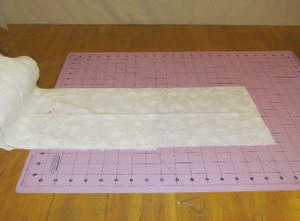
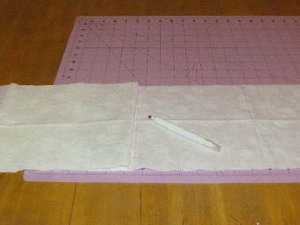
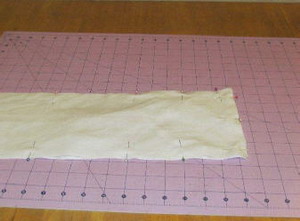
Step 4: Remove the rolls of paper but leave the pin in place for reference.
|
|
|
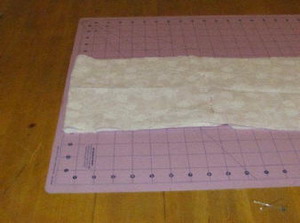
Step 5: Here are some measurements to help just in case you didn’t get my visual instructions.
*Top section (bottom layer measures 9 inches and top piece of fabric measures 17-18 inches).
|
Step 6: * Middle section (bottom layer of fabric measures 7 inches and top layer of fabric measures 14 inches).
|
|
|
|
Step 7: * Bottom section (including the fold = 18 inches)
|
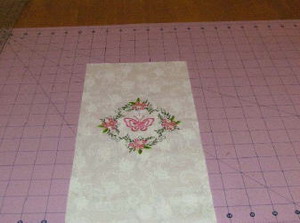
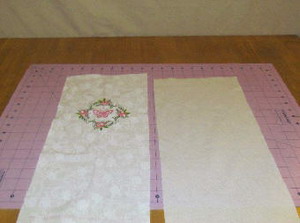
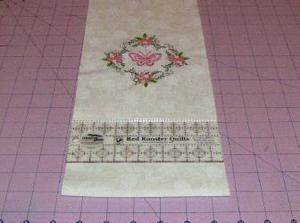
Step 8: With a roll in the top section mark with a washable fabric pen where you want to place your design.
|
|
|
|
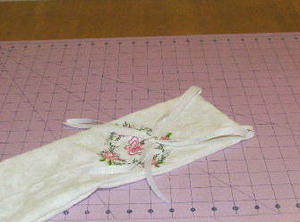
Step 9: Center and hoop the tear away stabilizer and fabric together. Embroider the design.
|
Step 10: Remove the fabric from the hoop and remove the excess stabilizer from the back of the fabric.
|
|
|
|
Step 11: At this time use the washable fabric pen and mark were the pins are placed.
|
Step 12: Mark on the top layer and fold back the fabric and mark the bottom layer and each set of pins.
|
|
|
|
Step 13: This will reflect all the measurements in steps 5-7.
|
Step 14: Cut one piece of the lining fabric the same as the main fabric - 8 inches x 64 inches.
|
|
|
|
Step 15: Main piece of fabric and lining.
|
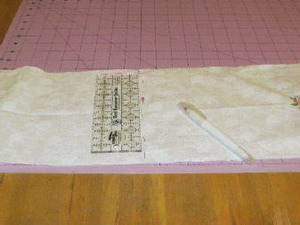
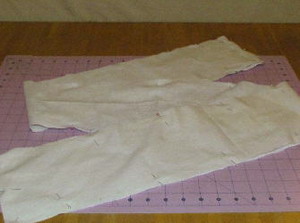
Step 16: Cut the main fabric 1 inch along the edges away from the outer leaves.
|
|
|
|
Step 17: Repeat on the other side.
|
Step 18: The fabric should measure 6 ½ inches across the fabric.
|
|

|
|
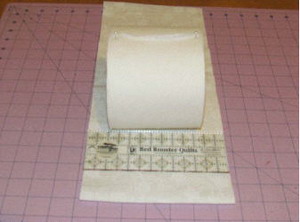
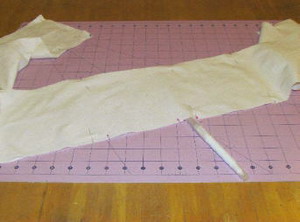
Step 19: Toilet paper on the fabric for reference in size.
|
Step 20: Trim the lining fabric to 6 ½ inches x 64 inches.
|
|
|
|
Step 21: Place the lining on top of the main fabric with right sides facing each other.
|
Step 22: Pin along all 4 edges.
|
|
|
|
Step 23: Leave an opening on one side for turning inside out.
|
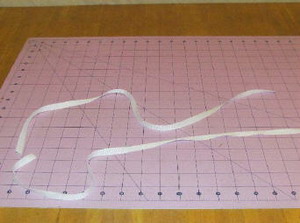
Step 24: Cut two pieces of ribbon, 24 inches each.
|
|
|
|
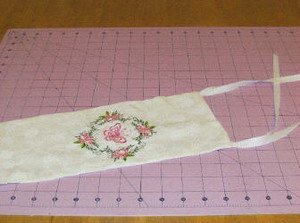
Step 25: Fold the ribbons in half and pin the folded ribbon along the top edge of the fabric about ½ inch from outer edges.
|
Step 26: Using a safety pin, pin the loose ribbon to the center of the fabric, out of the way of sewing the edge seams.
|
|
|
|
Step 27: Pin the ends together.
|
Step 28: Sew along all edges using ½ seam. Make sure to leave an opening along one side.
|
|
|
|
Step 29: Clip all four corners. Make sure no to clip the threads.
|
Step 30: Turn fabric inside out, through the opening.
|
|
|
|
Step 31: It is now safe to remove the safety pin.
|
Step 32: Press all seam flat with an iron.
|
|
|
|
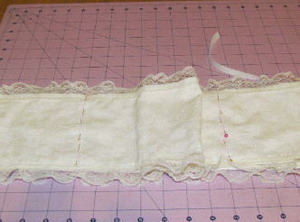
Step 33: Fold the fabric in half and pin across the top.
|
Step 34: Line up all the marks you made earlier and pin in place. This is just another trial. Make sure this is where you want your pockets for the paper to go. Make any necessary adjustments.
|
|
|
|
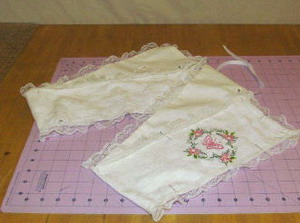
Step 35: *If you are happy with the measurements you are ready to finish it. If you want lace continue to the next steps. If you don’t want lace, sew across the top and across each mark you made (finished). Finished without lace.
|
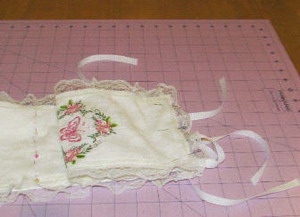
Step 36: Pin the 4 yards of lace along all four edges of the fabric
|
|
|
|
Step 37: Sew the lace to the fabric, using ¼ inch seam.
|
Step 38: Pin across the top and across all the marks to make the pockets.
|
|

|
|
Step 39: Sew the top edge and the pin areas, make sure to double back stitch at each beginning and end for added strength.
|
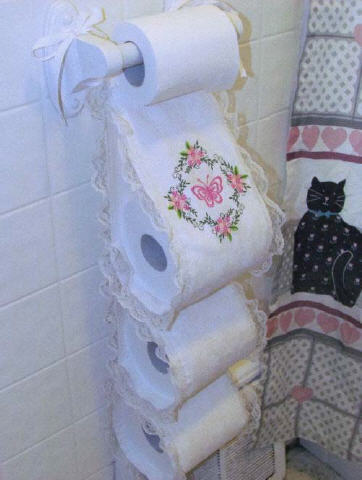
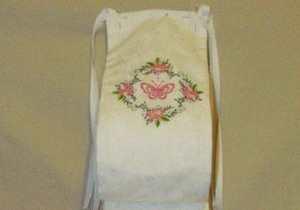
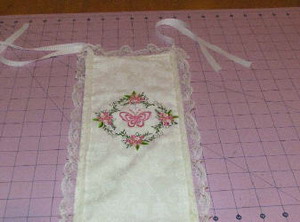
Step 40: Finished toilet paper roll holder is ready for hanging.
|


")