|
|
|
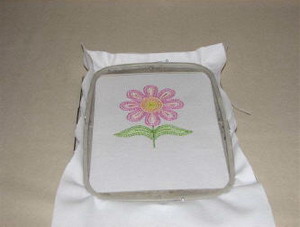
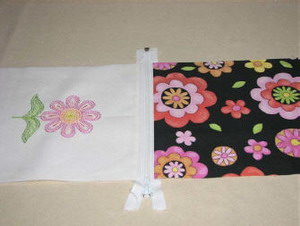
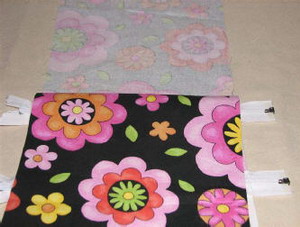
Step 1: Hoop 9x16 inch piece of canvas with tearaway stabilizer, close to the top of the fabric. Embroider the design. Remove the fabric from the hoop when finished. Remove any excess stabilizer from the back.
|
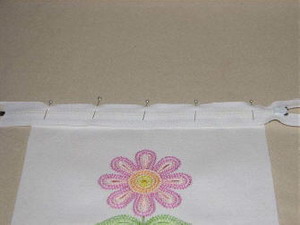
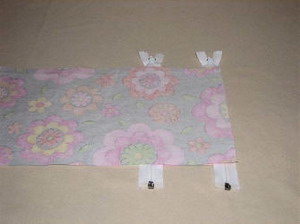
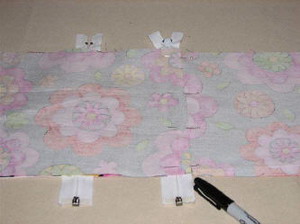
Step 2: Place zipper upside down across the top of the canvas fabric. With outside edges even- Pin in place. Baste stitch across the top of the zipper.
|
|
|
|
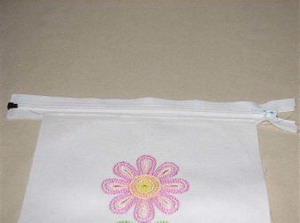
Step 3: Flip the zipper right side up and top stitch 1/8 inch from the edge of the fabric close to the zipper. Press with iron.
|
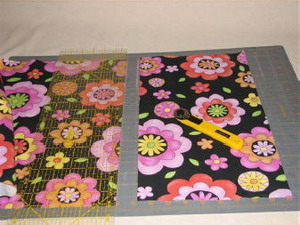
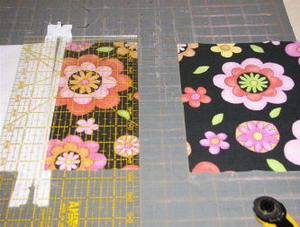
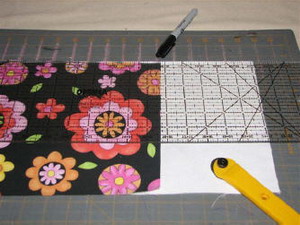
Step 4: Cut one piece of the coordinating canvas 9 inches wide x 5 inches long. This will be the section between the 2 zippers.
|
|
|
|
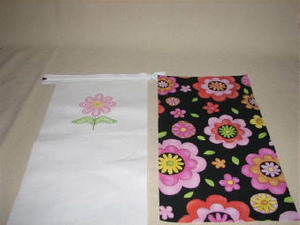
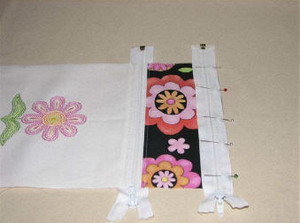
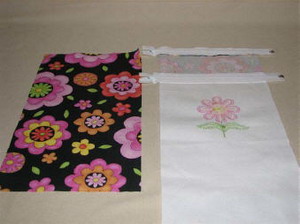
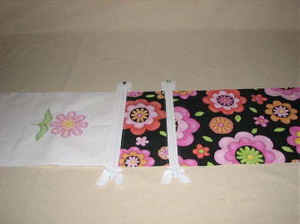
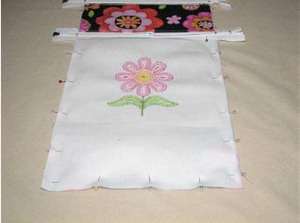
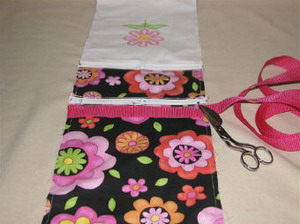
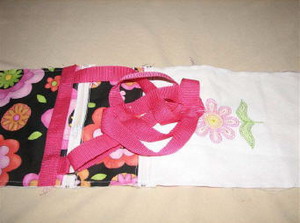
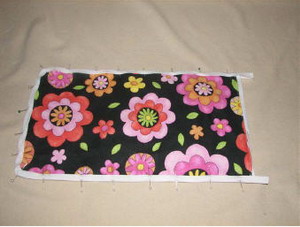
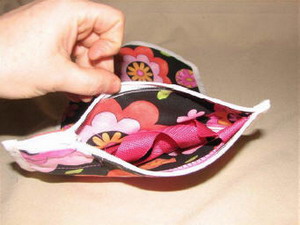
Step 5: Picture of the embroidered fabric and the lining.
|
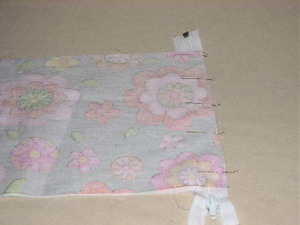
Step 6: With right sides facing, pin the lining to the embroidered fabric, matching the outside edge of the zipper with the raw edge of the fabric. Stitch 1/4 inch from the edge of the fabric close to the zipper.
|
|
|
|
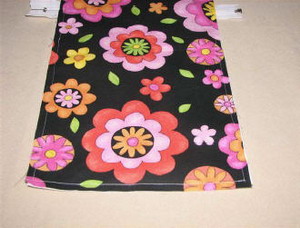
Step 7: Flip the lining fabric over. Press with iron. Top stitch 1/8 inch from the edge of the fabric close to the zipper.
|
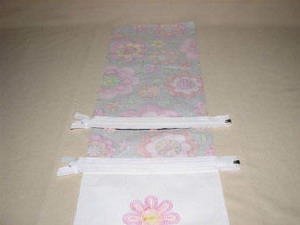
Step 8: Cut the fabric to 3 3/4 inches.
|
|
|
|
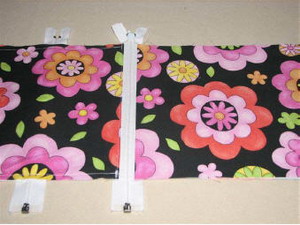
Step 9: Place the second zipper upside down across the top of the canvas fabric. With outside edges even, pin in place. Baste stitch across the top of the zipper. Flip the zipper over. Press with iron. Top stitch 1/8 inch from the edge of the fabric close to the zipper.
|
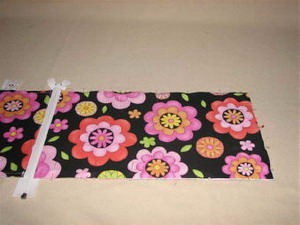
Step 10: Cut three pieces of the coordinating fabric 9 inches wide x 16 inches long. Set two aside. Two will be for the lining and one for the back outside of the bag.
|
|
|
|
Step 11: With right sides facing, pin one piece of the lining to the zipper, matching the outside edge of the zipper with the raw edge of the fabric. Stitch 1/4 inch from the edge of the fabric.
|
Step 12: Flip the fabric over. Press with iron. Top stitch 1/8 inch from the edge of the fabric close to the zipper.
|
|
|
|
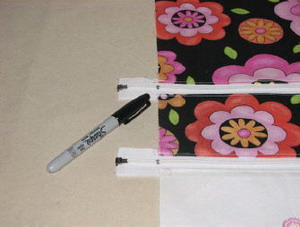
Step 13: Using a fabric marker or pen, mark the edges of the zippers along the raw edge of the fabric. Straight stitch across these 4 marks. This will help keep the zipper closed and in place while working on the bag.
|
Step 14: Flip finished pieces over to the back side. Take the other 9 x 16 inch coordinating fabric and place it face down. Lining the raw edge with the inside edge of the top zipper, pin and sew in place with 1/4 inch seam.
|
|
|
|
Step 15: Flip the fabric over. Press with iron.
|
Step 16: With the lining now flipped back, measure and cut both the coordinating and embroidered fabrics to 15 3/4 inches long. Start measuring from the finished edge of the fabric. This will be the length of the bag. So if you would like to make it shorter you can do so. Just make sure not to cut within 1 1/2 inches from the embroidered design.
|

|
|
|
Step 17: Flip project over to the front side and move the zipper pulls to the center of the bag, so they don't get hit with the needle while sewing.
|
Step 18: Pin the lining for the 1st pocket in place along the edges starting just under the top zipper.
|
|
|
|
Step 19: Sew with 1/4 inch seam.
|
Step 20: With the project facing down, use the last piece of cut fabric, pin the fabric to the edge of the top zipper and sew 1/4 inch along the top zipper.
|
|
|
|
Step 21: Fold the fabric back and press.
|
Step 22: Pin the lining to the outside fabric as shown and stitch in place with 1/4 inch seam, including 1/8 inch along the edge of the zipper.
|
|
|
|
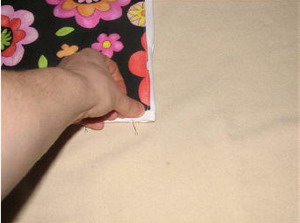
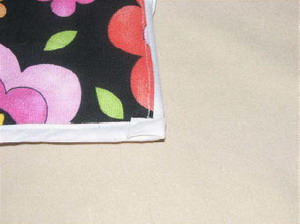
Step 23: Cut off the zipper ends so they are even with the raw edges of the fabric.
|
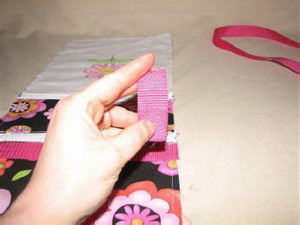
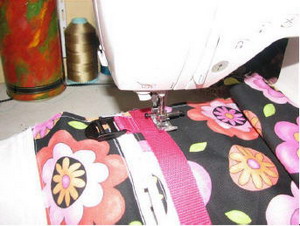
Step 24: Pin and cut the strapping across the back side of the purse along the top about ½ inch from the zipper.
|
|
|
|
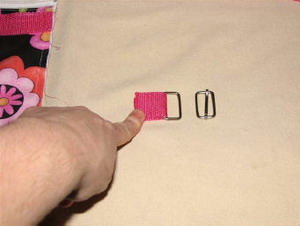
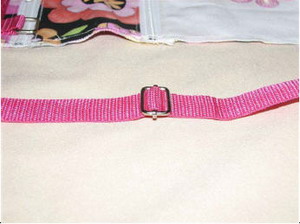
Step 25: Cut 1 piece of the strapping 2 ½ inches.
|
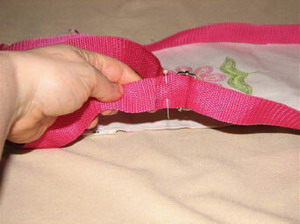
Step 26: Using you strap adjuster set, fold the 2 ½ inch strap piece over one side of the plain piece as shown.
|
|

|
|
Step 27: Pin the strap piece in under the first strap piece with the adjuster in place, on the other side pin the rest of the strapping, ½ inch away from the edge of the fabric. Both pieces should be ½ inch away from the edge.
|
Step 28: Sew along the top of the strap, making sure to back stitch over the pieces of strapping for added support.
|
|
|
|
Step 29: Sew along the bottom of the strapping also.
|
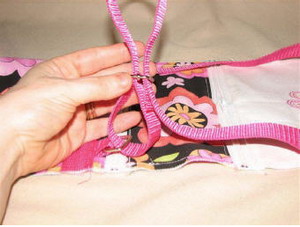
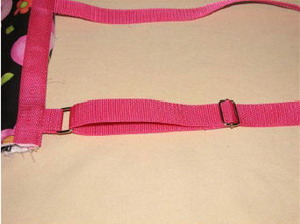
Step 30: Run the long strap through the other adjuster piece as shown in the examples or follow the manufactures instructions. Make about a 6 inch loop. You need room to run more strapping through. Take the other end of the strapping and bring up under the first strap and back down. Only pull through about 1 inch. Stitch this in place. ** I would recommend burning the raw edges with a lighter or other open flame to keep from fraying.
|

|
|
|
|
|
|
|
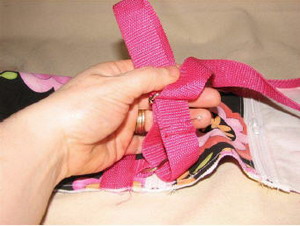
Step 31: Strap finished.
|
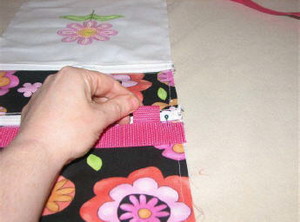
Step 32: Pin the strap out of the way. Safety pins are great to use, but if you are careful you can use straight pins too.
|
|
|
|
Step 33: Fold the bag in half with right sides together and pin in place. Sew ¼ inch seam starting at the right side at the beginning of the zipper. Back stitch over the zippers on both ends.
|
Step 34: On the bottom of the bag, cut the two bottom corners into a curve shape.
|
|
|
|
Step 35: Pin extra wide double sided bias tape to the edges, leaving 1 inch hang over the edge.
|
Step 36: Fold over the 1 inch hang over and pin in place. This will cover and secure the ends of the zippers.
|
|
|
|
Step 37: Sew bias tape in place with a ¼ inch seam.
|
Step 38: Unzip the zipper so you can turn the bag inside out. Pull out the straps. Push out the corners with a blunt object and press the bag with an iron.
|

|

|
|
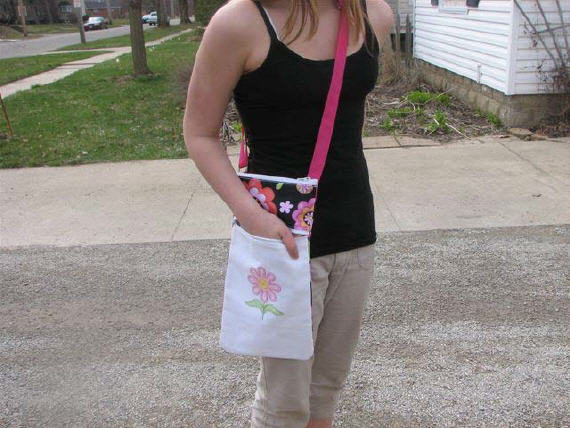
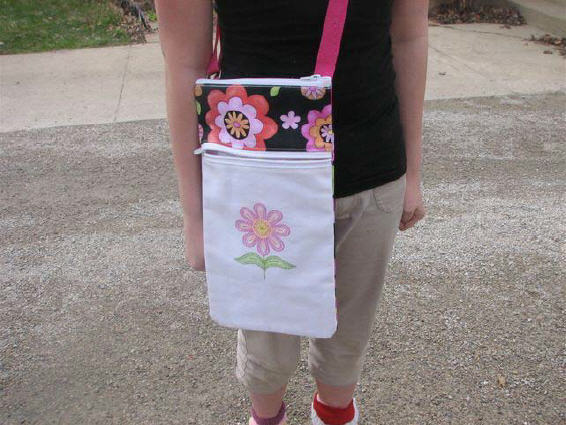
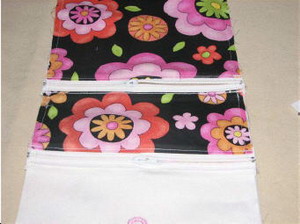
Finished bag-front and back.
|


")