|
|
|
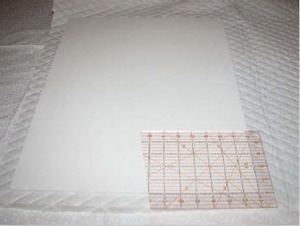
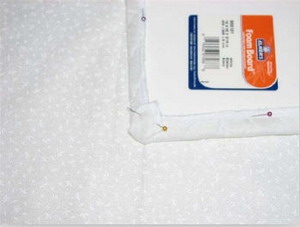
Step 1: Lay the fabric face down on a flat surface. Center the foam board over it.
|
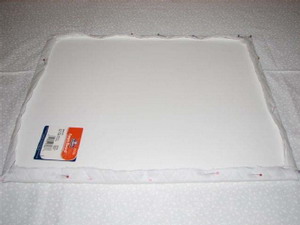
Step 2: Pin the fabric to the back side of the foam board.
|
|
|
|
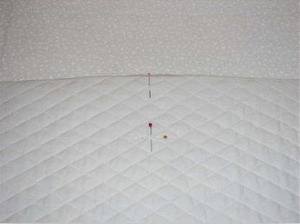
Step 3: Flip the fabric‐covered board over to the front. Find the center top of the board (8 inches from edge). Decide where you want your design placed. It can be anywhere on the fabric. Unpin the fabric from the back of the board when you have placement measurement for your design.
|
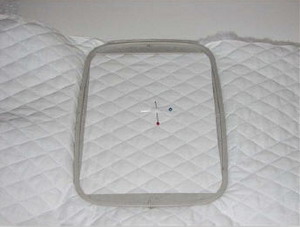
Step 4: Hoop the quilted fabric. Try to center pins as accurately as possible. No stabilizer is necessary for this project, just hoop it tight.
|
|
|
|
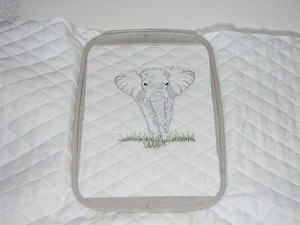
Step 5: Embroider design in choice of colors. When finished, remove fabric from the hoop.
|
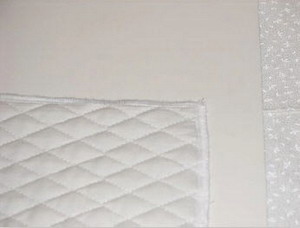
Step 6: Serge or zigzag the edges of the fabric to give it a more finished look. This will also help stabilized the fabric to the board.
|
|

|
|
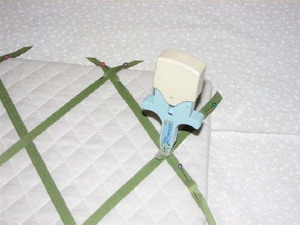
Step 7: Pin the fabric back on to the board. Facing design down. Centering the fabric on the board bring the edges of the fabric up and pin in place. Pinch the corners and fold over and pin the corner. Finish the corners.
|
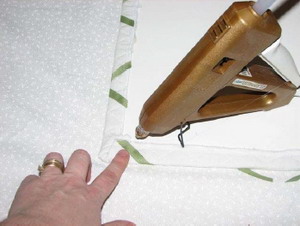
Step 8: Heat up the hot glue gun and start with the sides of the fabric. Leave the top for a later step. Remove the first pin. Lift up a little of the fabric edge and run about 4 inches of glue at a time along the edge of the fabric. Quickly pressing the fabric to the board as you move along. Careful not to burn yourself! Remove the pin at the corner and put hot glue down in all the folds of the fabric, then attach the fabric to the board. Leave the top edge unglued for now, you'll be adding a ribbon hanger when gluing the top.
|
|
|
|
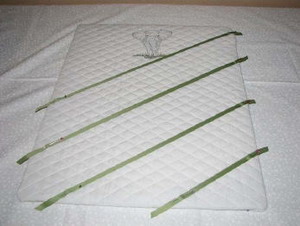
Step 9: Take the spool of ribbon and choose where you want the ribbon to go. Start at top right corner and pin the ribbon into place. Leave 1 to 2 inches of ribbon hang‐over on both ends and cut the ribbon.
|
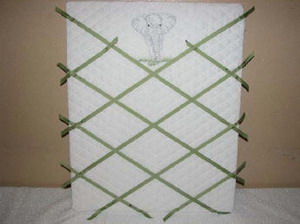
Step 10: Cross ribbon over evenly starting at the top and working down.
|
|
|
|
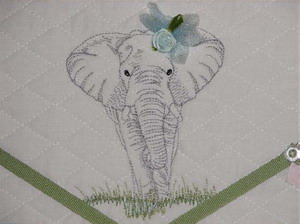
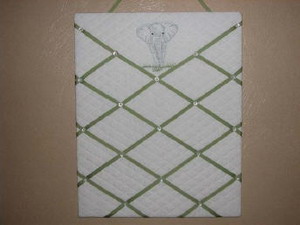
Step 11: There are 2 pieces of grosgrain ribbon on the left and right of the elephant design that need to be finished on the front. Fold the extra tail of the ribbon under the main part of the ribbon. Pin in place for now.
|
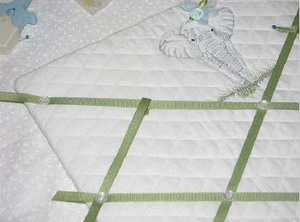
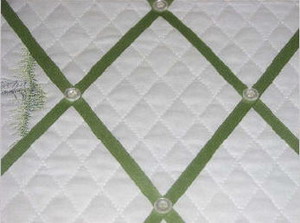
Step 12: Time to start adding the tack‐down for the cross ribbon points. Use a small amount of glue under the cross ribbons. Choose whatever type of tack‐down embellishment you’d like to use. You can use upholstery tacks, decorative thumb tacks or buttons, attaching them securely to the fabric and board. Put a tack‐down you are using on every ribbon cross‐strip pulling out the pins as you go. When using buttons it's handy to have a buttoneer. Using the fasteners that come with the buttoneer , you can easily add buttons safely and securely.
|
|
|
|
Step 13: Using a buttoner: Place a fastener in the cartridge and add a button to the end and you're ready to go. Push the loaded buttoneer as deep as it will go into the fabric and foam board. Lift up and the button is attached.
|
Step 14: Once all the buttons or tack downs are finished, it is time to finish the back. Using the hot glue gun, glue the extra ribbon from the front side to the back side. Press firmly after each ribbon piece is attached. Cut a piece of ribbon (your desired length) for hanger. Glue about 1 inch of each hanger end under the top flap of the fabric, placing it 3 inches from the left and right edges. Once the ribbon is glued into place, hot glue the rest of the fabric to the board.
|
|
|
|
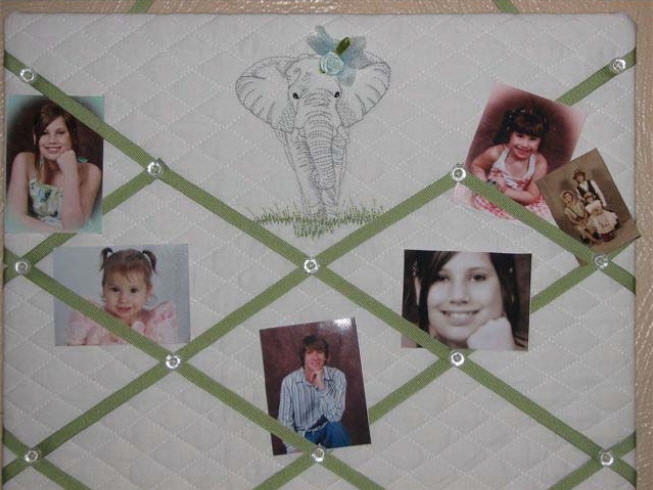
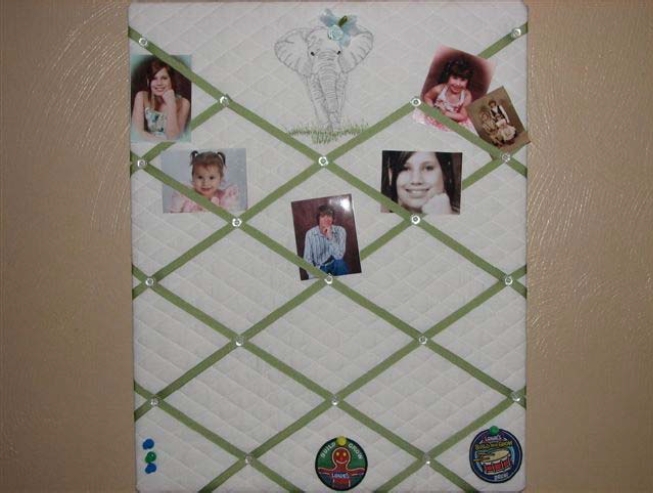
Step 15: Embellish the board with ribbons, flowers, etc. for the desired effect. Now it's ready to be hung. This is a fast and easy gift project, and can be used for loose photos, notes, etc… GREAT for teens!
|


")