|
|
|
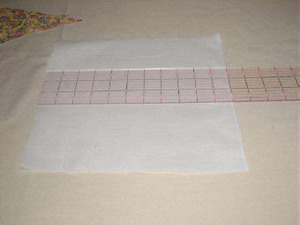
Step 1: Cut one piece of white fabric into a 11 x 11 inches square.
|
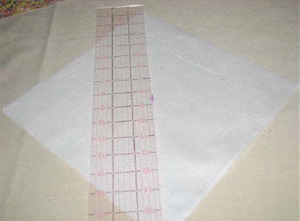
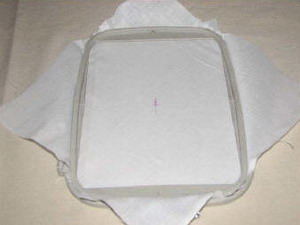
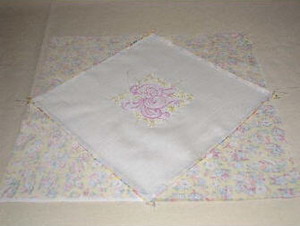
Step 2: Mark the center of the white fabric. This will be where the design is embroidered.
|
|
|
|
Step 3: Hoop the white fabric and tearaway stabilizer.
|
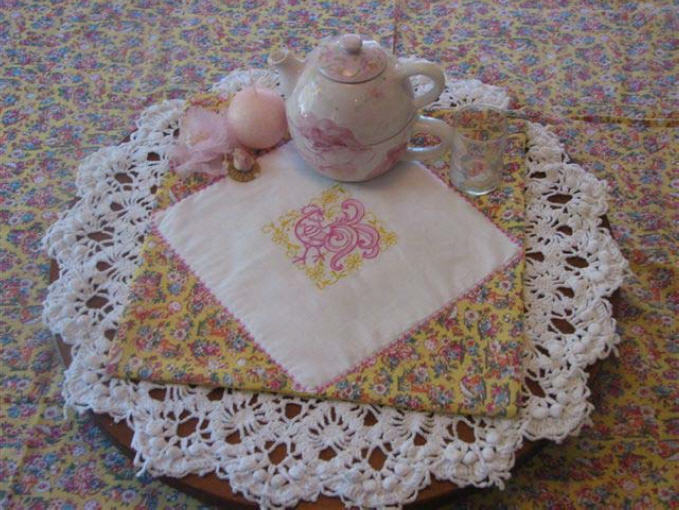
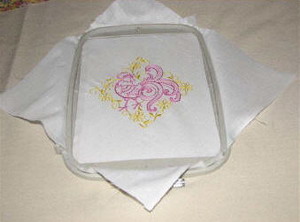
Step 4: Embroider design in your choice of colors to coordinate with your fabric for triangles and back.
|
|
|
|
Step 5: Remove the fabric from the hoop and the stabilizer from the back. Iron the fabric, being careful around the embroidery.
|
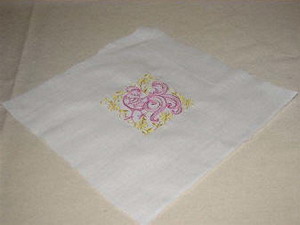
Step 6: Measure and cut the embroidered white square down to 10 1/4 inch square. Set aside.
|
|
|
|
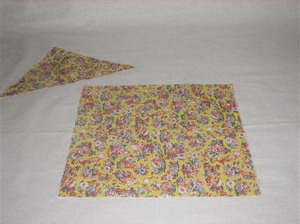
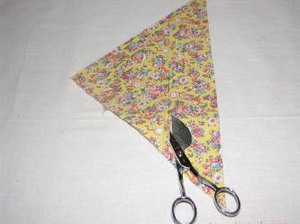
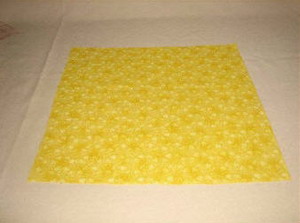
Step 7: Cut two pieces of contrasting or coordinating fabric to 11 x 11 inch square.
|
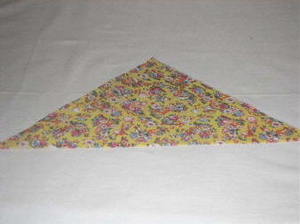
Step 8: Cut the two squares in half making four triangles.
|
|
|
|
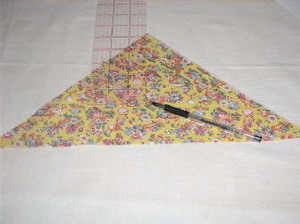
Step 9: Using a fabric pen and a ruler, measure from the top center down 5 ¼ inches. Mark with fabric pen.
|
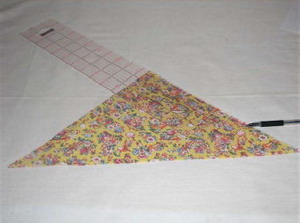
Step 10: Measure both short sides of the triangle 7½ inches. Mark with fabric pen.
|
|
|
|
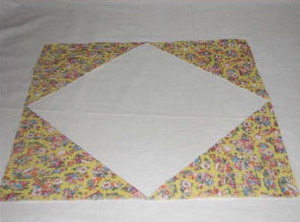
Step 11: Mark fabric from all 3 markings and cut off extra fabric.
|
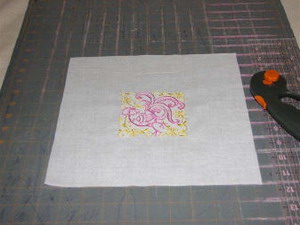
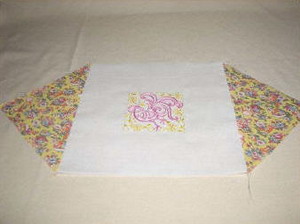
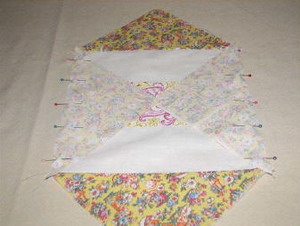
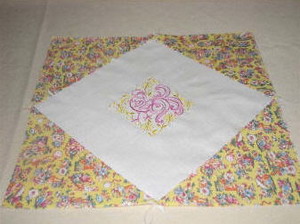
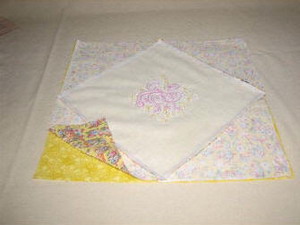
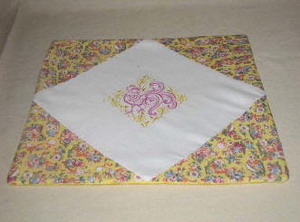
Step 12: This is what the triangles will look like around the center square before assembly.
|
|
|
|
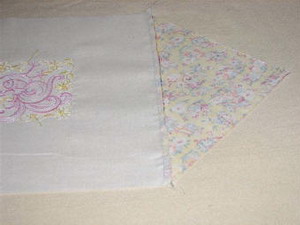
Step 13: With right sides together, lay two triangle pieces of fabric on top of the embroidered fabric square. The top of the triangle point should be touching or over lapping just a little. Sew ¼ inch along the edges of the triangle to the square.
|
Step 14: Press back seam towards the darker fabric, In this case it's the yellow fabric. If you use a dark fabric for the embroidered center square, it would be pressed toward it.
|
|
|
|
Step 15: Repeat the Step 13 and 14 with the last two triangles.
|
Step 16: Finish adding the triangles. Press all the seams toward the dark fabric.
|
|
|
|
Step 17: Turn over the assembled fabric pieces and press with iron. You can clip the corners where the triangles meet.
|
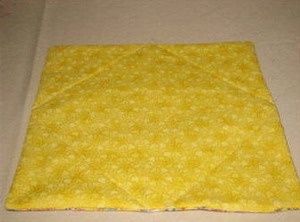
Step 18: Cut one piece of coordinating fabric for the back 14 ¼ x 14 ¼ inch square.
|
|
|
|
Step 19: With right sides together lay the assembled fabrics on top of the back fabric.
|
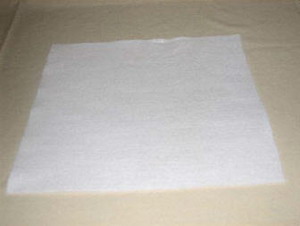
Step 20: Cut one piece of low pile batting to 14¼x 14¼ inches.
|
|
|
|
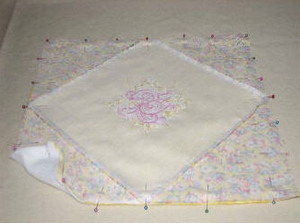
Step 21: Pin all three layers together with the batting on the bottom.
|
Step 22: Sew ¼ inch seam all four sides, leaving a space for turning right side out. Clip the corners.
|
|
|
|
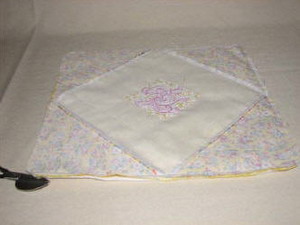
Step 23: Turn mat right side out and use a crochet hook or something similar to make the corners sharp. Press flat with iron.
|
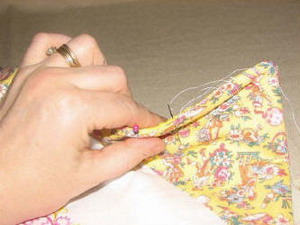
Step 24: Hand stitch the opening closed.
|
|
|
|
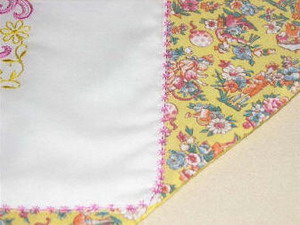
Step 25: You can stitch in the ditch. On the front side of the mat, stitch in the seam, following the white fabric square as close to the space where the two fabrics meet.
|
Step 26: You can add a decorative stitch along those edges if you like.
|