|
|
|
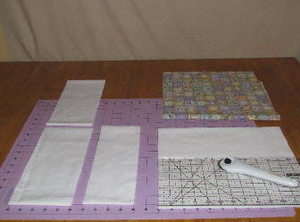
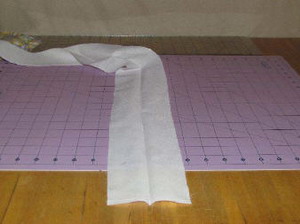
Step 1: Cut one piece of printed fabric 12 inches x 43/44 inches (outside skirt-any fabric color choice). Cut one piece of solid white fabric 12 inches x 43/44 inches (under skirt-any color choice). Cut one piece of solid white fabric 4 inches x 43/44 inches (waist or elastic casing). Cut two pieces solid white fabric 5 inches x 43/44 (ruffle).
|
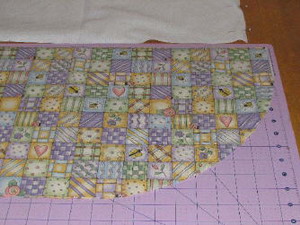
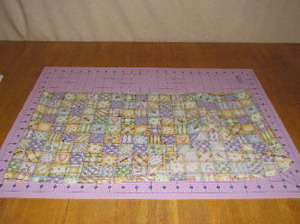
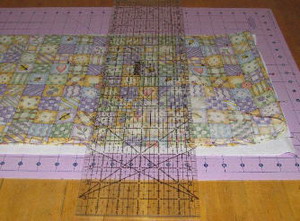
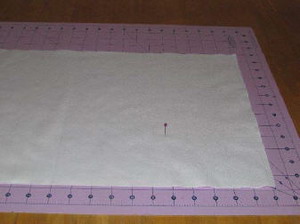
Step 2: Take the printed fabric and fold it in half, short sides touching. Place on your cutting mat. I used a large pizza pan to help get the curve. My curve starts at the 9 ½ inch mark and heads up to the 14 ½ inch mark.
|
|
|
|
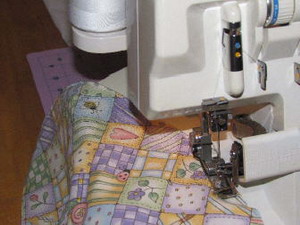
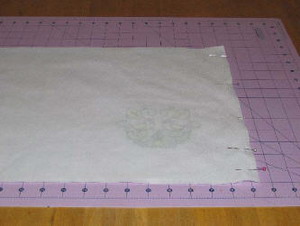
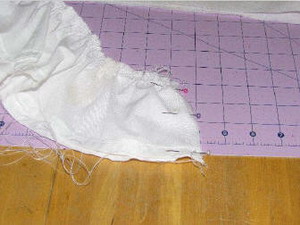
Step 3: Using a serger, serge the sides and the bottom of the printed fabric. If you don’t have a serger, you can use a zigzag stitch or double fold the edges ¼ inch. This will give a nice finished edge.
|
Step 4: If you used a serger, fold up the edges ½ inch and pin in place. You can also press with an iron to help keep its shape. Sew along the inside edge ¼ inch close to the serged thread.
|
|
|
|
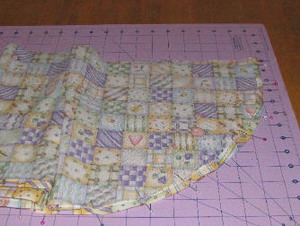
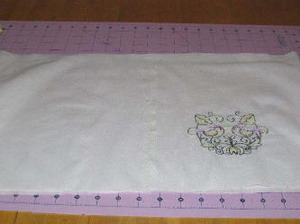
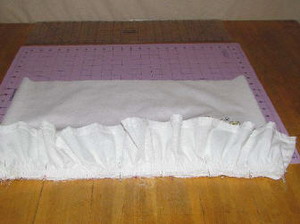
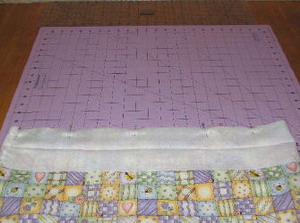
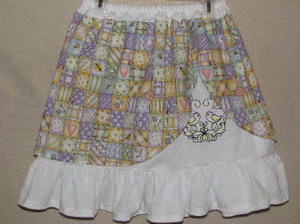
Step 5: The finished outside skirt piece. The opening can be anywhere you choose on the skirt, front, back middle. Get creative.
|
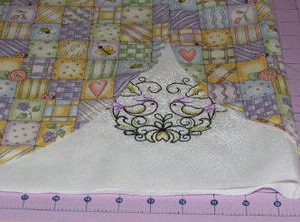
Step 6: On this skirt, I chose to make the opening on the side front. Lay the white fabric by the finished printed fabric. To decide the look you want. The opening will be for the peek-a-boo for the embroidery. Place the printed fabric over the white fabric. I used my ruler to mark where the design was going to be.
|
|
|
|
Step 7: Mark the white fabric with a fabric pen or a stick pin.
|
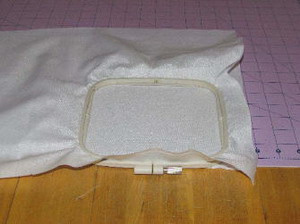
Step 8: Hoop tear away stabilizer and fabric centered on the mark you made.
|
|
|
|
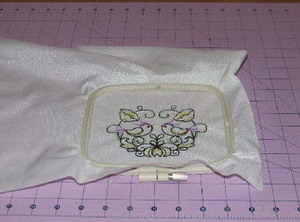
Step 9: Embroider the design. I try matching my threads with the colors in my printed fabric.
|
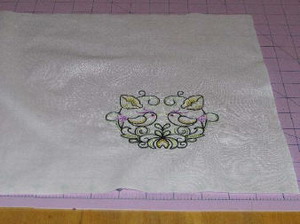
Step 10: Remove the fabric from the hoop and remove the excess stabilizer from the back of the fabric. Press with an iron.
|
|
|
|
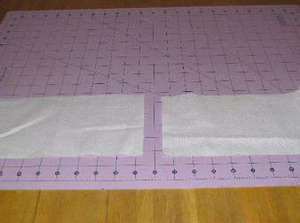
Step 11: Pin the two short sides together right sides facing. Sew ½ inch seam.
|
Step 12: Press seam flat.
|
|
|
|
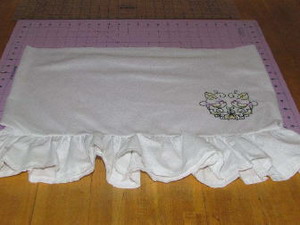
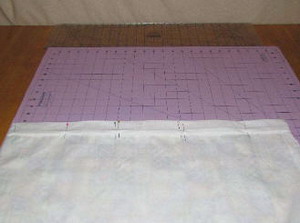
Step 13: Outside and under skirt finished.
|
Step 14: Making the ruffle. Take the two pieces of 5 inch x 43/44 inch fabric and lay them side by side, short ends together.
|

|
|
|
Step 15: Pin and sew the two ends together using ½ inch seam. Press seam open.
|
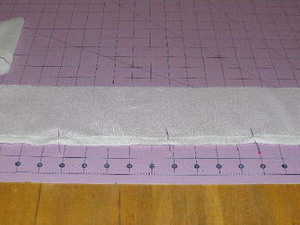
Step 16: Serge one long edge of the ruffle and fold it up ½ inch and pin in place.
|
|
|
|
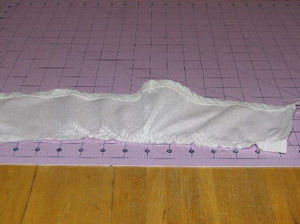
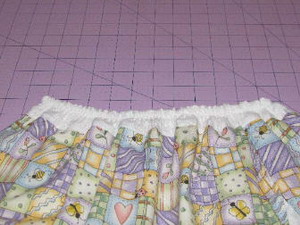
Step 17: Set your sewing machine with a long stitch and gather the top of the ruffle. I run a ¼ inch stitch then I run a ½ inch stitch for stability. Leave a 5 inch tail of thread from the bobbin and the top thread for the gathering on the beginning and the end of both stitches.
|
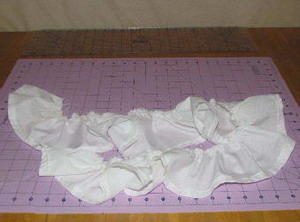
Step 18: Take hold of one end of the threads, I usually pull the bottom set of threads. Gather gently until you get to the sewn pieces. Then go to the other side of the ruffle and do the same.
|
|
|
|
Step 19: Lay the ruffle out along the white skirt. Stretching or pulling the gathers until the match the skirt. There should be about ¼ extra hangover for the seam allowance.
|
Step 20: Pin the ruffle piece together right sides facing. Sew ¼ inch seam allowance. Press with an iron.
|
|
|
|
Step 21: With right sides facing pin the ruffle to the skirt. The raw edges should be touching. Sew the ruffle to the skirt between the gathered stitches. You can also serge these edges together now.
|
Step 22: Turn the skirt out and press the ruffle down with an iron.
|
|
|
|
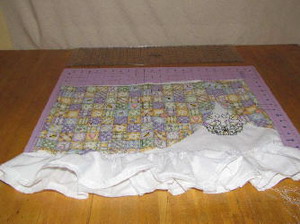
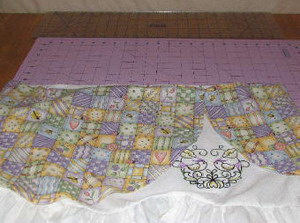
Step 23: Place the outer skirt on the underskirt and pin in place along the top of the skirts. I have over lapped the opening just a bit.
|
Step 24: Take the 4 inch x 43/44 inch piece of fabric and press it flat length ways.
|

|
|
|
Step 25: Pin the two short ends together and sew ¼ inch seam.
|
Step 26: Open the folded fabric and pin one raw edge to the raw edge of the top of the skirt. The folded edge should be touching the right side of the skirt.
|

|
|
|
Step 27: Again if you are using a serger, serge the raw edge of the waist band. If not, use a zig zag stitch, but this isn’t necessary. Just fold the raw edge down ¼ to ½ inch and pin and press in place. Sew in place using ¼ - ½ seam allowance according to your folded edge.
|
Step 28: Fold down the top folded edge and cover the seams where the skirt and band meet. Pin and press in place. Leave an opening for adding the elastic of 2-3 inches. I marked mine with pins for reference.
|
|
|
|
Step 29: Measure the child waist with the elastic. I usually take it in a little depending on the elastic type. This is a loose and stretchy elastic and I only need 21 inches of elastic.
|
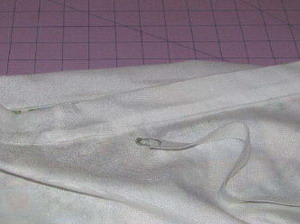
Step 30: Pin a safety pin to one end of the elastic and run it through the casing. The elastic is however shorter than the casing. When you are finished, use a safety pin and pin the two ends together. Check this on the waist of the child so as to make any necessary adjustments. Sew the two ends of the elastic together and close up the waist opening. You can run a top stitch along the edge of the white fabric close to the printed fabric.
|
|
|
|
Step 31: I added an extra stitch, this is optional. I don’t like my elastic to turn, so I stitch it in place. To do this, you start a stitch. And stretch out the fabric along with the elastic at the same time and sew them together. Continue to do this until you reach the end of the casing.
|
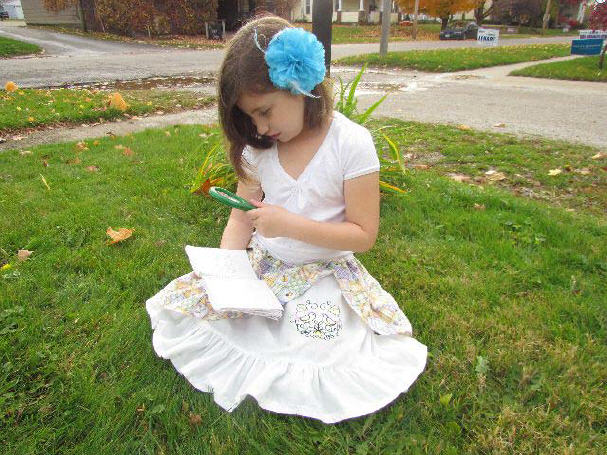
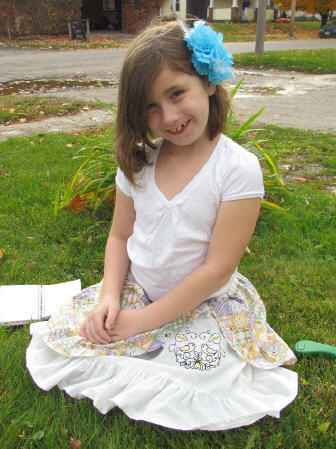
Finished!
|