|

Supplies List
-
Embroidery design
-
Embroidery machine – 4x4 or 5x7 hoop
-
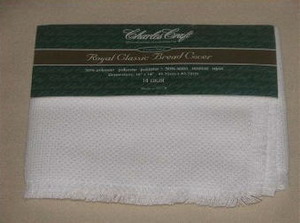
Bread Cover cloth or napkin – 18 x 18 inches
-
Water Soluble Stabilizer (WSS)
-
Spray stabilizer
-
Fabric pen
-
Embroidery hoop grid or ruler
-
Scissors
-
Iron
-
Stick pins (optional)
|
|
|
|
Step 1: Use a ready‐made bread cover or make your own. I used the Adida kind that has fringed edges already done.
|
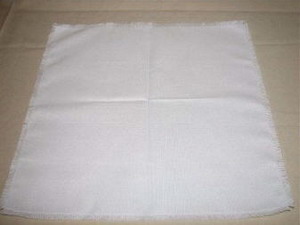
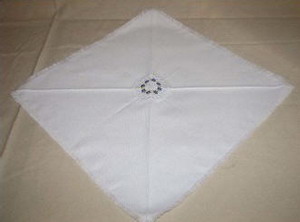
Step 2: Iron the bread cover in half, both ways, as shown. This will give you the center of the cloth for the first design.
|
|
|
|
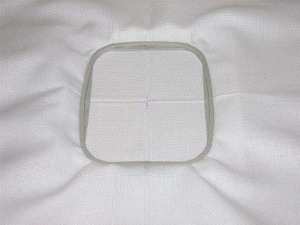
Step 3: Hoop the WSS and centered bread cover in the hoop.
|
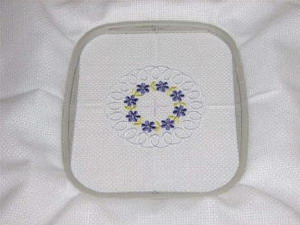
Step 4: Embroider the center design, using the same color thread in the bobbin as the top thread. Trim the jump stitches.
|
|
|
|
Step 5: Remove the cover from the hoop. Cut the WSS as close as possible to the design, being careful to not cut through any stitches or fabric. Iron the cover cross‐ways, making sure the creases end at each corner.
|
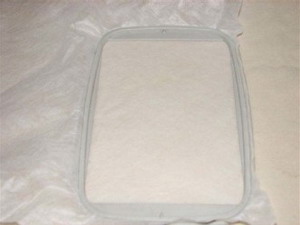
Step 6: Hoop WSS by itself, do not hoop the cloth.
|
|
|
|
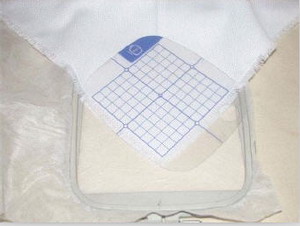
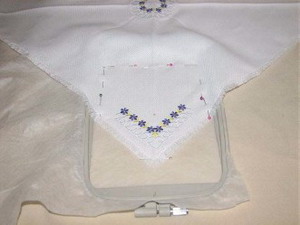
Step 7: Lay the corner of the bread cover where you would like to embroider in the center of your hoop. I used my 4x4 grid to measure alignment. Mark the center with the fabric marker. You may need to adjust your machine up or down to get the exact spot you want. Spray stabilizer on the back side of the cover and press it smoothly against the WSS.
|
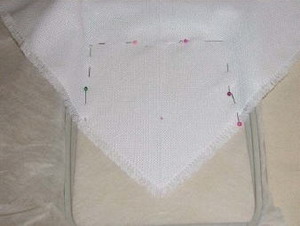
Step 8: You may want to use stick pins along the edges and the bottom corner for extra stability.
|
|
|
|
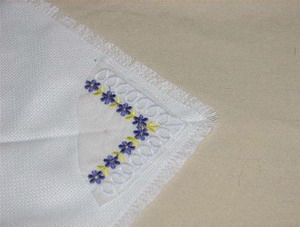
Step 9: Embroider the design, using the same color thread in the bobbin as on the top. Trim the jump stitches.
|
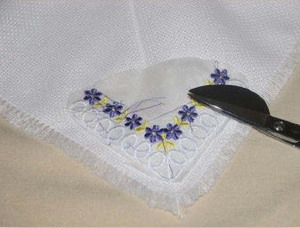
Step 10: Remove the cover from the hoop. Cut the WSS as close as possible to the design, being careful to not cut through stitches or fabric.
|
|
|
|
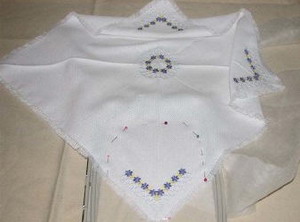
Step 11: Repeat steps 6 through 10 to complete each of the other three corners of the cover.
|
Step 12: Remove back thread ends and jumps on the underside to give the design a clean look on both front and back.
|
|
|
|
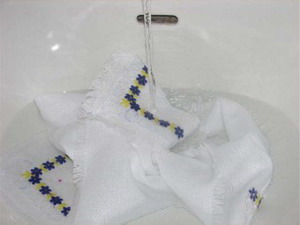
Step 13: Rinse the bread cover in warm water to remove all the WSS. Hang it up to
|
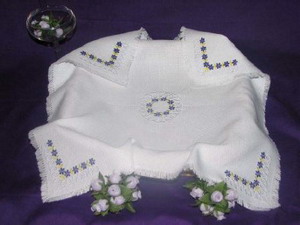
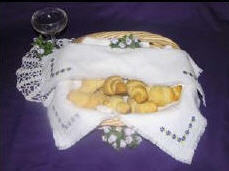
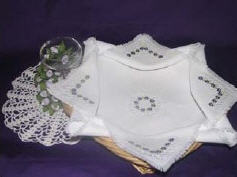
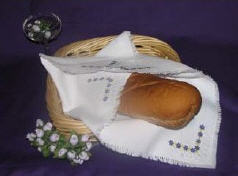
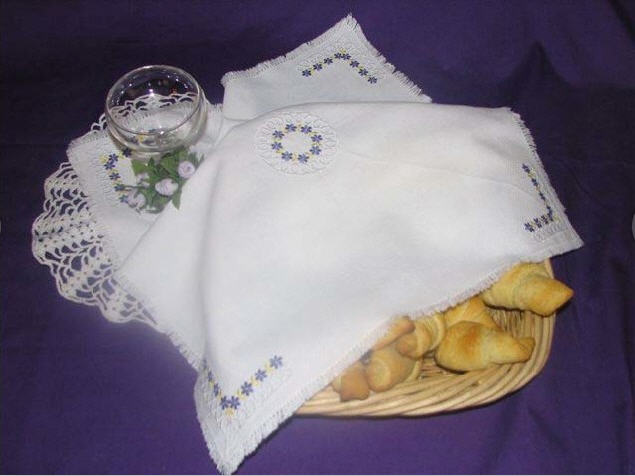
Step 14: Simply elegant! Use your new bread cover in a basket or bowl of your choice to add a beautiful touch to your dinner table.
|
|
Fast, fun and simply elegant!
|


")