|
|
|
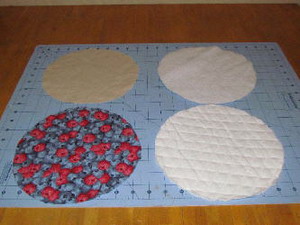
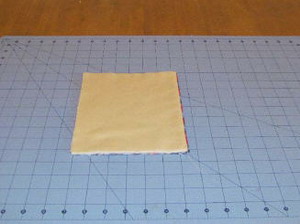
Step 1: #1 Blueberry Pie Pot Holder: Cut one of each fabric 8.25 inches diameter. In this project you don’t have to use the quilted fabric, you can use your low pile batting instead.
|
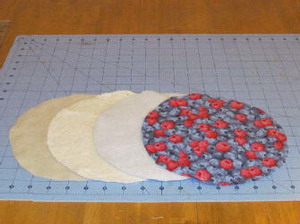
Step 2: Lay the cut circles out in order to be sewn together. Tan on the bottom, low pile batting next, then Insulated batting and the fruit fabric facing up. The shiny side of the insulated batting should be facing the heat source. In my case I wanted the Insulbrite to be against the fruit fabric.
|

|
|
|
Step 3: Pin and sew ¼ inch seam around the edge of all four layers. You can spray temporary adhesive between all the layers to help hold them together.
|
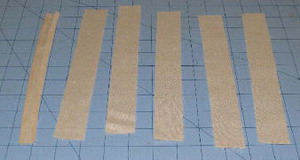
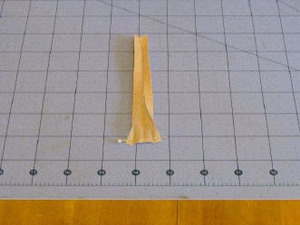
Step 4: Cut six 1.25 inch x 9 inches for pie crust (optional-you can use large rick rack in this step).
|
|
|
|
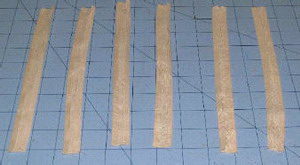
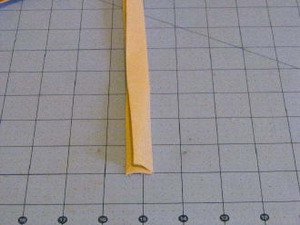
Step 5: Press in along the sides ¼ inch on each strip of fabric.
|
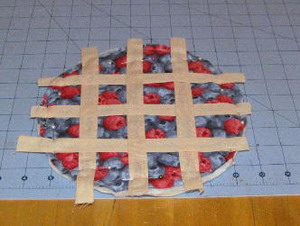
Step 6: Place 3 pieces of the pressed tan fabric on top of the sewn berry fabric. There should be 1 ¼ inches between each piece of fabric. Pin on the ends.
|
|
|
|
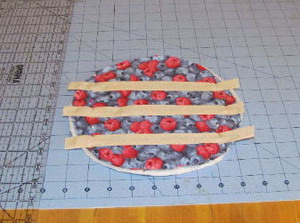
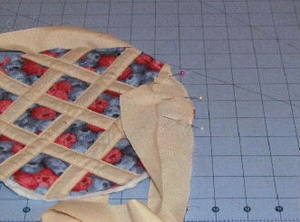
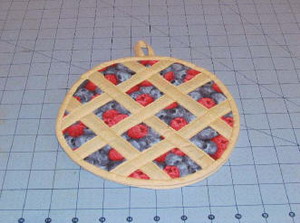
Step 7: Place one of the strips in the center of the circle and pin in place. Weave the fabric in and out through the other strips of fabric.
|
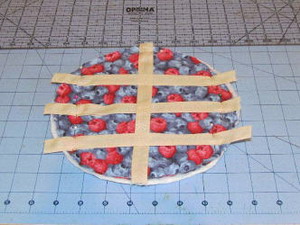
Step 8: Continue with the other two strips. Alternate the weave pattern. Make sure the strips of fabric are 1.25 inches apart.
|
|
|
|
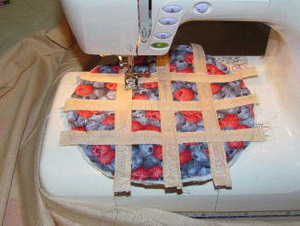
Step 9: Sew down the strips of fabric. Start in the center and work your way out. Do not sew all the way across all the strips. Stop and start at the beginning of each cross under. See pictures for examples.
|
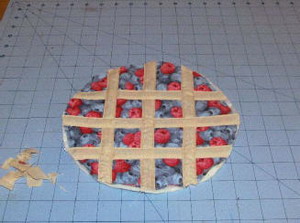
Step 10: Cut off the excess fabric from the strips.
|
|

|
|
Step 11: Cut one strip of tan fabric 1.25 inch x 5 inches. Press in the edges ¼ inch and press the strip in half. Sew close to the edge on the open edge of the strip of fabric.
|
Step 12: Pin the strip of fabric onto the back side of the pot holder like the example.
|
|
|
|
Step 13: Cut one strip of fabric to make the binding. You can also purchase already made binding in the store. To make binding, you need to cut one strip of fabric 1.25 inches x 43-44 inches. Cut from the length of the fabric. Press the fabric in half lengthwise. Also press in the raw edges to the middle.
|
Step 14: Fold and press the beginning of the binding before pinning in place. Pin the raw edge of the binding to the edge of the pot holder all the way around.
|
|
|
|
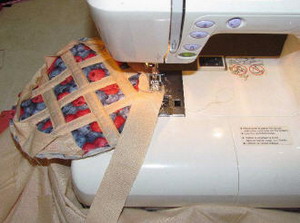
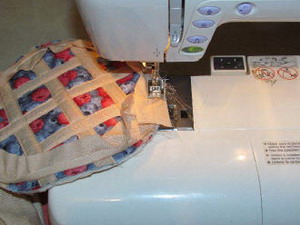
Step 15: Carefully sew your way around the circle sewing 1/8 inch to ¼ inch.
|
Step 16: When you get back to the beginning, cut any excess fabric off, tuck the strip into the beginning and finish sewing.
|
|
|
|
Step 17: Fold over the binding to the back and cover over the ¼ seam stitches. Pin binding in place. You can whip stitch the binding closed or you can use your sewing machine. Whatever method you prefer to use.
|
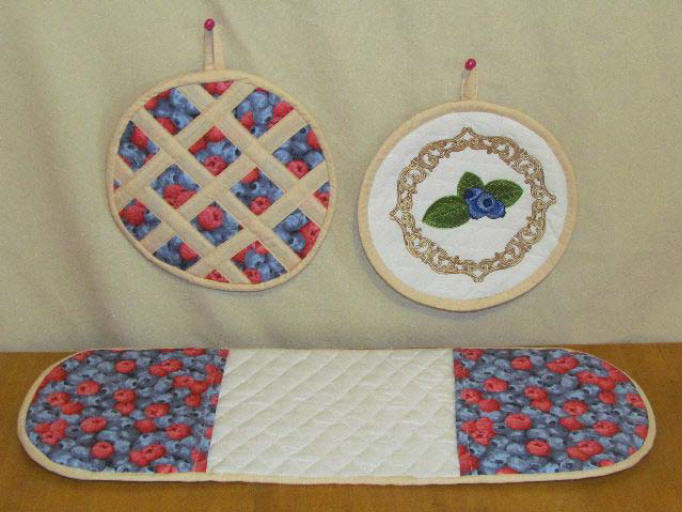
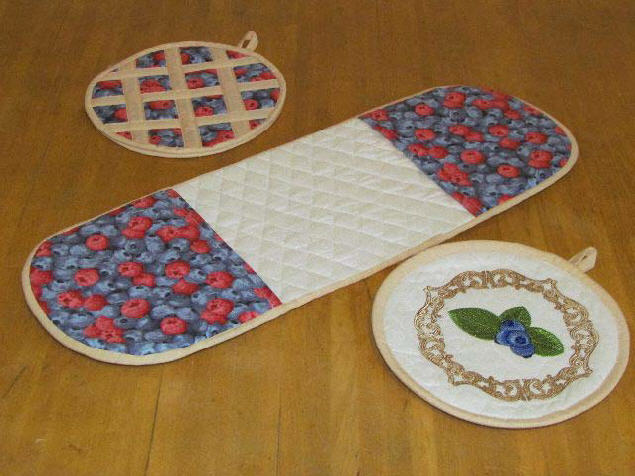
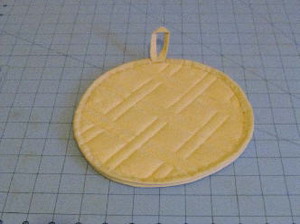
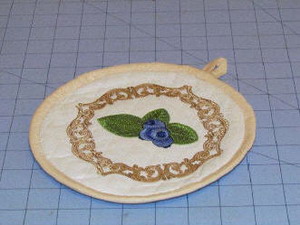
Step 18: Finished pie pot holder.
|

|
|
|
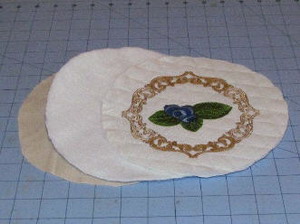
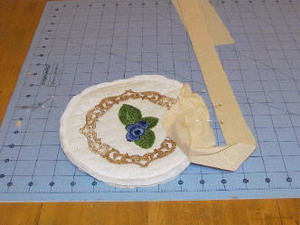
Step 19: #2 Blueberry Pie Pot Holder: Cut one of each fabric 8.25 inches diameter. In this project you don’t have to use the quilted fabric, you can use your low pile batting instead and a plain white cotton fabric.
|
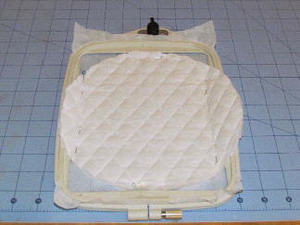
Step 20: Hoop your tear away stabilizer. Center your fabric of choice (if embroidering on plain white or colored cotton or quilted fabric). You can spray the back of the quilted fabric or pin it in place to be embroidered on.
|

|
|
|
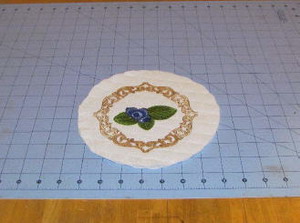
Step 21: Embroider the design.
|
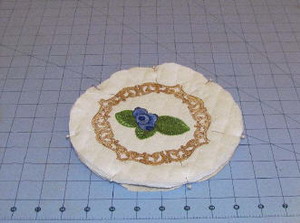
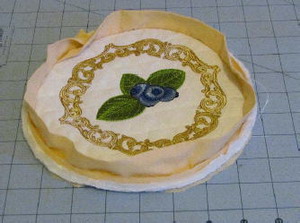
Step 22: Center the fabric and cut your circle diameter to 8 inches.
|
|
|
|
Step 23: Layer the fabric in the order to be stitched together. Layer the backing first, Insulbrite next, then the batting and embroidered design fabric last. I didn’t use the warm tater batting in this potholder because of the quilted fabric. You will need to use it if you are using white cotton fabric.
|
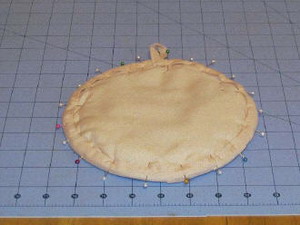
Step 24: Pin all the layers together and sew 1/8 inch to ¼ inch around the circle to secure the fabrics together. If you used plain white fabric for this project, right now would be the time to quilt all the fabrics together.
|
|
|
|
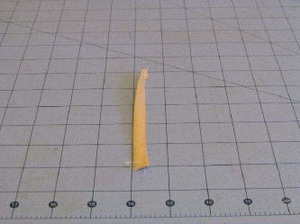
Step 25: Cut another 1 .25 inch x 5 inch strip of fabric and make another holder strap, just as you did before with the pie potholder.
|
Step 26: Pin the strap in place. I would recommend lining it up with one of the points in the design.
|
|
|
|
Step 27: Cut another strip of fabric to make the binding. To make binding, you need to cut one strip of fabric 1.25 inches x 43-44 inches. Cut from the length of the fabric. Press the fabric in half lengthwise. Also press in the raw edges to the middle. Fold and press the beginning of the binding before pinning in place. Pin the raw edge of the binding to the edge of the pot holder all the way around.
|
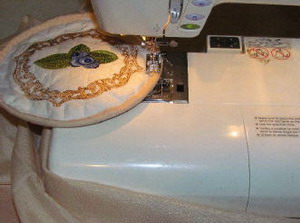
Step 28: Sew all the around the pot holder using ¼ inch seam.
|
|
|
|
Step 29: Fold over the fabric to the back of the pot holder and pin in place covering the stitches on the back. Pin the strap up so it doesn’t get sewn downwards to the potholder.
|
Step 30: You can whip stitch the binding to the back or you can use your machine and sew it. I used my machine for this pot holder.
|
|
|
|
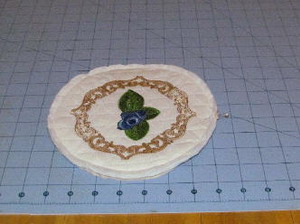
Step 31: Finished Embroidered blue berry potholder.
|
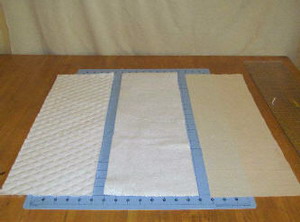
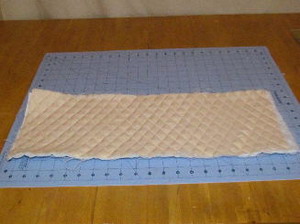
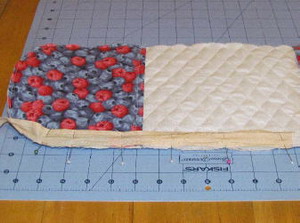
Step 32: #3 Two Handed Potholder: Cut three pieces of fabric 8 inches x 22 inches; one tan (backing fabric), one insulated batting, and one quilted fabric (you can choose to use plain white cotton fabric in this step, but be sure to use another low pile batting. You can also embroider your blue berry design onto the middle of this fabric).
|
|
|
|
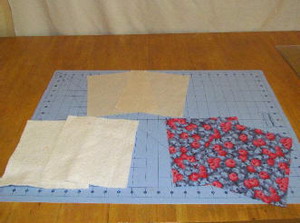
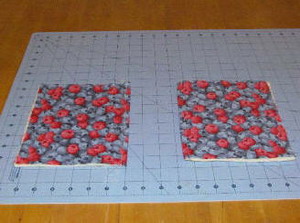
Step 33: Making the pockets: Cut two of each fabric 8 inches x 7 inches; two tan backing, two low pile batting, and two berry fabric.
|
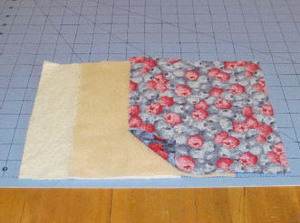
Step 34: Layer the three fabrics in this order: batting, backing, then berry fabric wrong side up.
|

|
|
|
Step 35: Pin along one of the 8 inch sides.
|
Step 36: Stitch along the edge using ¼ inch seam. Turn inside out and press.
|
|
|
|
Step 37: Top stitch along the folded edge ¼ inch seam. Repeat to make the second pocket.
|
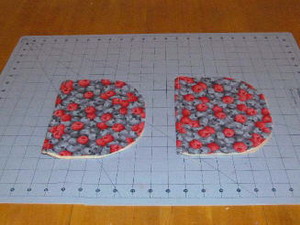
Step 38: Round off the corners of the raw square edges. You can use any round object to help you get the corners round.
|
|
|
|
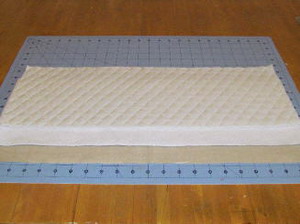
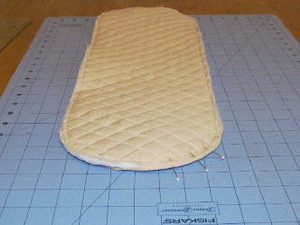
Step 39: Layer the fabrics together: backing, insulated batting, and quilted fabric (or other chosen cotton fabric along with low pile batting). Use the temporary spray adhesive to keep all the layers together.
|
Step 40: Quilt all the layers together. I just followed the stitches in the already quilted fabric. If you used a design in the middle of this fabric, you’ll want to quilt around the design. Finished quilting the layers.
|

|
|
|
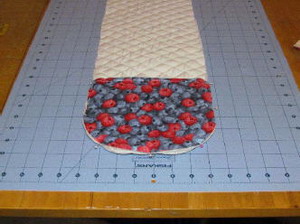
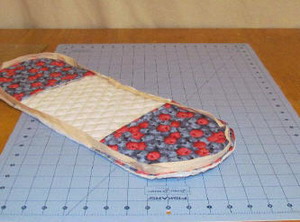
Step 41: Place the pockets onto the quilted fabric and cut off the corners of the quilted fabric to match your pockets.
|
Step 42: Pin the pockets in place.
|

|
|
|
Step 43: Stitch 1/8 inch to ¼ inch around the outside of both pockets.
|
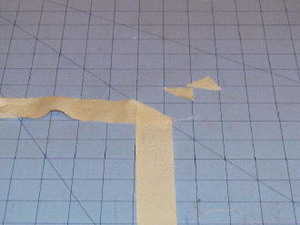
Step 44: Make binding for the potholder: Cut 1.25 inch strips x length 43-44 inches, you’ll need more than this. To make more binding, cut a second strip of fabric 1.25 inches x length of fabric. Place the fabric right sides together like the example and stitch together on a 45 degree angle. Cut off the excess fabric ¼ inch away from the seam.
|
|
|
|
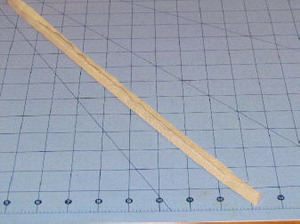
Step 45: Press in the edges ¼ inch, also press in one end ¼ inch. This will be the beginning of the binding.
|
Step 46: Pin the binding along the edge of the pot holder. Sew around the potholder, using ¼ seam. Carefully work around the curves. When finished, cut any excess fabric off the binding and tuck it under the beginning and finish off.
|
|
|
|
Step 47: Fold the binding over to the back of the potholder and pin in place. Make sure to cover the last stitches.
|
Step 48: Sew binding using whatever preferred method to close the binding, whip stitch or by sewing machine.
|


")