|
|
|
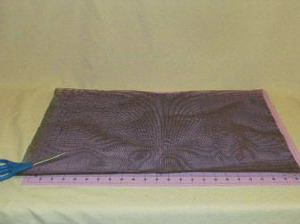
Step 1: Cut one piece of the window screen or mesh vinyl 18 inches x 25 inches. Set aside.
|
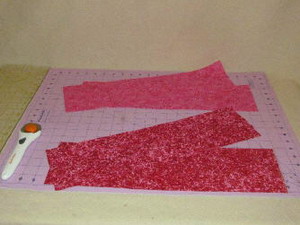
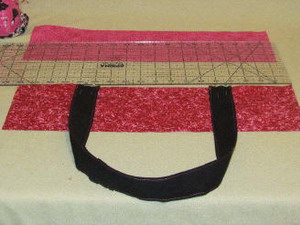
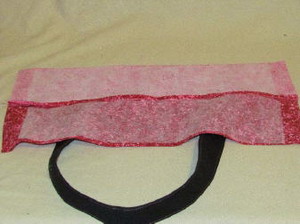
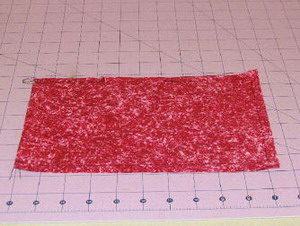
Step 2: Cut four pieces of coordinating fabric 5 inches x 18 inches. These will be for the top of the bag, two for the outside and two for the lining. Set aside.
|
|
|
|
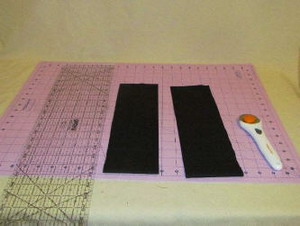
Step 3: Make two straps. Cut two pieces of duck cloth 4 inches x 27 inches (or cut two pieces of strapping 27 inches)
|
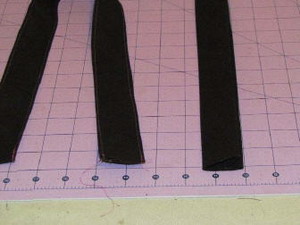
Step 4: Fold the duck cloth (canvas) in half and press. Fold in the raw edges ½ inch towards the center fold and press. Run a stitch 1/8 inch from both edges.
|
|
|
|
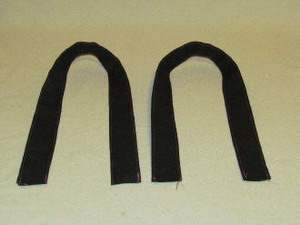
Step 5: Straps finished.
|
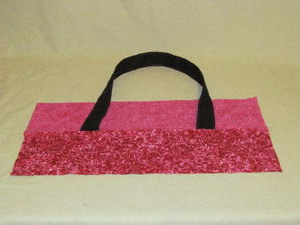
Step 6: Before sewing the straps to the fabric, cut four pieces of pellon 4 inches x 18 inches and fuse to the wrong sides of all four of the 5 inch x 18 inch fabrics. Pin the straps as shown. The raw edges should be touching. Pin the straps 4 inches from the edge.
|
|
|
|
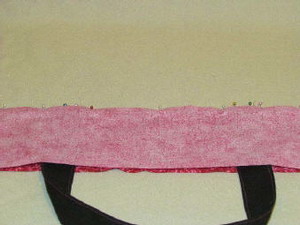
Step 7: Place the lining next to the outside piece with the strap pinned in place. With right sides together, pin the lining to the outside fabric across the top of the fabric.
|
Step 8: Sew ¼ inch along the top. Be sure to double stitch where the handles are. Press open when finished.
|
|
|
|
Step 9: Repeat with the other two pieces.
|
Step 10: Press open.
|
|
|
|
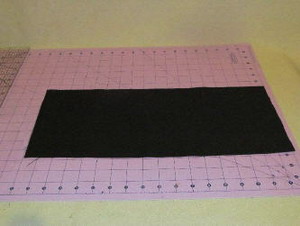
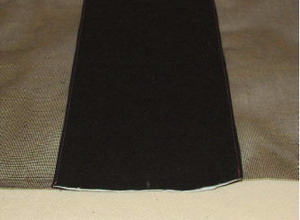
Step 11: Cut one piece of the duck cloth (canvas) 8 inches x 18 inches and cut one piece of vinyl 7 inches x 18 inches. The duck cloth will be the outside fabric and the vinyl will be the lining of the bag.
|
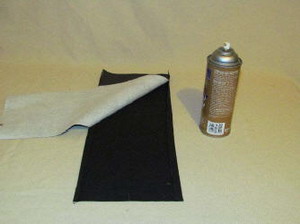
Step 12: Press the duck cloth on the long edges ½ inch. Use temporary spray adhesive to hold the vinyl in place. Spray the back of the vinyl and smooth in place onto the back side of the duck cloth.
|
|
|
|
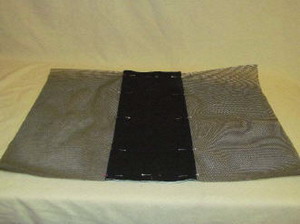
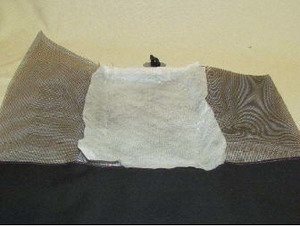
Step 13: Center the duck cloth/vinyl pieces of fabric onto the center of the screen. Pin in place. This will be the bottom outside of the bag.
|
Step 14: Sew 1/8 inch along both edges to secure fabric to the vinyl.
|
|
|
|
Step 15: Tearaway stabilizer isn’t necessary when embroidering on vinyl. But I would recommend it on more dense designs. I hooped tear away stabilizer then placed the vinyl on top and pinned it to the stabilizer. Then place a piece of H20 stabilizer (Vilene) on top of the hoop.
|
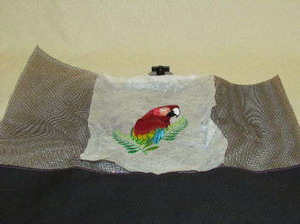
Step 16: Embroider the design.
|
|
|
|
Step 17: Remove the fabric from the hoop. Cut the Vilene close to the design and remove the excess tear away stabilizer from the back. Rinse the excess Vilene out with hot water. Dry off the screen with a towel.
|
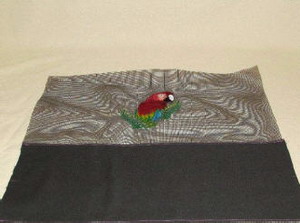
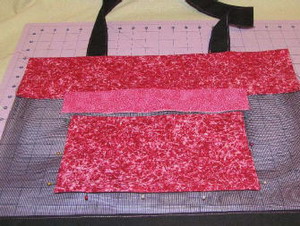
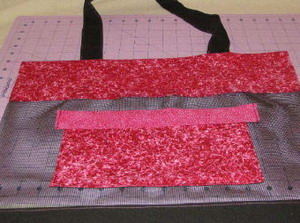
Step 18: Place the three screen part of the bag right side up and place the handle piece on top of the screen, right sides together. Pin along the outside edge on the left side and stitch ¼ inch seam. Repeat for the other side.
|
|
|
|
Step 19: Press the top piece away from the screen, being careful not to burn the screen with the iron. A pressing cloth could be handy right now.
|
Step 20: Making a pocket: cut one piece of coordinating fabric 6 inches x 22 inches. This will be the base of the pocket. Fold the fabric in half with right sides together and press. Stitch all four sides ¼ inch, leaving an opening about 3 inches for turning around.
|

|
|
|
Step 21: Clip the corners.
|
Step 22: Turn inside out and press.
|
|
|
|
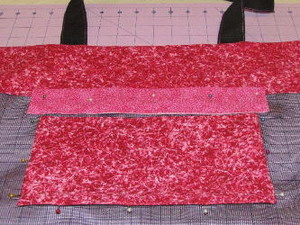
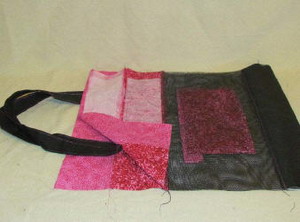
Step 23: Pin the bottom pocket piece to the bag about 1 inch from the duck cloth and 4 inches from the bag sides.
|
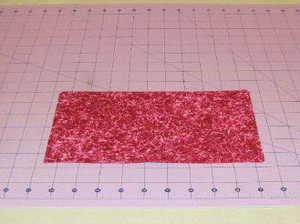
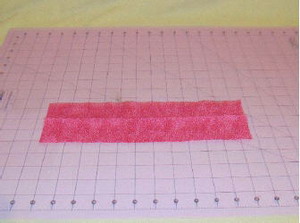
Step 24: Top pocket piece: cut one piece of coordinating fabric 4 inches x 11 ½ inches.
|
|
|
|
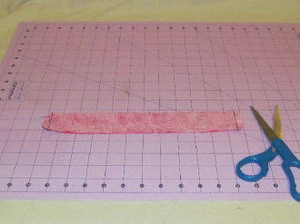
Step 25: Fold in ½ right sides together long ways and press. Sew both ends ¼ inch. Clip the corners.
|
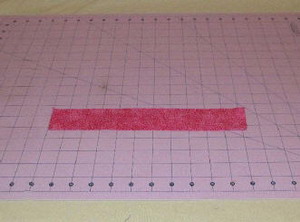
Step 26: Turn inside out and press.
|
|
|
|
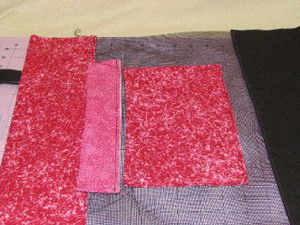
Step 27: Place the pocket top piece over the bottom piece, with raw edges facing down. There should be about ¼ inch between the two pieces of fabric.
|
Step 28: Pin both pieces in place.
|
|
|
|
Step 29: Sew along the two sides and the bottom of the pocket to attach it to the bag. Then sew the top pocket piece along the bottom raw edge 1/4 inch.
|
Step 30: Press the pocket top down over the pocket bottom. Pin in place.
|
|
|
|
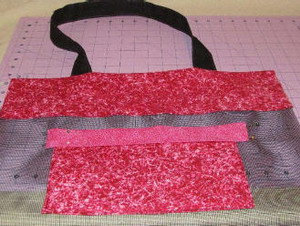
Step 31: Sew along both short ends with ¼ inch seam. This will hold the pocket flap down. Pocket finished.
|
Step 32: Inside the pocket.
|
|
|
|
Step 33: Lay the bag right side up. Fold the other bag handle over and line up the bag. Pin along both sides. Sew both sides using ¼ inch seam.
|
Step 34: Fold down the top of the bag ½ inch and press. I used pins to hold it until I got it ironed.
|
|
|
|
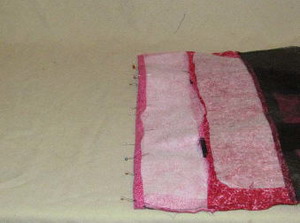
Step 35: Fold down the top of the bag. And match up the ½ fold with the seam that meets with the screen.
|
Step 36: Pin in place. Sew using ¼ inch seam.
|
|

|
|
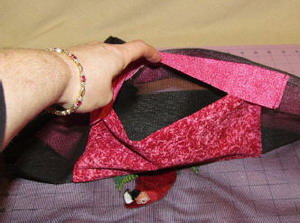
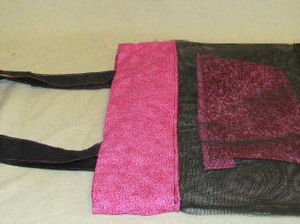
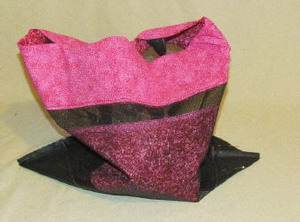
Step 37: Set the bag up and flatten out the corners.
|
Step 38: Mark both corners with a ruler at 2 inches. Sew across the 2 inch mark. Cut off the corner ¼ inch away from the seam.
|
|
|
|
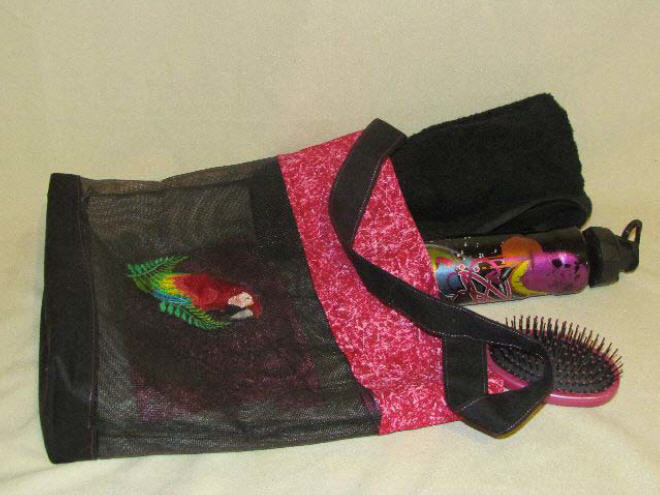
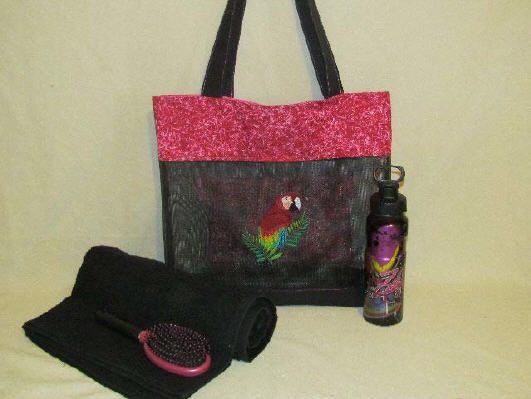
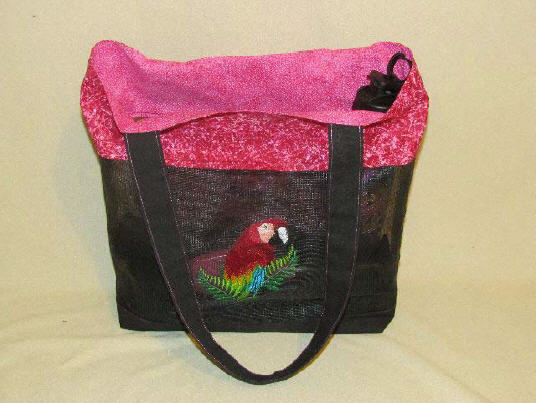
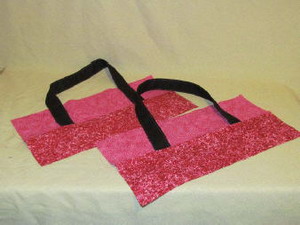
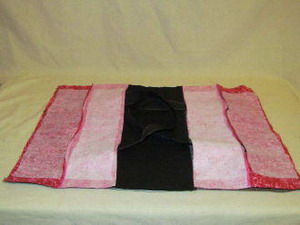
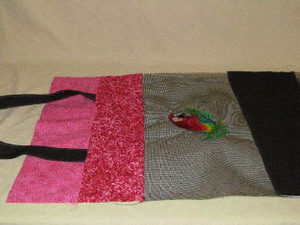
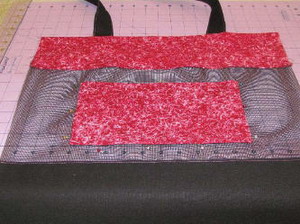
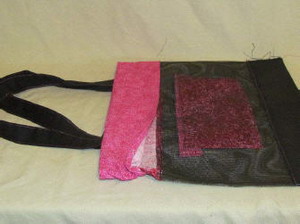
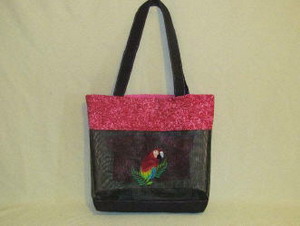
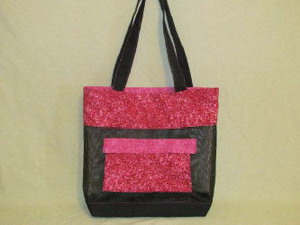
Finished bag, front and back
|


")