|
|
|
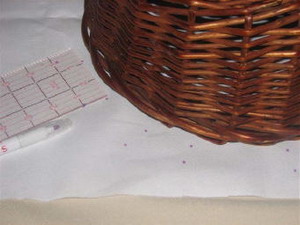
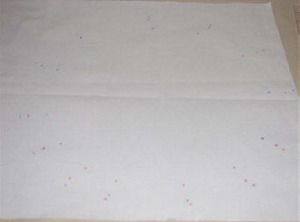
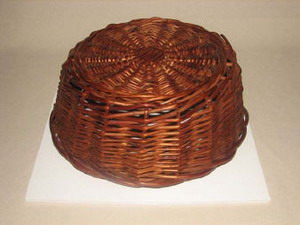
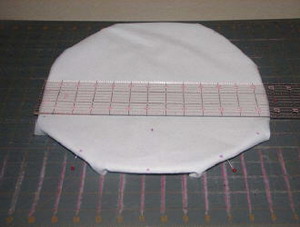
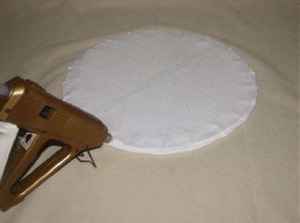
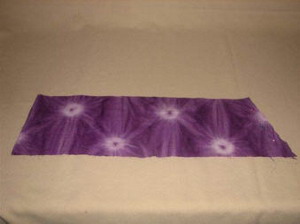
Step 1: Lay the basket upside down on top of the canvas fabric. Mark out the outer edge of the basket onto the fabric using a water soluble fabric pen.
|
Step 2: Mark 1 ½ inches away from the first set of marks.
|
|
|
|
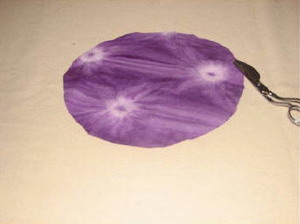
Step 3: Finished markings for the basket lid. Cut out shape on the outer dotted lines.
|
Step 4: Lay basket upside down on top of the foam board. Mark out the outer edge of the basket onto the foam board.
|
|
|
|
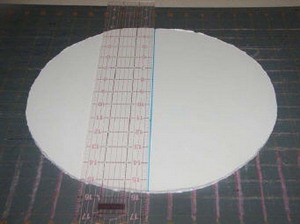
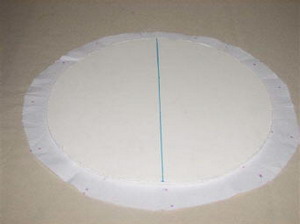
Step 5: Cut out a circular foam board shape with an Exacto knife on a cutting mat. Measure and mark the center of the circle.
|
Step 6: Using the Exacto knife, score the line you marked earlier. Do not go all the way through the foam board. Just the top cardboard layer and the middle foam layer need to be cut.
|

|
|
|
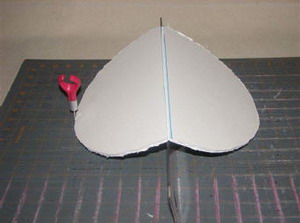
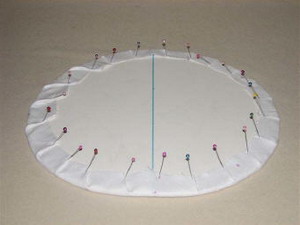
Step 7: Center the canvas on the foam board and fold up 4 sides and pin in place.
|
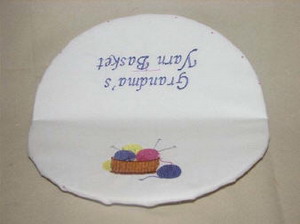
Step 8: Flip the canvas covered foam board over. Mark the center for the design.
|
|
|
|
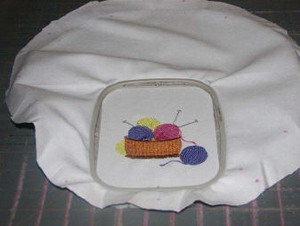
Step 9: Hoop the fabric and tear away stabilizer and embroider the design. When finished embroidering, remove the fabric from the hoop and remove the excess stabilizer from the back.
|
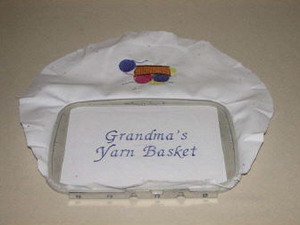
Step 10: (Optional) Embroider another design or words on the other side.
|
|
|
|
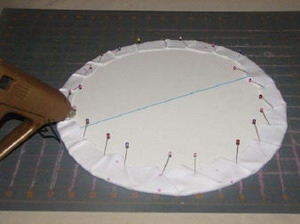
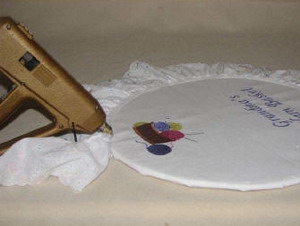
Step 11: Lay the embroidered canvas right side down on a flat surface and place the foam board on top. Make sure the design is where you want it to be on the top of the basket. The cut you made in the foam should be facing up.
|
Step 12: Fold the edges over onto the back side of the foam. Use pins to hold it in place. This will help keep it centered while it's being glued.
|
|
|
|
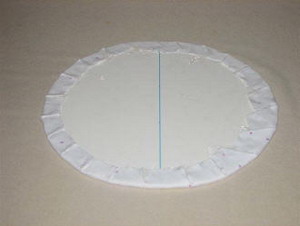
Step 13: Flip the lid over to make sure everything is centered the way you want it.
|
Step 14: One at a time, remove a pin and use the hot glue gun at that place. Glue under the canvas and glue in the fold where the pin was holding the fabric.
|
|
|
|
Step 15: Finish gluing the fabric to the foam board.
|
Step 16: Cut a piece of felt ¼ inch smaller than the lid. Glue the edges down to the underside of the lid, leaving an opening for adding the elastic. The elastic should be at the center front. This will be used for the closure for the lid.
|
|
|
|
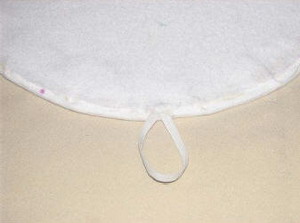
Step 17: Cut a piece of ¼ inch elastic 6 inches long. Fold it in half and glue it to the lid as shown.
|
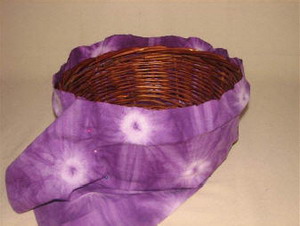
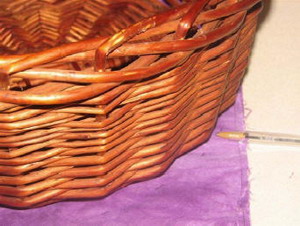
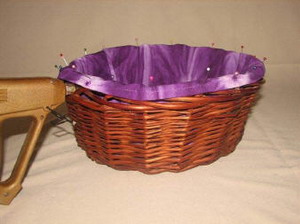
Step 18: Lining for the basket: Wrap the ½ yard fabric around the outside of the basket and place pins along the edge where the fabric comes together.
|
|
|
|
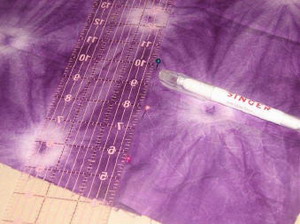
Step 19: Remove the fabric from the basket with the pins still in place. Lay fabric on a flat surface and measure and mark 1 inch away from the pins.
|
Step 20: My basket is 5 ½ inches tall, I want 1 inch hem for the top and 1 inch hem for the bottom. Total 7 ½ inches. Cut the angle where you marked 1 inch away from the pins and 7 ½ inches across the fabric. This will be the sides inside the basket.
|
|
|
|
Step 21: Place the bottom of the basket on the remainder coordinating fabric. Mark the bottom out on the fabric with a fabric pen.
|
Step 22: Cut out the circular shape for the bottom lining.
|
|
|
|
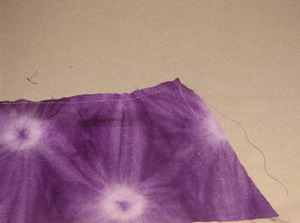
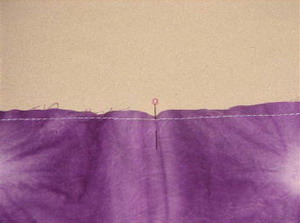
Step 23: Along the shorter end of the long piece of fabric, run a gathering stitch.
|
Step 24: In the center of the fabric where you ran the gathering stitch, place a pin. This is for centering and gathering purposes.
|
|
|
|
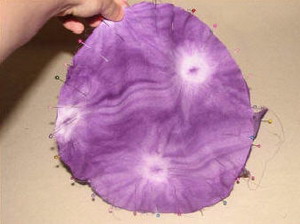
Step 25: Pin the center spot to the circular bottom shape, gathering from both sides until even on both sides of the pin.
|
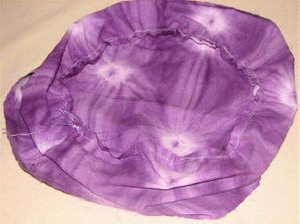
Step 26: Sew the side seam with ½ inch, then sew the bottom to the side with a ¼ hem. The bottom is now finished.
|
|
|
|
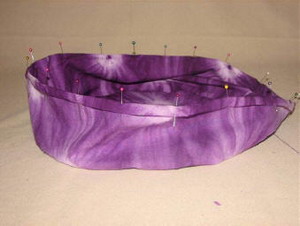
Step 27: On the top of the basket lining fold down the fabric ½ inch, then fold down another ½ inch again and pin. Sew with a ½ hem.
|
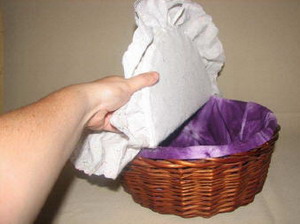
Step 28: With the lining finished, place it in the basket. I used pins to hold the lining in place while I glued it. Pull the finished edge over the top edge of the basket and glue in place.
|
|
|
|
Step 29: Now pin a piece of lace or blanket binding to the top of the foamboard lid. Cut lace to fit (about ½ longer than needed).
|
Step 30: Glue the lace or blanket binding to the lid. If using blanket binding be sure to also glue the underside of the lid.
|
|
|
|
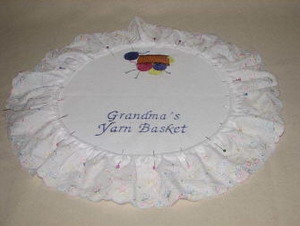
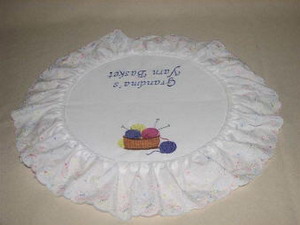
Step 31: Finished basket lid.
|
Step 32: With the hot glue gun, only glue half the lid down to the fabric in the basket. Just run a bead of glue along the top edge of the basket. The other half that isn't glued will be the opening to the basket. The side with the elastic on the lid will be the opening side.
|
|
|
|
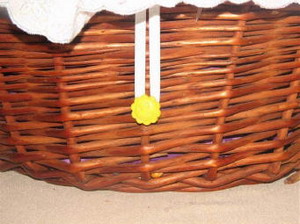
Step 33: I took a piece of wire and wrapped it around the wood on the basket and a button to make a closure. Then I stretched the elastic over the button.
|
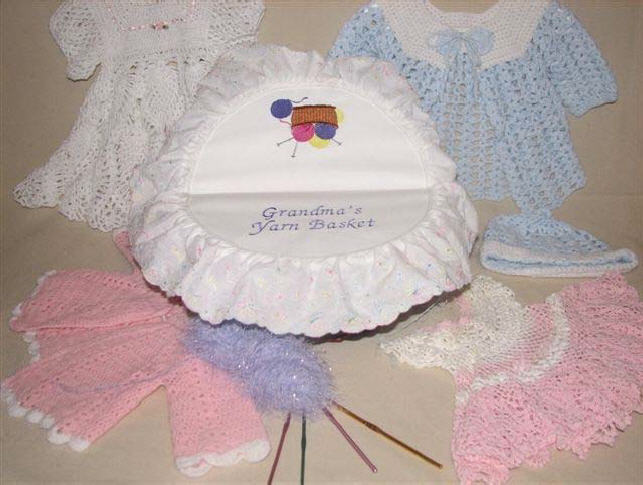
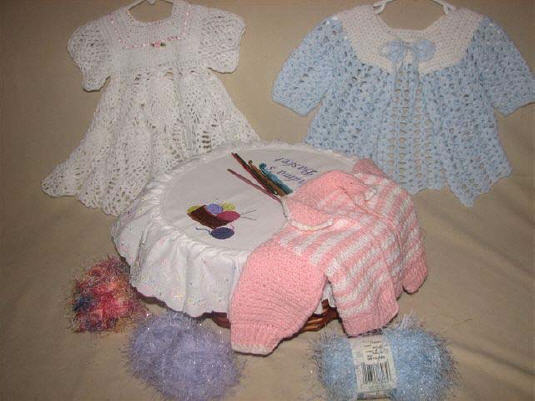
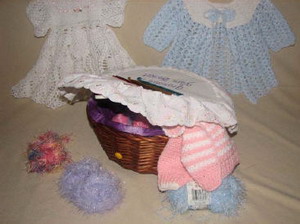
All finished!
|


")