|
|
|
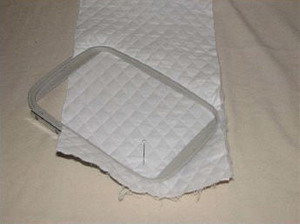
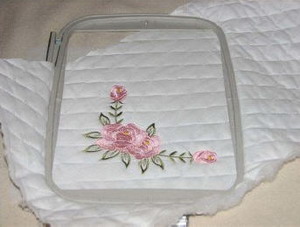
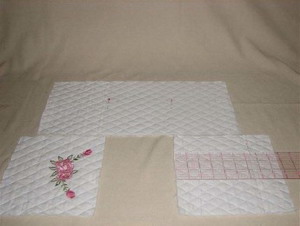
Step 1: Cut one piece of quilted fabric 17 ½ x 8 ½ inches. Set aside. Cut another piece 17 ½ x 10 inches. Find the center of the 10 inches and mark with a pin or fabric marker. Hoop the fabric diagonally, matching the center mark to the hoop center. We will be making a pin cushion and 2 pockets out of this fabric, so don’t cut it yet.
|
Step 2: Embroider the design.
|
|
|
|
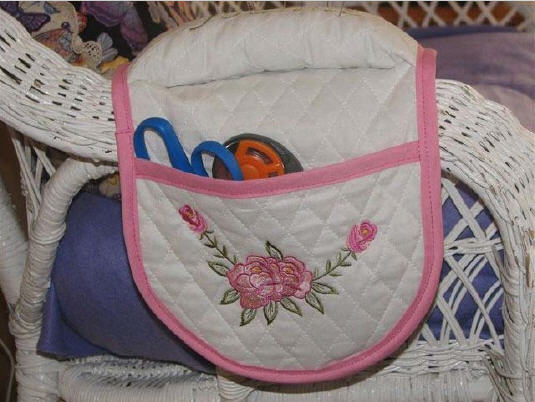
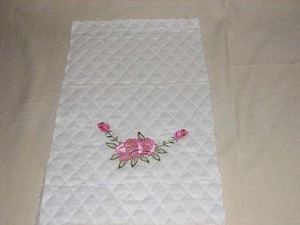
Step 3: Here is the placement of the design for the pocket.
|
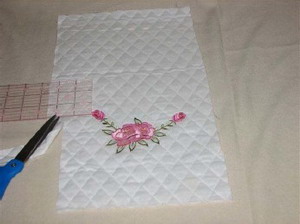
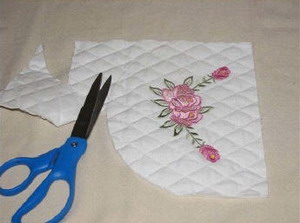
Step 4: Cut 1 ½ inches from both sides of the design. The fabric should now measure 8 ½ inches across.
|
|
|
|
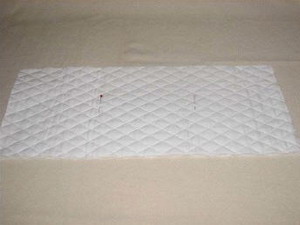
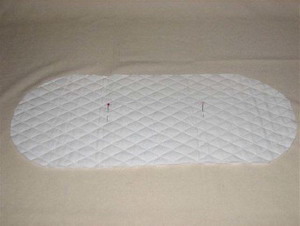
Step 5: Measure the second piece of fabric and divide it in thirds. Mark it with pins or fabric marker. Set this piece aside.
|
Step 6: Cut the embroidered end for the pocket 6½ inches tall by 8 ½ inches wide. Then starting 1 inch above the floral design, cut a matching piece the same size for the second pocket.
|
|
|
|
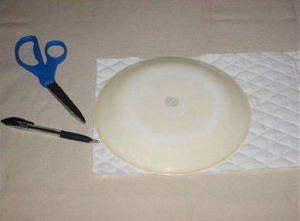
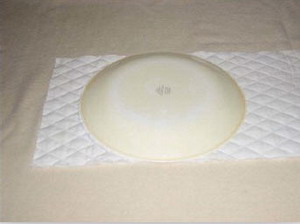
Step 7: Using the third uncut piece of fabric, lay a plate on the edge of both ends and mark the curves on the outside with a fabric pen.
|
Step 8: Cut both ends along the marked edges to create rounded ends.
|
|
|
|
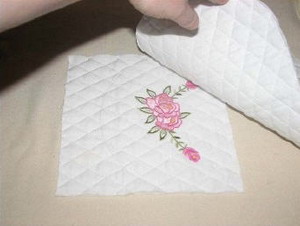
Step 9: Take the piece that has rounded corners and place it on top of the embroidered pocket piece (embroidered side up), lining up the top edge of the pocket with the pin. Mark the curve on the bottom of the pocket piece.
|
Step 10: Using the plate, marked the bottom of the plain pocket piece also. Optional: If you wish, you can have embroidery on both pockets.
|
|
|
|
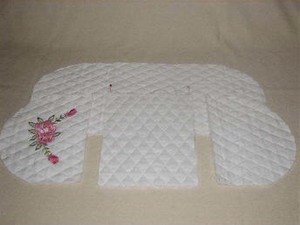
Step 11: Cut the curves from the bottom of both pockets.
|
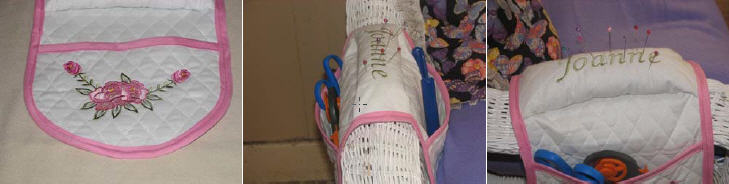
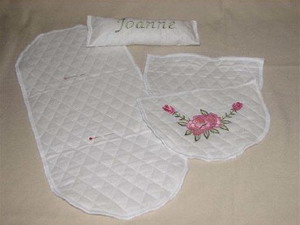
Step 12: You now have the cute pieces pictured above.
|
|
|
|
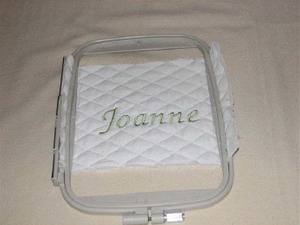
Step 13: Using the center piece of fabric, you can embroidery another design or personalize with a name. Mark the center of the fabric and embroider the design across the longest side. Remove from the hoop.
|
Step 14: Fold the fabric in half. Pin the edges together, leaving the ends open for stuffing.
|

|
|
|
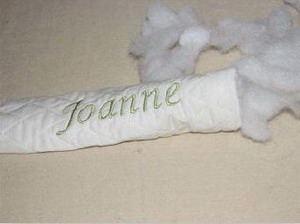
Step 15: Stitch the pinned edge. Remove pins and turn the fabric right side out.
|
Step 15: Add batting. Stuff until it is good and tight.
|

|
|
|
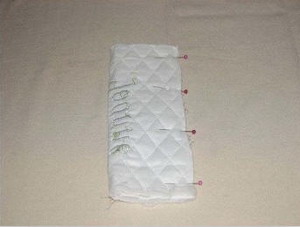
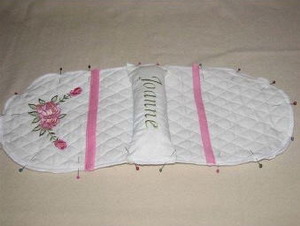
Step 16: Pin the open ends and baste stitch them closed.
|
Step 17: Serge or zigzag the edges of all the pieces.
|
|
|
|
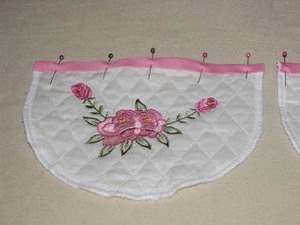
Step 18: Pin bias tap to the top edges of both pockets. Sew into place and remove pins.
|
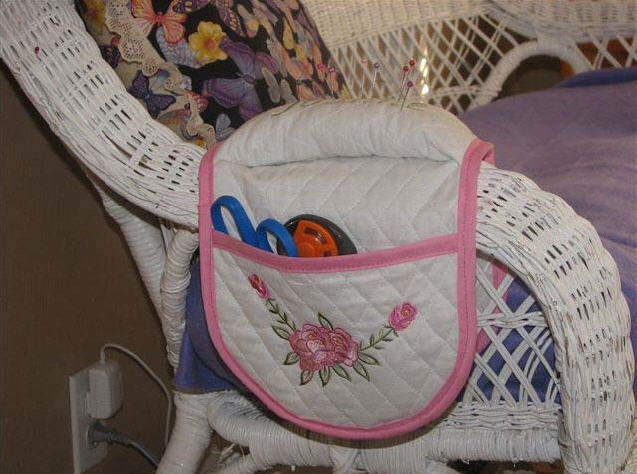
Step 19: Line the curved bottom edges of the pockets with the curved edges of the larger piece of fabric and pin into place. Center the pin cushion (handle) and pin into place.
|

|
|
|
Step 20: Baste stitch the pinned edges together.
|
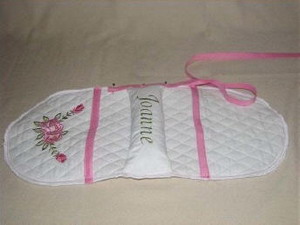
Step 21: Pin the bias tape to the outer edges of
the project. Leave about ¾ inch extra at the end.
|
|
|
|
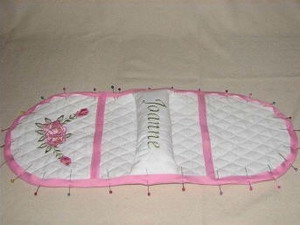
Step 22: Continue pinning the edge all around.
|
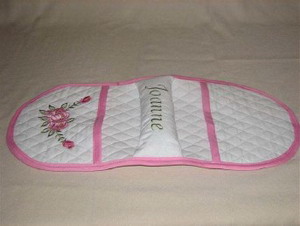
Step 23: Stitch the bias taped edge. When you get to the beginning of the bias tape, fold the extra under to and finish stitching. This gives it a more finished look.
|