|
|
|
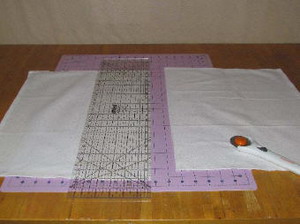
Step 1: Cut one towel in half. This will be the pocket.
|
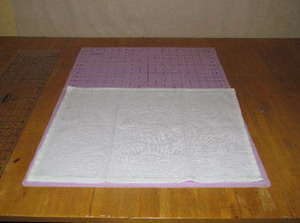
Step 2: Serge or zigzag the raw edge of the pocket. Fold down the serged edge of the towel ½ inch and pin in place.
|
|
|
|
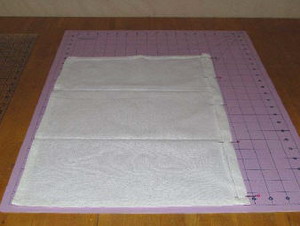
Step 3: Sew a ½ inch seam across the top serged edge of the towel. Fold and iron the towel into 1/3 sections. This will be the divider for 3 pockets.
|
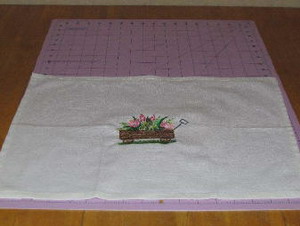
Step 4: Center the towel in the hoop with tear away stabilizer and embroider the design. Remove the towel from the hoop and remove any excess stabilizer from the back.
|
|
|
|
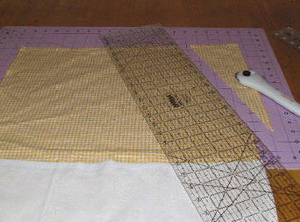
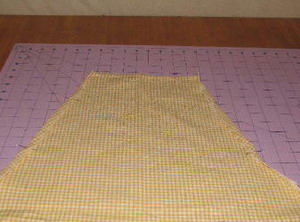
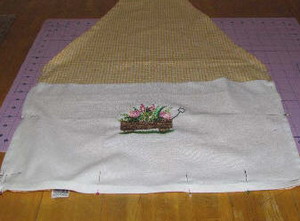
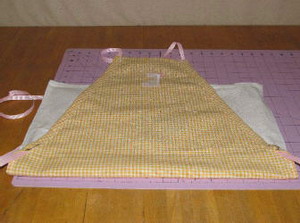
Step 5: Cut second towel. Find the top center of the towel. Measure in from the outside top edges of the towels 4 inches. Cut down about 12 inches at an angle leading to the edge of the towel.
|
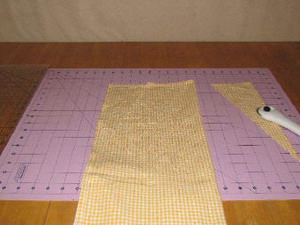
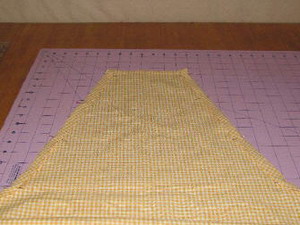
Step 6: Fold the towel in half and cut the other side to match.
|
|
|
|
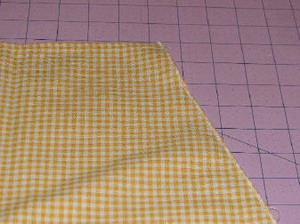
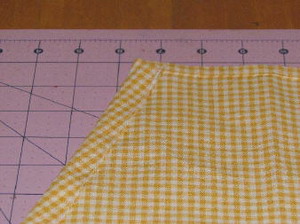
Step 7: Serge both raw edges.
|
Step 8: Fold and press the serged edges in ½ inch.
|
|
|
|
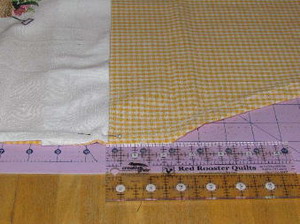
Step 9: Fold and pin the edges in again ¾ inch. Press with an iron.
|
Step 10: Sew along the inner edge to make a casing for the ties.
|
|
|
|
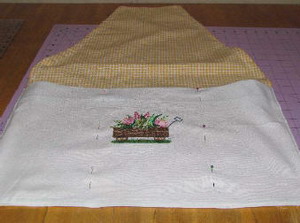
Step 11: Fold down the top of the pocket about 2 inches. There should be about 2 inches between the pocket and the apron ties.
|
Step 12: Pin the pocket to the bottom of the apron body. Pin along the side edges and the bottom. Sew a 1/8 inch seam close to the outside edge of the towels.
|
|

|
|
Step 13: Place pins along the 1/3 pressed marks you made earlier for the pockets. Sew 2 straight lines starting at the bottom of the apron working toward the opening of the pocket. Make sure to reinforce the beginning and ending stitches.
|
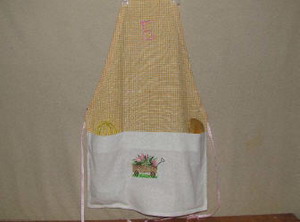
Step 14: Finished pockets.
|
|
|
|
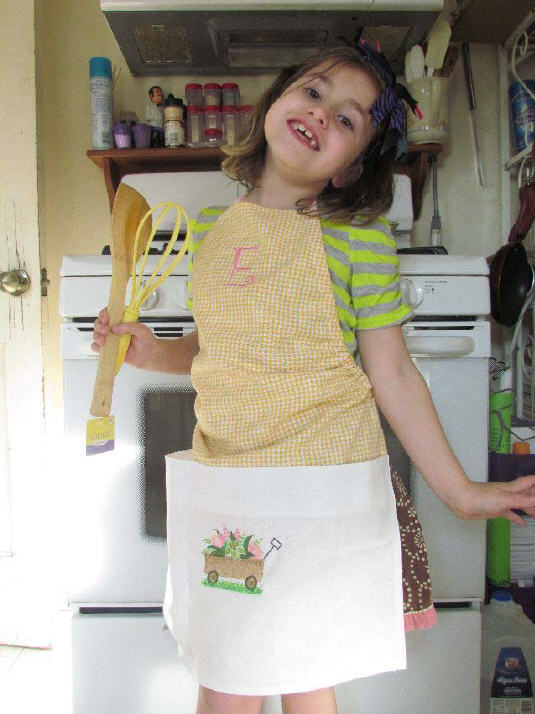
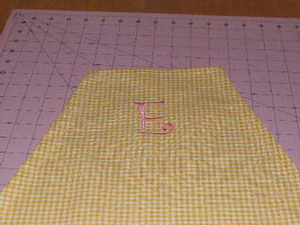
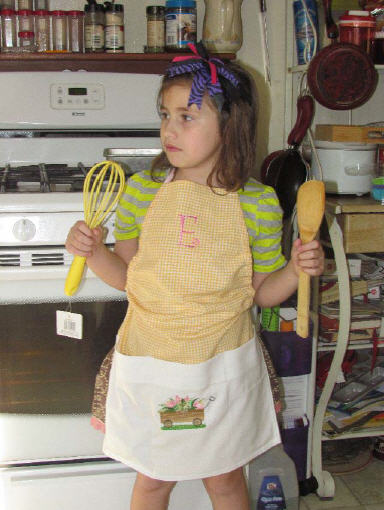
Step 15: Now is a perfect time to personalize your apron.
|
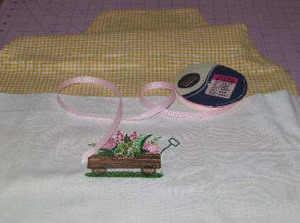
Step 16: This is an adjustable apron and fits a wide range of sizes. I cut a piece of gross grain ribbon ½ inch x 3 yards.
|
|
|
|
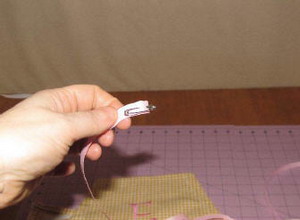
Step 17: Pin a safety pin to one end of the ribbon.
|
Step 18: Run the ribbon through the bottom of one casing up to the neck and back down the other side though the other casing at the neck and back out the bottom of the casing. Pull the ribbon to be even on both sides.
|
|
|
|
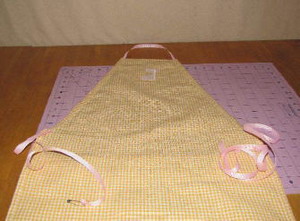
Step 19: Adjust the ribbon to your liking by sliding the apron up or down the ribbon. Pin in place with a safety pin on both sides.
|
Step 20: Finished apron.
|
|
This apron can be adjustable from 7 years to adult size.
|

|
|
|


")